Batch Convert TIFF to JPG: The Ultimate Guide (5 Free Methods)
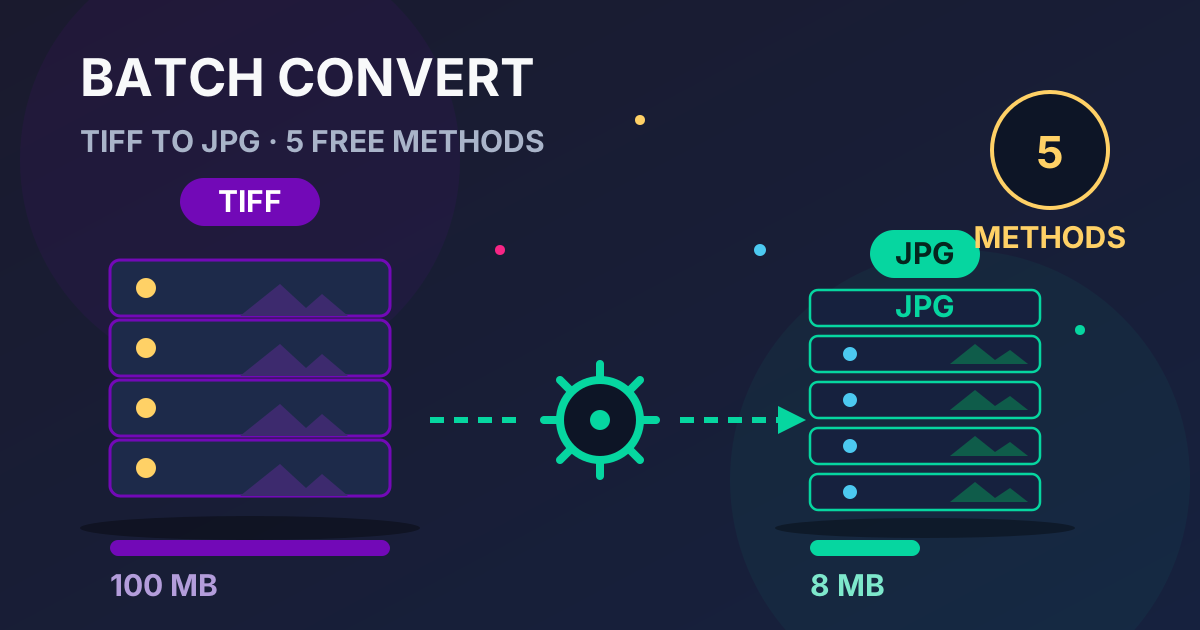
Your Guide to Effortless TIFF to JPG Batch Conversion
Are you staring at a folder overflowing with large TIFF files? Maybe you've just finished a scanning project or received a batch of high-resolution images from a photographer. TIFFs are fantastic for quality, but their massive file sizes and limited compatibility can be a real headache, especially when you need to share them online, send them via email, or upload them to a website.
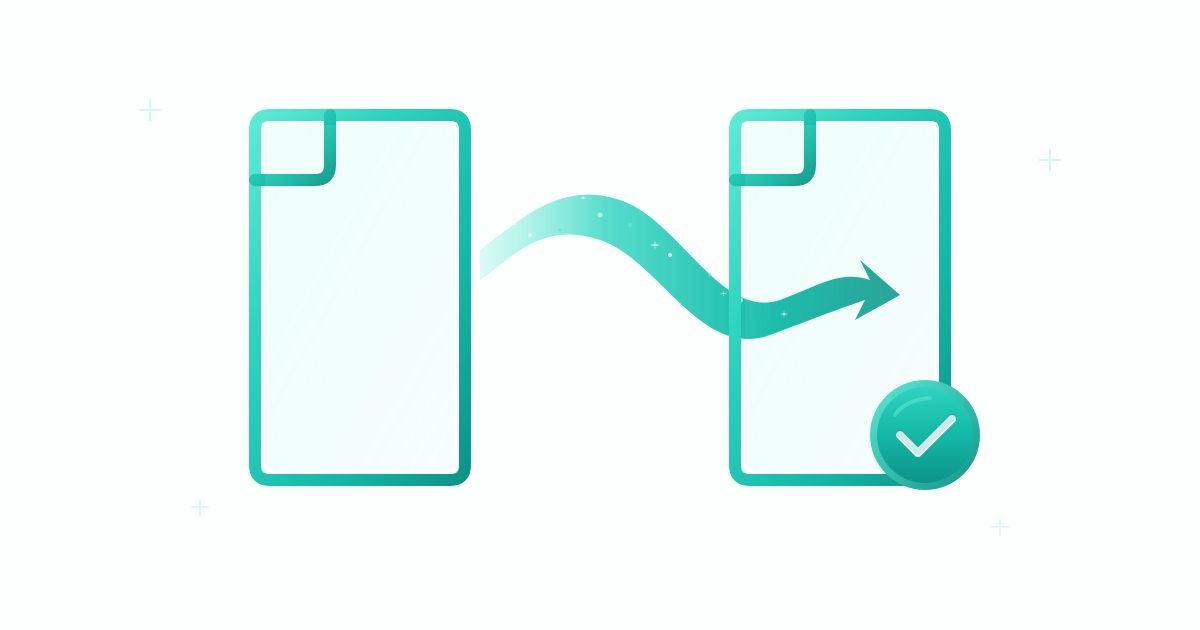
Converting them one by one is a tedious, time-consuming nightmare. That's where batch conversion comes in. By processing all your files at once, you can save hours of manual effort and streamline your workflow significantly.
This comprehensive guide will walk you through everything you need to know about converting multiple TIFF files to the universally-friendly JPG format. We'll explore why you should make the switch and provide detailed, step-by-step tutorials for five different methods, from simple online tools to powerful built-in features on your computer. Get ready to conquer that folder of TIFFs and reclaim your time!
Why Convert TIFF to JPG in the First Place?
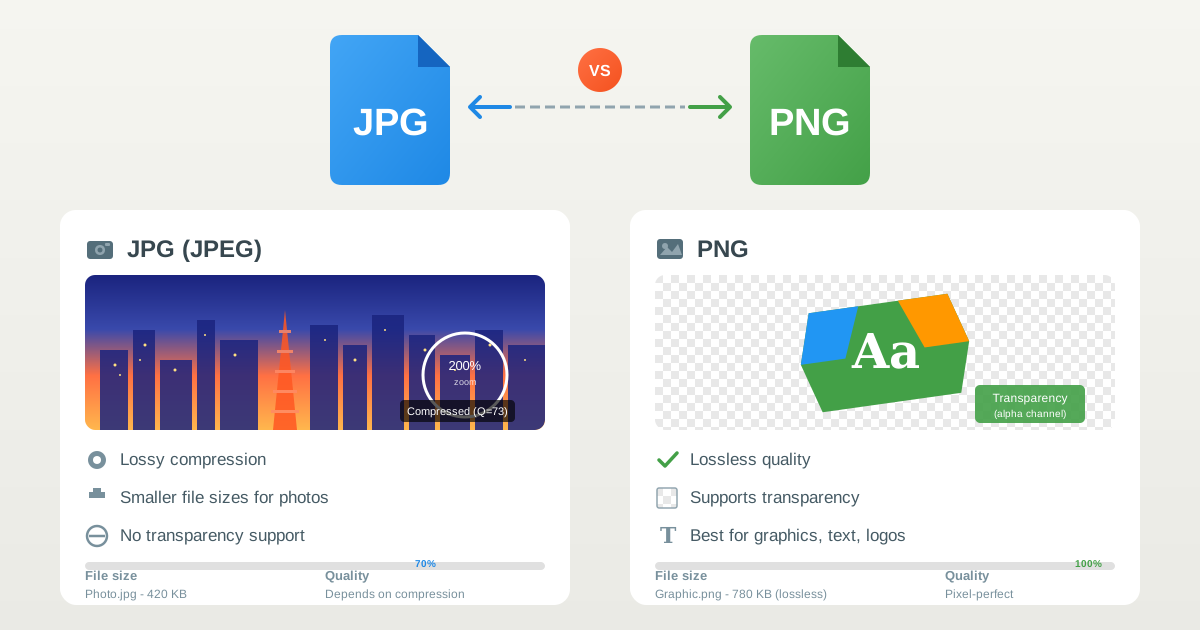
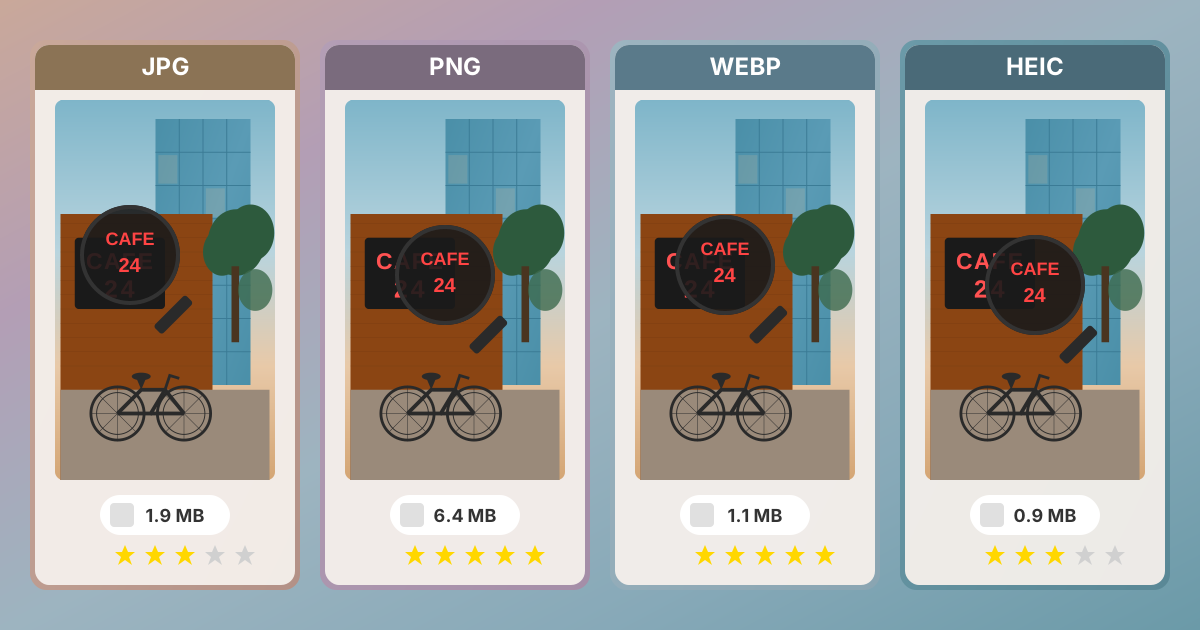
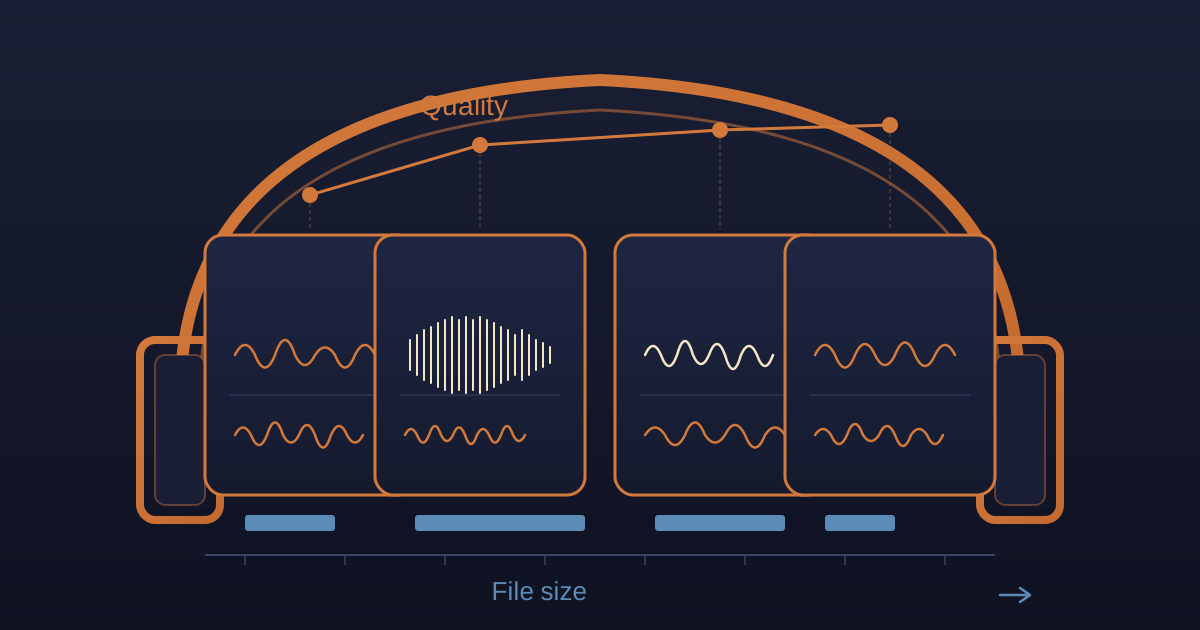
The decision to convert from TIFF (Tagged Image File Format) to JPG (Joint Photographic Experts Group) comes down to a trade-off between quality, file size, and compatibility. While TIFF is the gold standard for lossless archival quality, JPG is the undisputed champion of the web.
Here’s a breakdown of the key differences and why batch converting to JPG is often a practical necessity:
| Feature | TIFF (Tagged Image File Format) | JPG (Joint Photographic Experts Group) | Why It Matters for Batch Conversion |
|---|---|---|---|
| Compression | Typically lossless (no quality loss) or uncompressed. | Lossy (some quality is lost to reduce size). | For web use or email, the slight quality loss in a JPG is often imperceptible, but the size reduction is massive. |
| File Size | Very large. A single high-res TIFF can be 100MB+ or more. | Significantly smaller. The same image as a JPG might be only 5-10MB. | Smaller files are faster to upload, download, and send. They also save valuable storage space on your hard drive and web server. |
| Compatibility | Not universally supported by web browsers or basic image viewers. | Universally supported by all browsers, email clients, and devices. | Converting to JPG ensures anyone can view your images without special software. |
| Use Case | Archiving, professional printing, medical imaging, high-quality scans. | Web graphics, online photos, email attachments, social media sharing. | Choosing the right format for the job is key. Batch conversion prepares your high-quality masters (TIFFs) for distribution (JPGs). |
| Transparency | Supports transparency. | Does not support transparency (transparent areas become white). | This is an important consideration. If you need transparency for the web, PNG is a better format than JPG. |
Ultimately, batch converting from TIFF to JPG is about making your images more portable, accessible, and efficient for everyday digital use.
Method 1: Using an Online Converter (The Easiest Way)
For sheer simplicity and convenience, online file converters are hard to beat. You don’t need to install any software, and the process usually involves just a few clicks. This is a great option for users who need to convert a batch of files quickly without any fuss.
Pros:
- No software installation required.
- Accessible from any device with an internet connection.
- Extremely user-friendly interface.
Cons:
- Requires an internet connection to upload and download files.
- Potential privacy and security concerns with sensitive images.
- Often have file size or daily conversion limits.
At Practical Web Tools, we prioritize your privacy. While we don't have a dedicated TIFF to JPG tool yet, the principles behind our tools like the PDF to Image converter apply: a focus on security and ease of use. When choosing an online converter, look for one that respects your data.
How to Use a Typical Online Converter:
- Navigate to a reputable online TIFF to JPG conversion website in your browser.
- Upload Your Files: Look for a button that says “Choose Files,” “Upload,” or “Select TIFF.” Most tools will allow you to drag and drop multiple files directly onto the page or select an entire folder.
- Set Output Format: Ensure “JPG” is selected as the target format. Some tools may offer quality settings—a value around 80-90 is usually a good balance.
- Start Conversion: Click the “Convert” or “Start” button. The tool will upload your files, process them on its server, and prepare them for download.
- Download Your JPGs: Once the conversion is complete, the tool will provide a download link. This is often a single ZIP file containing all your newly converted JPG images, which is convenient for batch processing.
Method 2: Using Built-in Tools on Windows
Your Windows PC has powerful hidden capabilities for image conversion. You might not even need to download anything new to get the job done.
Using Windows File Explorer with PowerToys
This is a fantastic trick for Windows 10 and 11 users. Microsoft PowerToys is a free suite of utilities designed for power users, and one of its best features is an “Image Resizer” that can also convert formats right from your right-click menu.
- Install PowerToys: If you don't have it, download PowerToys from the Microsoft Store or their official GitHub page. It's a safe and official Microsoft product.
- Enable Image Resizer: After installation, open the PowerToys settings, navigate to the “Image Resizer” tab, and make sure it is enabled.
- Select Your TIFFs: Open File Explorer and navigate to the folder containing your TIFF files. Select all the files you want to convert (you can use
Ctrl + Ato select all). - Right-Click and Convert: Right-click on any of the selected files. In the context menu, you should see “Resize pictures.”
- Configure Conversion: In the Image Resizer window, you can ignore the size presets. The key is the “Encoder” setting at the bottom. By default, it might be set to “Original.” Change this dropdown to JPEG Encoder.
- Process: Click the “Resize” button (even though you aren't resizing, you are re-encoding). PowerToys will instantly create JPG copies of all your selected TIFF files in the same folder.
This method is incredibly fast, efficient, and integrated directly into your workflow.
Method 3: Using Built-in Tools on macOS
Mac users are in luck. macOS comes with powerful, pre-installed applications that handle batch image conversion beautifully.
Using the Preview App
Preview is much more than a simple image viewer. It's a capable batch processing tool.
- Open All Images: Place all your TIFF files in a single folder. Select all of them, right-click, and choose “Open With” > “Preview.” This will open all images in a single Preview window with a thumbnail sidebar.
- Select All Thumbnails: In the Preview sidebar, click one of the thumbnails and press
Command + Ato select all the images. - Export Selected Images: With all thumbnails selected, go to the menu bar and click
File>Export Selected Images.... - Choose Destination and Format: A new window will pop up. First, choose a destination folder for your new JPGs (it’s best to create a new folder to keep things organized). Then, click the “Options” button at the bottom.
- Set Format and Quality: In the options menu, change the format from TIFF to JPEG. You'll see a quality slider. Drag it to your desired level (e.g., “Best” or slightly lower to save space). You can also adjust other settings here.
- Click “Choose”: Preview will now process every selected image and save it as a JPG in your designated folder. This process is remarkably fast and efficient.
Using Automator for a Custom Workflow
For more advanced users, Automator lets you create a custom application or Quick Action to convert files with a simple drag-and-drop or right-click.
- Open Automator (found in your Applications folder).
- Create a new “Quick Action.”
- Set “Workflow receives current” to image files in Finder.
- In the Actions library on the left, find and drag “Change Type of Images” to the workflow area on the right. It will ask if you want to add a “Copy Finder Items” step to preserve your originals—this is highly recommended, so click “Add.”
- In the “Change Type of Images” action, set the “To Type” dropdown to JPEG.
- Save your Quick Action with a memorable name like “Convert to JPG.”
Now, you can right-click any TIFF file (or a selection of them) in Finder, go to “Quick Actions,” and select “Convert to JPG” to run your conversion automatically.
Method 4: Using Free Image Editing Software (IrfanView)
For Windows users who need more control than the PowerToys method offers, IrfanView is a legendary free, lightweight, and incredibly powerful image viewer and converter.
How to Batch Convert with IrfanView:
- Download and Install: Get IrfanView from its official website (irfanview.com). It's free for non-commercial use.
- Open Batch Conversion: Launch IrfanView and go to the menu bar. Click
File>Batch Conversion/Rename...(or simply press theBkey). - Select Your Files: In the batch conversion window, use the file browser on the right to navigate to the folder containing your TIFFs. Select the files you want to convert and click the “Add” button to move them to the “Input files” list on the left.
- Set Output Format: Under the “Batch conversion settings,” make sure “Batch conversion” is selected. Set the “Output format” to JPG - JPEG Format.
- Adjust JPG Options: Click the “Options” button next to the format dropdown. Here you can set the save quality (85 is a good default), disable or enable EXIF data, and more. Click “OK” when done.
- Choose Output Directory: Use the “Browse” button at the bottom to select where you want to save your converted JPG files.
- Start the Batch: Click the “Start Batch” button. IrfanView will rapidly process all the files in your list and show you a log of the process. It's one of the fastest converters available.
Managing large sets of documents is a common challenge, whether you're converting images or needing to Merge PDFs into a single, cohesive file for a report or presentation.
Method 5: Using Adobe Photoshop (The Professional's Choice)
If you have an Adobe Creative Cloud subscription, then Photoshop offers a robust and highly configurable tool for batch processing called the Image Processor.
How to Use the Image Processor in Photoshop:
- Open the Image Processor: You don't need to have any images open. Just launch Photoshop and go to
File>Scripts>Image Processor.... - Select Source Folder: In the Image Processor window, under section 1, click “Select Folder...” and choose the folder containing all your TIFF files. If you have sub-folders, you can check the “Include all Sub-folders” box.
- Select Destination Folder: Under section 2, choose where to save the new files. “Save in Same Location” is an option, which will create a new subfolder named “JPEG” inside your source folder, keeping things tidy.
- Set File Type and Quality: Under section 3, check the box for “Save as JPEG.” You can then set the quality from 0 to 12 (a value of 10 is excellent for high quality, 8 is good for web). Ensure “Convert Profile to sRGB” is checked, as this is the standard color profile for the web.
- Run the Process: You can ignore section 4 (regarding actions) unless you have a specific action you want to apply. Click the “Run” button. Photoshop will now automatically open, process, and save each image without any further input from you.
This method is perfect for professionals who need precise control over quality, color profiles, and want the reliability of Adobe's conversion engine.
Conclusion: Choose the Right Tool for the Job
You no longer need to waste time converting TIFF files one by one. From the instant convenience of online tools to the powerful, built-in features of your operating system, there's a batch conversion method that fits your needs perfectly.
- For quick, one-off tasks: Use an online converter or the built-in macOS Preview app.
- For regular conversions on Windows: Take a few minutes to set up Microsoft PowerToys for a seamless workflow.
- For maximum control and options: A dedicated free tool like IrfanView or professional software like Adobe Photoshop is your best bet.
By converting your large TIFF archives to lean, compatible JPGs, you make them ready for the web, easy to share, and much lighter on your hard drive. Efficient file management is key to a productive digital life.
Looking for more ways to streamline your document workflow? Explore our full suite of free tools at Practical Web Tools. Whether you need to convert a PDF to Word for easy editing or handle other file conversions, we have a secure, private, and simple solution for you.