JPG to GIF: The Ultimate Animation Conversion Guide for 2024

In a world dominated by visual content, the animated GIF is king. From viral memes on social media to quick-fire tutorials in blog posts, GIFs capture attention and convey information in a way static images simply can't. But what if your source material is a series of static JPG files? How do you bridge the gap and bring them to life?
That's where this guide comes in. You might have a sequence of photos from a time-lapse, a series of screenshots for a tutorial, or a collection of product images you want to showcase. Whatever your reason, converting a series of JPGs into an animated GIF is a powerful skill. We'll explore everything from the quickest online tools for instant results to professional desktop software that gives you granular control over every frame. Let's dive in and transform your static images into captivating animations.
Understanding the Core Concepts: JPG vs. GIF
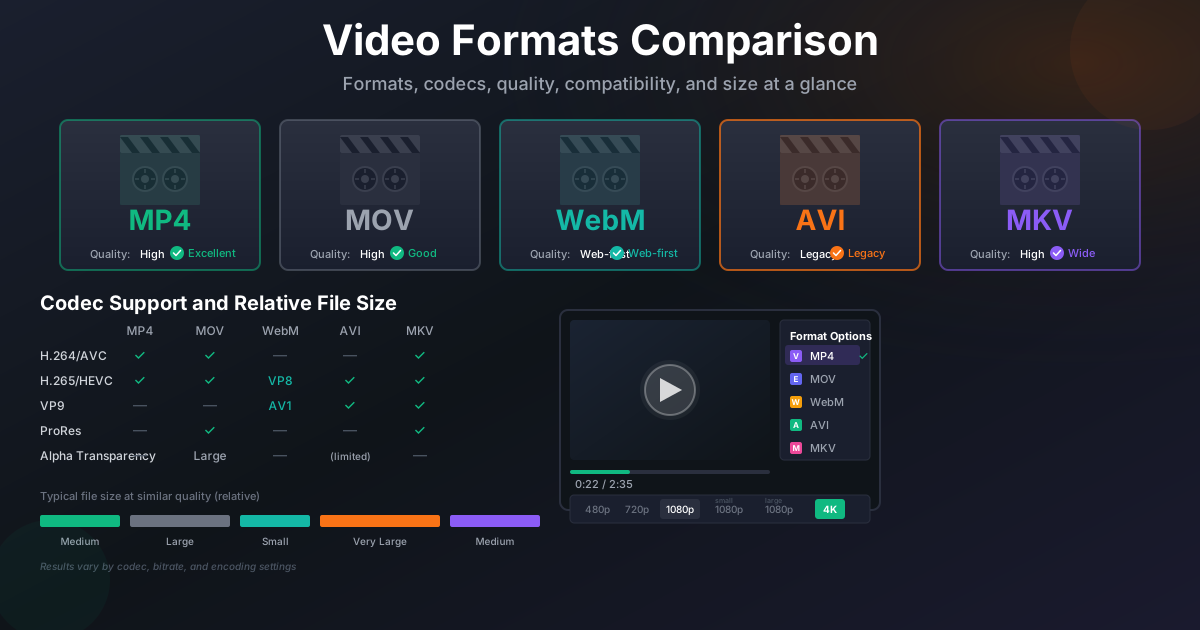
Before we jump into the 'how,' it's helpful to understand the 'what.' JPG and GIF are two of the most common image formats on the web, but they serve very different purposes, especially when it comes to animation.
What is a JPG (or JPEG)?
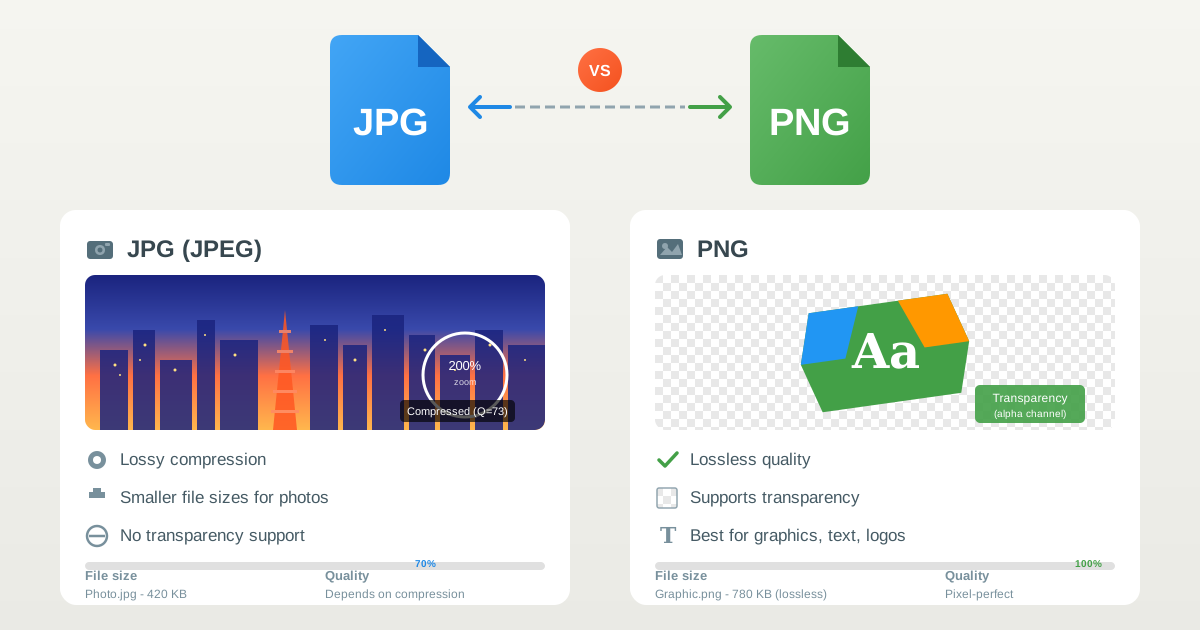
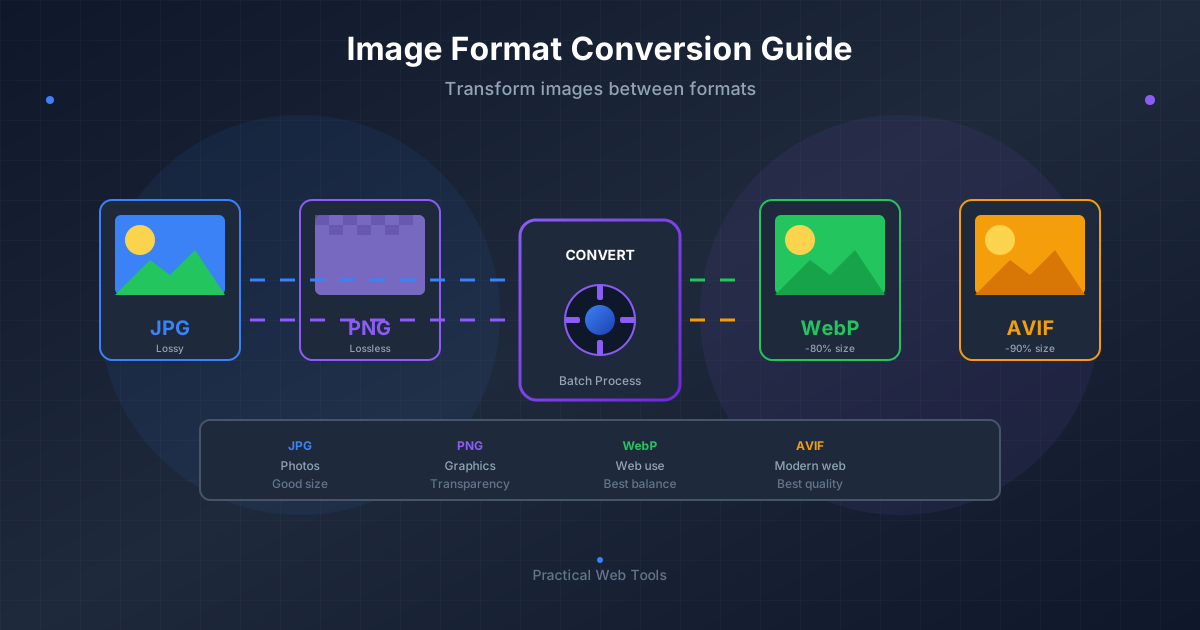
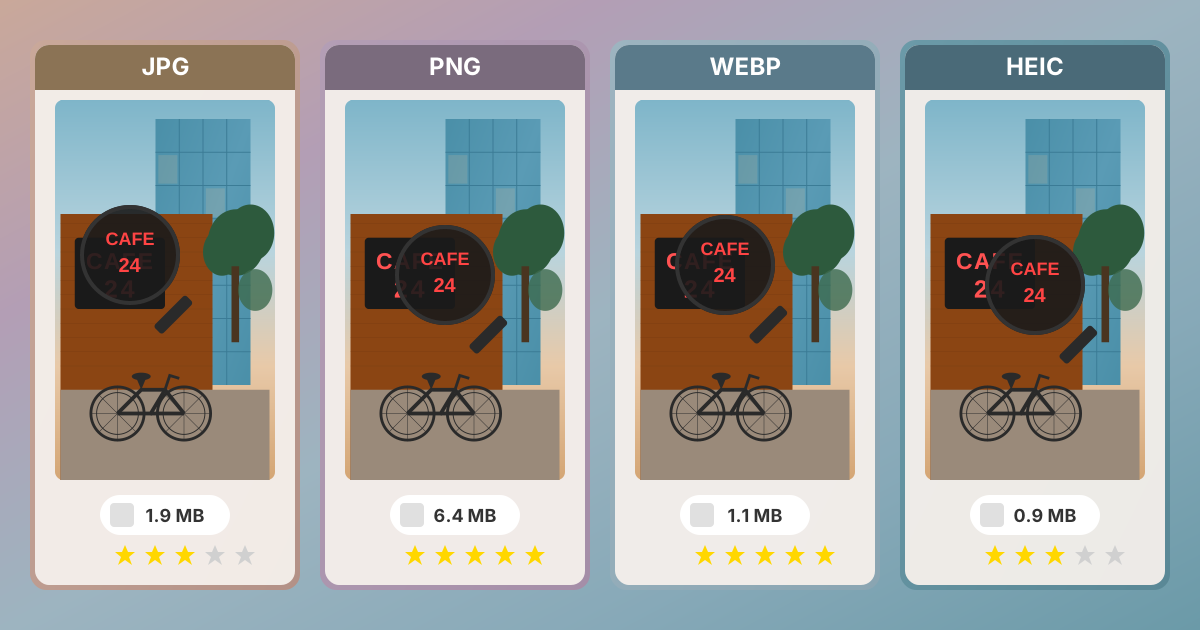
JPG stands for Joint Photographic Experts Group. It's the go-to format for photographs and complex images with millions of colors and smooth gradients. Its key feature is lossy compression, which means it intelligently discards some image data to create a much smaller file size. This is fantastic for photos, but every time you re-save a JPG, it loses a little more quality.
Key Characteristics of JPG:
- Supports millions of colors (24-bit color).
- Uses lossy compression for small file sizes.
- Ideal for photographs and complex, realistic images.
- Does not support animation or transparency.
What is a GIF?
GIF stands for Graphics Interchange Format. It's an older format, but its enduring popularity comes from one key feature: animation. A GIF file can hold multiple frames in a sequence, which are then played back to create a moving image. It uses lossless compression but is limited to a palette of only 256 colors.
Key Characteristics of GIF:
- Limited to 256 colors.
- Uses lossless compression.
- Supports animation and simple transparency.
- Ideal for logos, icons, and, of course, animated sequences.
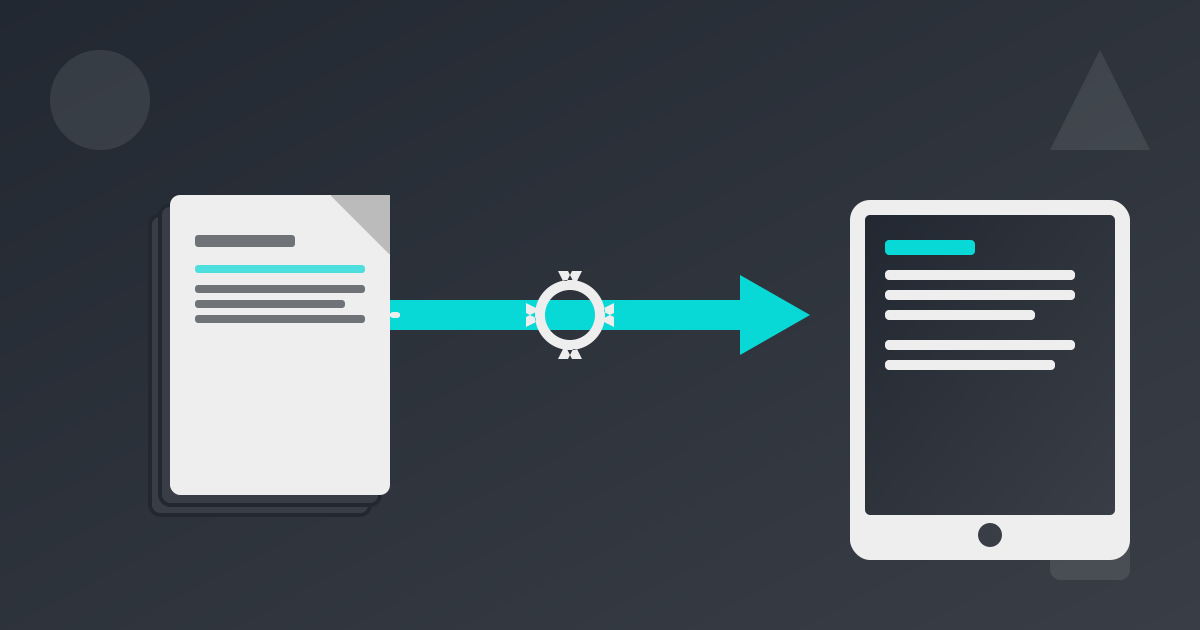
Converting JPGs to a GIF animation is essentially about taking a sequence of high-color, static images and compiling them into a single, multi-frame, limited-color animated file.
Method 1: The Quick & Easy Way with Online Converters
For most people who need a GIF quickly without any fuss, online converters are the perfect solution. These web-based tools require no software installation and can produce an animation in just a few clicks.
Why Use an Online Tool?
- Convenience: Accessible from any device with a web browser.
- Speed: The entire process can take less than a minute.
- Simplicity: User-friendly interfaces designed for beginners.
- Cost: Most are completely free to use.
Step-by-Step Guide to Using an Online JPG to GIF Maker
While specific interfaces vary, the process is generally the same across all reputable online tools:
- Find a Tool: Search for "online JPG to GIF animator" or "create GIF from images."
- Upload Your Images: Look for an "Upload," "Choose Files," or similar button. Select all the JPG images you want to include in your animation. Most tools allow you to select multiple files at once.
- Arrange the Order: Once uploaded, the tool will display thumbnails of your images. Drag and drop them into the correct sequence for your animation.
- Adjust Settings: This is where you can customize your GIF.
- Delay Time / Speed: Set the duration each frame is displayed, usually in milliseconds (e.g., 200ms for a slower animation, 50ms for a faster one).
- Loop Count: Decide if you want the animation to play once, a specific number of times, or loop forever (most common).
- Size: Some tools allow you to resize the final GIF dimensions.
- Create and Download: Click the "Create GIF," "Generate," or "Convert" button. The tool will process your images and provide a download link for your new animated GIF.
Pros and Cons of Online Converters
| Pros | Cons |
|---|---|
| Incredibly easy for beginners | Potential privacy concerns with sensitive images |
| No software installation required | File size and number of images may be limited |
| Fast processing for simple tasks | Output may have watermarks from the service |
| Free to use | Limited options for optimization and color control |
A Note on Privacy: At Practical Web Tools, we champion privacy. While we don't currently have a JPG to GIF animator, we build all our tools to be client-side, meaning your files are processed on your computer and never uploaded to a server. When using third-party online converters, always be cautious about uploading personal or confidential images.
Method 2: Gaining Full Control with Desktop Software
When you need more control, want to work offline, or are creating a professional-grade animation, desktop software is the way to go. These programs offer advanced features for timing, optimization, and effects.
Using GIMP (Free & Open-Source)
GIMP (GNU Image Manipulation Program) is a powerful and free alternative to Adobe Photoshop. It's an excellent choice for creating high-quality GIFs without spending any money.
Step-by-Step GIMP Tutorial:
- Open Images as Layers: Go to
File > Open as Layers.... Navigate to your folder of JPGs, select all the images you want in your sequence, and clickOpen. GIMP will load each image as a separate layer, which will become a frame in your animation. - Order Your Frames: The Layers panel (usually on the right) shows your animation frames. The bottom layer is the first frame, and the top layer is the last. Drag and drop the layers to arrange them in the correct playback order.
- Preview the Animation: You can see how it looks by going to
Filters > Animation > Playback.... A new window will open where you can play your sequence. - Set Frame Delay: By default, each frame might play too quickly. To set a uniform delay, you need to edit the layer name. Right-click on a layer and choose
Edit Layer Attributes. In the layer name field, add(150ms)(or your desired delay in milliseconds) after the existing name. You'll have to do this for each layer, which can be tedious but offers precise control. - Export as GIF: Once you're happy, go to
File > Export As.... In the dialog box, name your file with a.gifextension (e.g.,my-animation.gif) and clickExport. - GIF Export Options: A new window will pop up with GIF options.
- Check the
As animationbox. This is crucial! - Check the
Loop foreverbox if you want a continuous loop. - You can use the
Delay between frames where unspecifiedfield as an easier way to set a uniform delay if you skipped step 4. - Click
Exportto create your file.
- Check the
Using Adobe Photoshop (Professional Standard)
Photoshop is the industry standard for image editing and also includes robust tools for creating frame-by-frame animations.
Step-by-Step Photoshop Tutorial:
- Load Files into Stacks: To automate loading images as layers, go to
File > Scripts > Load Files into Stack.... ClickBrowse..., select all your JPGs, and clickOK. Photoshop will create a new document with each image on its own layer. - Open the Timeline Panel: Go to
Window > Timelineto open the Timeline panel at the bottom of the screen. If it shows options for video, click the dropdown in the middle of the panel and selectCreate Frame Animation, then click the button. - Make Frames from Layers: In the Timeline panel, click the menu icon (four horizontal lines) on the far right and select
Make Frames From Layers. This will automatically convert each of your layers into a single animation frame. - Set Timing and Looping:
- Below each frame in the timeline, you'll see a time (e.g.,
0 sec.). Click it to set the delay for that frame. To set the same delay for all frames, select them all (click the first, then Shift-click the last) and change the time on one. - At the bottom of the Timeline panel, you'll find a dropdown that says
Once. Change this toForeverfor an infinite loop.
- Below each frame in the timeline, you'll see a time (e.g.,
- Export for the Web: For the best optimization, use the legacy export tool. Go to
File > Export > Save for Web (Legacy).... - Optimize and Save: In the Save for Web window:
- Choose a
GIFpreset from the dropdown on the right (e.g., GIF 128 Dithered). - Adjust the
Colorsvalue. Reducing it from 256 can significantly shrink the file size if your images are simple. - Check the image size and make sure it's appropriate for web use.
- Review the
Looping Optionsand ensure it's set toForever. - Click
Save...and choose a location for your final GIF.
- Choose a
Creative Use Cases & Practical Workflows
Now that you know how to create a GIF, where can you use this skill? The possibilities are endless.
- Product Showcases: Create a 360-degree view of a product or cycle through different color options.
- Step-by-Step Tutorials: Quickly show users how to perform a task without embedding a heavy video file.
- Animating Data: Turn a series of charts or graphs into an animated visualization to show trends over time.
- Stop-Motion Animation: Take a series of photos of an object, moving it slightly each time, to create a fun stop-motion effect.
Workflow Example: Animating a PDF Report
Sometimes, your source material isn't a collection of photos but a multi-page document you want to summarize visually. Imagine you have a 10-page PDF report and want to create a quick, shareable GIF that cycles through the key pages.
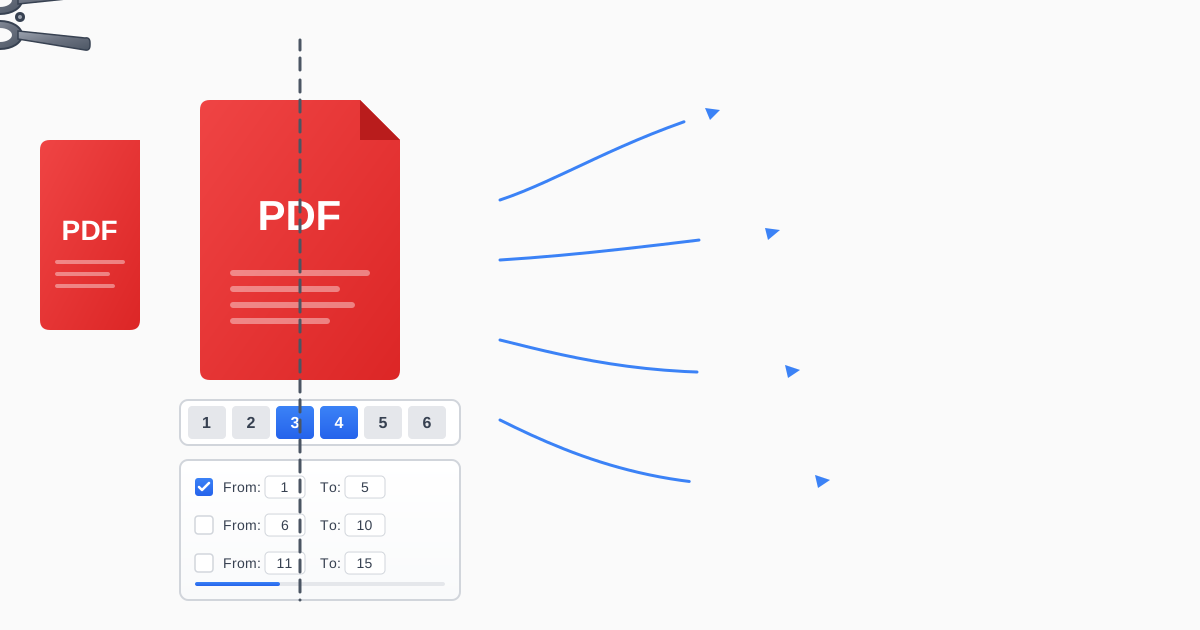
- Isolate the Pages: If your PDF is long, you don't want to animate all of it. A great first step is to use a tool to extract only the pages you need. You can easily do this with a Split PDF tool to create a new, shorter PDF with just your desired pages.
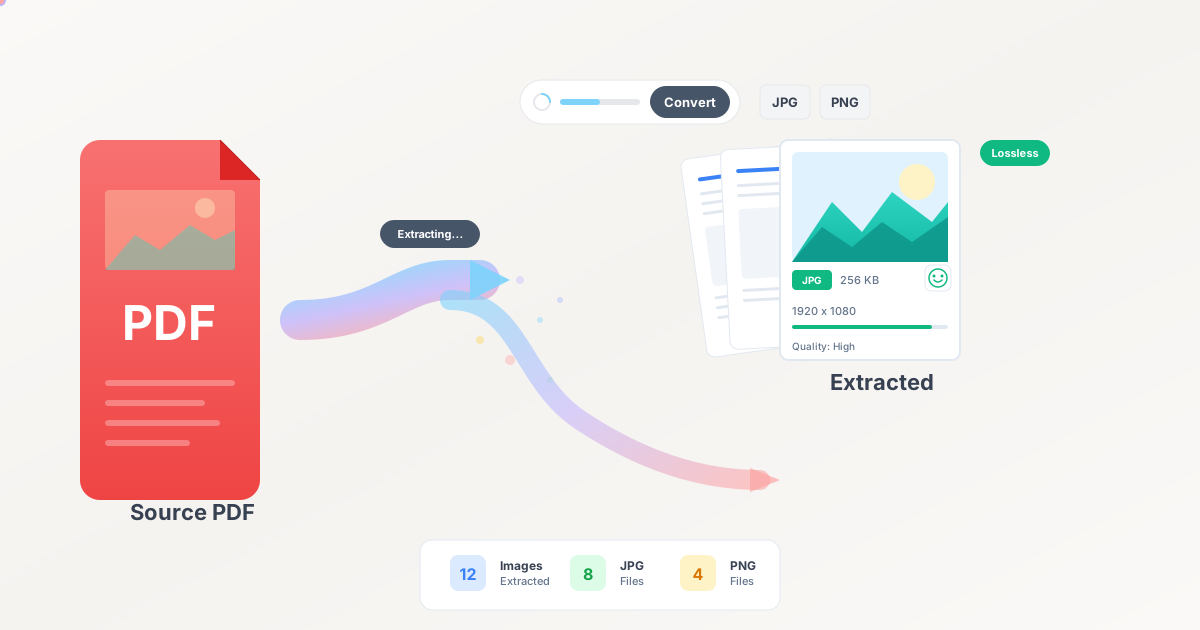
- Convert PDF Pages to JPGs: Once you have your key pages, you need to convert them into an image format. This is where a dedicated converter becomes invaluable. Using a privacy-focused tool like Practical Web Tools' PDF to Image converter ensures your document's contents remain secure while giving you a high-quality JPG for each page.
- Create the GIF: With your series of JPGs ready, you can now follow any of the methods described above—using an online tool, GIMP, or Photoshop—to turn those static pages into a dynamic animated summary of your report.
This workflow demonstrates how different tools can be chained together to achieve a specific creative goal, turning a static document into engaging, animated content.
Conclusion: Choose the Right Tool for the Job
Converting a sequence of JPG images into an animated GIF opens up a new world of creative expression. As we've seen, the method you choose depends entirely on your needs.
- For a quick, no-frills animation, online converters are your best bet.
- For a powerful, free, and highly customizable workflow, GIMP is an unbeatable choice.
- For professionals who need the most advanced features and integration with other creative tools, Adobe Photoshop remains the top contender.
No matter which path you take, you now have the knowledge to transform your static pictures into motion. We encourage you to experiment, have fun, and see how animated GIFs can enhance your projects. And for your other digital conversion and editing needs, remember to explore the suite of free, private, and practical web tools available right here at practicalwebtools.com.