WMV to MOV on Mac: The Ultimate 2024 Conversion Guide

You've just been sent a video file for a project, a family memory, or an important meeting recording. You double-click it on your Mac, and... nothing. Or worse, you get an error message: "QuickTime Player can't open this file." You check the file extension and see the culprit: .wmv. This frustrating experience is all too common for Mac users, as the Windows Media Video (WMV) format is not natively supported by macOS.
But don't worry, you're not stuck. The solution is simple: convert the WMV file to a Mac-friendly format like MOV. In this comprehensive guide, we'll walk you through why this incompatibility exists and provide detailed, step-by-step instructions on the best methods to convert WMV to MOV on your Mac, focusing on free, powerful, and secure options.
The "Why": Understanding Video Formats on Mac
Before we dive into the "how," let's briefly understand the "why." Knowing the difference between these file types will help you troubleshoot future format issues with any kind of media.
Why Can't My Mac Play WMV Files?
WMV stands for Windows Media Video. It's a video compression format developed by Microsoft as part of its Windows Media framework. As a proprietary Microsoft technology, it was designed to work seamlessly within the Windows ecosystem. Apple's macOS, on the other hand, is built around its own QuickTime media framework. The two systems simply don't speak the same native language.
In the past, third-party plugins like Flip4Mac (also known as Windows Media Components for QuickTime) bridged this gap, allowing QuickTime to play WMV files. However, with modern versions of macOS, these plugins are largely obsolete, making conversion the most reliable and future-proof solution.
What is MOV and Why Is It the Go-To for Mac?
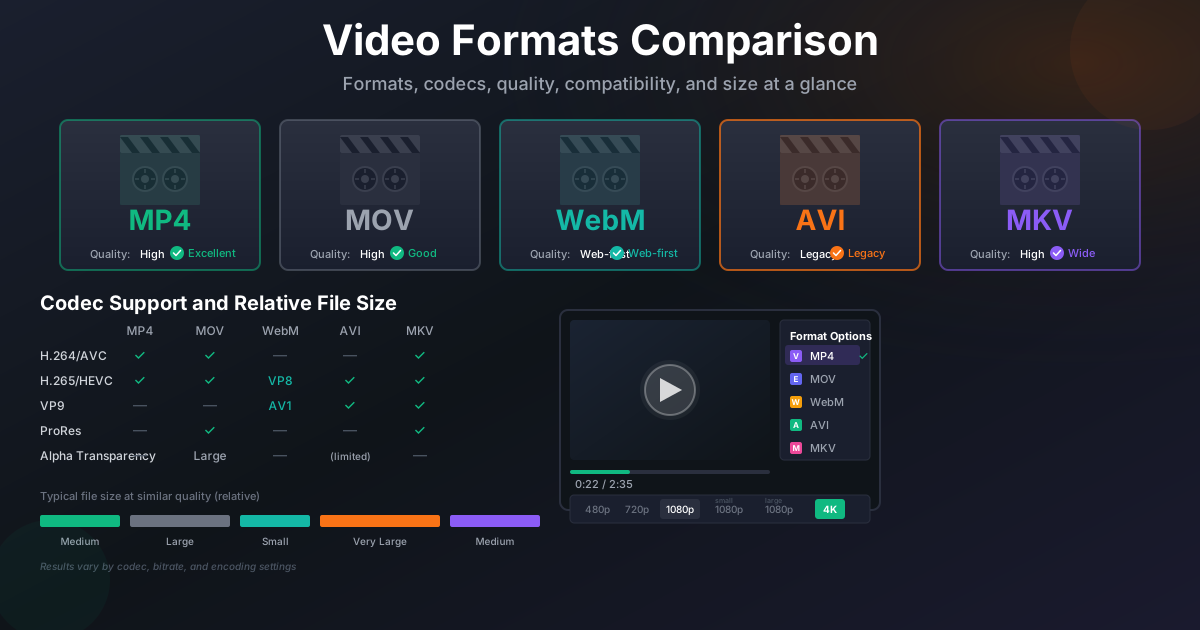
MOV is the file extension for the Apple QuickTime movie format. It's a container file developed by Apple that can hold multiple tracks of data, including audio, video, text (subtitles), and effects. Because it's native to the Apple ecosystem, MOV files offer several key advantages for Mac users:
- Seamless Playback: MOV files play flawlessly in QuickTime Player, the default media player on macOS.
- Editing-Friendly: Apple's video editing software, including iMovie and the professional-grade Final Cut Pro, are optimized to work with MOV files, ensuring smooth editing workflows.
- High Quality: The MOV format is known for maintaining high visual and audio quality, making it a favorite among video professionals.
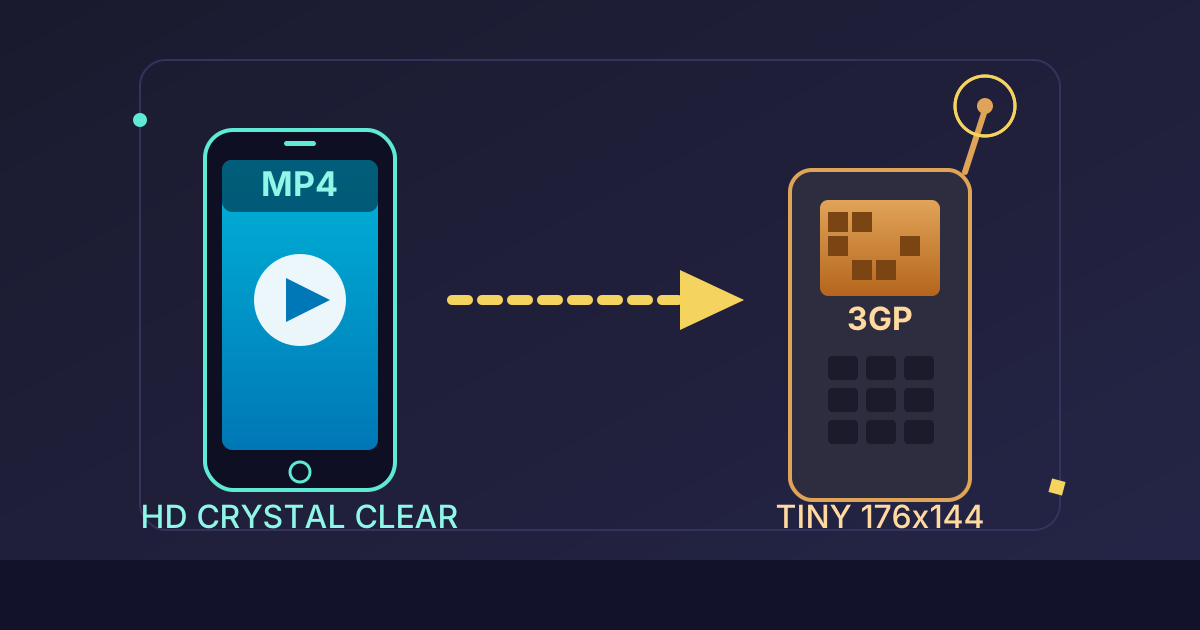
Converting your WMV files to MOV ensures they are perfectly integrated into your Mac environment for viewing, editing, and sharing.
How to Convert WMV to MOV: The Top Methods Explored
We'll cover three primary methods for converting your files. For most users, we recommend using free desktop software as it offers the best balance of quality, security, and features without any cost.
Method 1: Using Free Desktop Software (Recommended)
Dedicated desktop applications give you complete control over the conversion process without needing an internet connection or worrying about the privacy of your files. Our top two free picks are VLC Media Player and HandBrake.
Convert WMV to MOV with VLC Media Player
VLC is famous as the media player that can play almost anything. But hidden within its menus is a powerful and versatile video conversion tool. If you already have VLC, you're ready to go. If not, it's a free and essential app for any Mac user.
Step-by-Step Guide to Converting with VLC:
-
Download and Install VLC: If you don't have it, visit the official VideoLAN website and download the Mac version. Install it by dragging the VLC icon to your Applications folder.
-
Open the Convert/Stream Tool: Launch VLC. From the menu bar at the top of the screen, click
Fileand then selectConvert / Stream...from the dropdown menu. (You can also use the shortcutShift-Command-S). -
Import Your WMV File: In the window that appears, you can either drag and drop your WMV file directly into the box or click
Open media...to browse for it on your Mac. -
Choose the Output Profile: This is the most crucial step. In the "Choose Profile" section, click the dropdown menu. You'll see a long list of options. While there isn't a direct "MOV" profile, you can easily create one. Select
Customize.... -
Customize the Profile for MOV:
- In the new window, select the Encapsulation tab.
- Choose MOV / MP4 from the list.
- Next, go to the Video codec tab. Ensure the "Video" checkbox is ticked. Choose a codec like
H.264. You can generally leave the bitrate and quality settings as they are for a good balance. - Go to the Audio codec tab. Ensure the "Audio" checkbox is ticked. Choose a codec like
MPEG 4 Audio (AAC). - Click Apply.
-
Set the Destination: Click the
Save as Filebutton. Then, clickBrowseto choose where you want to save your new file. In the save dialog box, type a name for your file, making sure to end it with the .mov extension (e.g.,my-converted-video.mov). This extension is what tells macOS it's a QuickTime file. -
Start the Conversion: Click the final
Savebutton in the Convert & Stream window. The progress bar in VLC's main window will move as the file converts. The time it takes will depend on the file size and your Mac's processing power. Once it's done, your new MOV file will be waiting for you in the destination folder.
Create a Mac-Compatible File with HandBrake
HandBrake is another fantastic, open-source video transcoder that offers more advanced options for those who want to fine-tune their output. While HandBrake doesn't export directly to the MOV container, it excels at creating high-quality, universally compatible MP4 files. An MP4 file created with HandBrake will play and edit on a Mac just as seamlessly as an MOV file, and it has the added benefit of being compatible with a wider range of non-Apple devices.
Step-by-Step Guide to Transcoding with HandBrake:
-
Download and Install HandBrake: Visit the official HandBrake website, download the macOS version, and install it.
-
Open Your WMV Source File: Launch HandBrake. It will immediately prompt you to select a source file. Choose your WMV video.
-
Select a Preset: HandBrake's greatest strength is its presets. For most users, choosing a preset is the easiest way to get a great result. Under the "Presets" dropdown, a good starting point is
General>Fast 1080p30. -
Confirm the Format: In the "Summary" tab, make sure the
Formatis set toMP4. -
Choose a Destination: At the bottom of the window, click the
Browse...button to select a location and name for your new file. -
Start the Encode: Click the green
Startbutton in the top toolbar. HandBrake will show you the progress at the bottom of the window. This can take some time for larger files.
Method 2: Using Online Video Converters
For a quick, one-off conversion of a small file, an online tool can be convenient. These web-based services don't require any software installation. However, they come with significant trade-offs.
How They Work (General Steps):
- Navigate to an online video converter website in your browser.
- Upload your WMV file from your computer.
- Select MOV as the desired output format.
- Click a "Convert" button to start the process on their servers.
- Download the converted MOV file once it's ready.
Pros of Online Converters:
- Convenience: No installation required.
- Accessibility: Can be used from any computer with an internet connection.
Cons of Online Converters:
- Privacy and Security: You are uploading your file to a third-party server. For sensitive or private videos, this is a major risk. At Practical Web Tools, we advocate for privacy-first solutions, making desktop apps a safer bet.
- File Size Limits: Most free online converters impose strict limits on the size of the file you can upload.
- Speed: Your conversion speed is limited by your internet upload and download speeds.
- Quality and Watermarks: Free services may reduce the quality of your video or add a watermark to the final output.
Which Conversion Method is Best for You? A Comparison
To help you decide, here’s a quick comparison of the methods:
| Feature | VLC Media Player | HandBrake (to MP4) | Online Converters |
|---|---|---|---|
| Cost | Free | Free | Free (with limitations) |
| Privacy | Excellent (file never leaves your Mac) | Excellent (file never leaves your Mac) | Poor (file is uploaded to a server) |
| Ease of Use | Moderate | Easy (with presets) | Very Easy |
| Quality Control | Good | Excellent | Limited to None |
| File Size Limit | None | None | Usually 50MB - 1GB |
| Speed | Fast (depends on your Mac) | Fast (depends on your Mac) | Slow (depends on internet) |
| Best For | Quick, reliable conversions | High-quality, tuned conversions | Small, non-sensitive single files |
Tips for a Smooth Conversion Process
Dealing with file format incompatibility isn't limited to video. It's a common hurdle for all types of digital media. The core principle is making sure your data is in a format your software can read and manipulate. For instance, if you've ever needed to edit a document that was sent as a PDF, you know the value of a good converter. The process is conceptually similar to using a PDF to Word tool to unlock the content for editing.
Here are some tips to ensure your video conversion goes smoothly:
- Start with a Good Source: The quality of your output MOV file can never be better than the original WMV. If the source file is low-resolution, the converted file will be too.
- Keep a Backup: Always work with a copy of your original file. This way, if you're not happy with the conversion settings, you can always go back to the original and try again.
- Be Patient: Video encoding is a processor-intensive task. Larger files or higher quality settings will take longer. Let the process finish completely before trying to open the new file.
- Manage Your Files: Just as you might convert multiple WMV files for a single video project, you often need to manage multiple documents for a report or presentation. Having tools that simplify this process is a huge time-saver. If you're working with documents, the ability to Merge PDFs into one cohesive file is just as essential as having a reliable video converter for your media projects.
Your Mac is Now WMV-Ready
The inability to play WMV files on a Mac is a classic tech headache, but as we've seen, it's one with several excellent and free solutions. By converting your WMV files to the Mac-native MOV format (or a highly compatible MP4), you unlock seamless playback, easy editing, and stress-free sharing within the Apple ecosystem.
For most users, VLC Media Player offers the perfect blend of simplicity, power, and security, making it our top recommendation for direct WMV to MOV conversion. With the step-by-step guide above, you're now equipped to handle any WMV file that comes your way.
Now that you've mastered video conversion, why not explore other ways to streamline your digital workflow? Check out the full suite of free, secure, and privacy-focused tools available right here on Practical Web Tools!