AAC to WAV: The Ultimate Guide to Lossless Audio Conversion

Ever downloaded a crisp audio file, only to find it's not compatible with your professional editing software? Or perhaps you're an audiophile looking to archive your collection in the highest possible quality. You've likely encountered two common file types: AAC and WAV. The process of converting AAC to WAV is a frequent topic of discussion, but it's shrouded in misconceptions about quality.
This comprehensive guide will demystify the process. We'll dive deep into what AAC and WAV files are, explore the critical reasons for converting between them, and provide step-by-step tutorials on how to do it effectively. By the end, you'll understand not just the how, but the crucial why behind AAC to WAV conversion.
Understanding the Building Blocks: AAC vs. WAV
Before we jump into the conversion process, it's essential to understand the fundamental differences between these two audio formats. They are designed for entirely different purposes, and knowing this distinction is key to managing your audio files properly.
What is AAC (Advanced Audio Coding)?
AAC is a lossy audio compression format. Think of it as the clever, efficient packer of the audio world. When an audio file is encoded as AAC, a psychoacoustic model is used to remove parts of the sound data that the human ear is least likely to notice. This allows for a significant reduction in file size while maintaining a quality that is often perceived as very good, especially at higher bitrates.
Common Uses for AAC:
- Streaming Services: Apple Music, YouTube, and many other streaming platforms use AAC for its excellent balance of quality and file size.
- Digital Downloads: The iTunes Store famously uses the AAC format for its music files.
- Mobile Devices: It's a standard format for audio on smartphones and portable media players.
Pros:
- Small file sizes, ideal for streaming and storage.
- Good perceived audio quality for its size.
Cons:
- It's a lossy format, meaning audio data is permanently discarded.
- Repeatedly editing and re-saving can degrade quality further.
What is WAV (Waveform Audio File Format)?
WAV, on the other hand, is the gold standard for lossless, uncompressed audio. Developed by Microsoft and IBM, a WAV file is essentially a direct, bit-for-bit copy of the original audio source. It contains all the original data from the recording, making it the purest digital representation of the sound.
Common Uses for WAV:
- Professional Audio Production: Recording studios, sound designers, and audio engineers use WAV for recording, mixing, and mastering.
- Archiving: It's the preferred format for archiving master recordings to ensure no quality is lost over time.
- System Sounds: Windows uses WAV files for its system alerts and notifications.
Pros:
- Perfect, uncompromised audio quality.
- Ideal for professional editing and processing.
Cons:
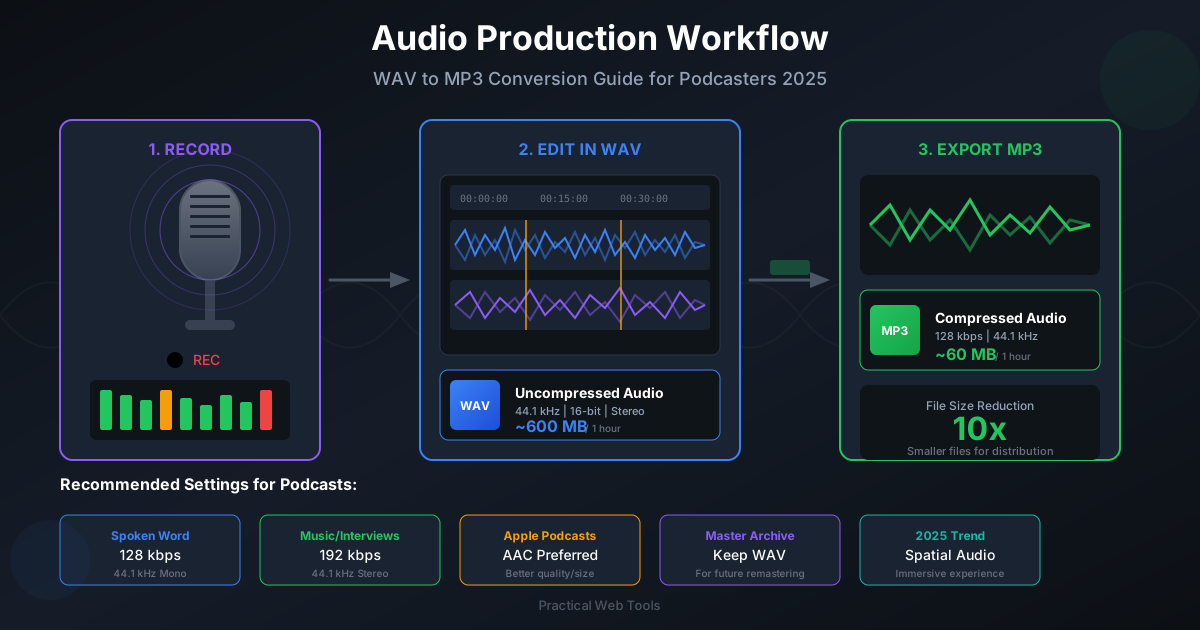
- Extremely large file sizes (a 3-minute song can easily exceed 30 MB).
- Impractical for streaming or storing on devices with limited space.
AAC vs. WAV: A Side-by-Side Comparison
To make it even clearer, here's a direct comparison of the two formats. This is a great reference for deciding which format to use for a specific task.
| Feature | AAC (Advanced Audio Coding) | WAV (Waveform Audio File Format) |
|---|---|---|
| Compression | Lossy | Lossless / Uncompressed |
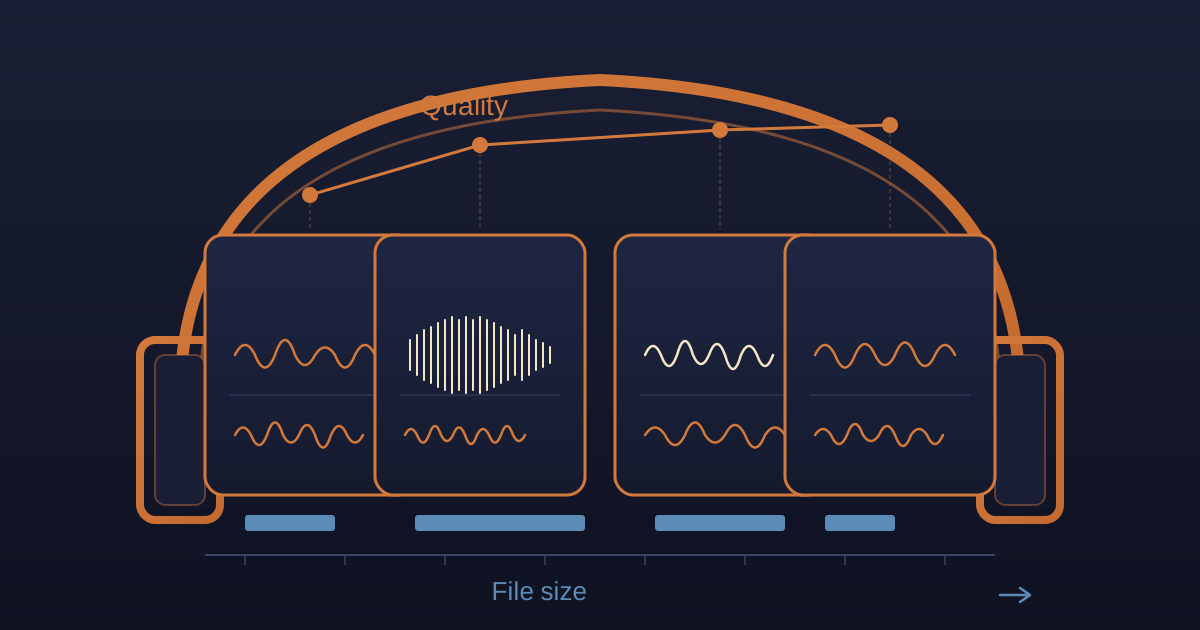
| Quality | Very good for the file size, but compromised | Perfect, studio-quality, identical to source |
| File Size | Small (e.g., ~3-5 MB for a 3-minute song) | Very Large (e.g., ~30-50 MB for a 3-min song) |
| Primary Use | Streaming, portable devices, consumer audio | Professional recording, mastering, archiving |
| Editing | Not ideal; can cause further quality loss | Perfect for editing, effects, and processing |
The Big Question: Does Converting AAC to WAV Improve Quality?
This is the most common misconception, so let's address it head-on: No, converting a lossy AAC file to a lossless WAV file does not restore the audio data that was lost during the initial AAC compression.
Think of it like this: an AAC file is like a photocopy of a beautiful original painting. The photocopy looks good, but some fine details and color nuances are lost forever. Saving that photocopy as a massive, high-resolution WAV file is like taking an ultra-high-definition photo of the photocopy. You now have a very large file, but it's a perfect representation of the photocopy, not the original painting. The lost details are still gone.
The resulting WAV file will be much larger, but its audio fidelity will be identical to the source AAC file. The "damage" is already done. So, if it doesn't improve quality, why would anyone do it?
Valid Reasons to Convert AAC to WAV
Despite not restoring quality, there are several crucial, professional reasons why you would need to convert from AAC to WAV. It's all about workflow, compatibility, and future-proofing.
1. Compatibility with Professional Software
Many high-end Digital Audio Workstations (DAWs) and video editing suites (like Pro Tools, older versions of Adobe Audition, or specific audio analysis tools) are designed to work best—or sometimes, exclusively—with uncompressed audio formats like WAV or AIFF. They can handle the processing demands of uncompressed audio more efficiently, leading to smoother playback, faster editing, and fewer errors or artifacts. Converting your AAC files to WAV ensures they can be seamlessly imported and manipulated in any professional environment.
2. Audio Editing and Signal Processing
When you apply effects, perform complex edits, or otherwise process an audio file, you are altering its data. Performing these operations on a lossy file like AAC can introduce further compression artifacts, degrading the quality with each step. By converting to WAV first, you create a stable, uncompressed foundation. All subsequent edits and effects are applied to this full-quality file, and you only need to compress once at the very end when you export the final product.
3. Creating a Standardized Archive
If you're creating an audio library or archive from multiple sources (some AAC, some MP3, some OGG), converting everything to a single, high-quality format like WAV creates a uniform standard. This prevents any further quality loss from repeated transcoding in the future and ensures your archive is in a universally accepted, lossless format.
4. Using as a High-Quality Intermediate Format
Sometimes you need to convert an audio file to multiple other formats. Instead of converting your source AAC to MP3, then to OGG, and so on (which compounds quality loss), a better workflow is to convert the AAC to a master WAV file first. From this lossless WAV master, you can then create high-quality exports to any other format you need with minimal degradation.
How to Convert AAC to WAV: Step-by-Step Methods
Now that you know the why, let's get to the how. Here are a few reliable methods for converting your files.
Method 1: Using Free Desktop Software (Audacity)
Audacity is a powerful, free, and open-source audio editor available for Windows, macOS, and Linux. It's an excellent tool for this task.
- Download and Install Audacity: If you don't already have it, get it from the official Audacity website.
- Import Your AAC File: Open Audacity. Go to
File > Import > Audio...and select the AAC file you want to convert. It will appear as a waveform in the main window. - Initiate Export: Go to
File > Export > Export as WAV. - Choose Your Settings: A dialog box will appear. Here, you can choose the settings for your WAV file.
- Encoding: For standard, uncompressed WAV, choose
Signed 16-bit PCMorSigned 24-bit PCM. 16-bit is CD quality and sufficient for most uses. 24-bit offers more dynamic range and is standard for professional audio production. - Sample Rate: It's best to keep the sample rate the same as the source file (usually 44100 Hz or 48000 Hz) to avoid unnecessary resampling.
- Encoding: For standard, uncompressed WAV, choose
- Save the File: Choose a file name and location, then click
Save. You may be prompted to edit metadata (artist name, track title, etc.). Fill this in if you wish, then clickOK.
You now have a high-quality WAV file ready for your project.
Method 2: For Advanced Users (FFmpeg)
FFmpeg is a command-line tool that is the swiss-army knife of media conversion. It's incredibly fast and powerful, but it requires some comfort with using a terminal or command prompt.
- Install FFmpeg: Follow the instructions on the official FFmpeg website for your operating system.
- Open Terminal/Command Prompt: Navigate to the folder containing your AAC file.
- Run the Conversion Command: The simplest command is:
Replaceffmpeg -i inputfile.aac outputfile.wavinputfile.aacwith the name of your source file andoutputfile.wavwith your desired output name. - (Optional) Specify Bit Depth: To specify 24-bit audio, you can use the
-acodecflag:ffmpeg -i inputfile.aac -acodec pcm_s24le outputfile.wav
FFmpeg will process the file instantly, and your new WAV file will appear in the same folder.
Best Practices for Audio Conversion and Project Management
Converting files is just one part of a good workflow. Keeping your projects organized is equally important.
Pay Attention to Bit Depth and Sample Rate
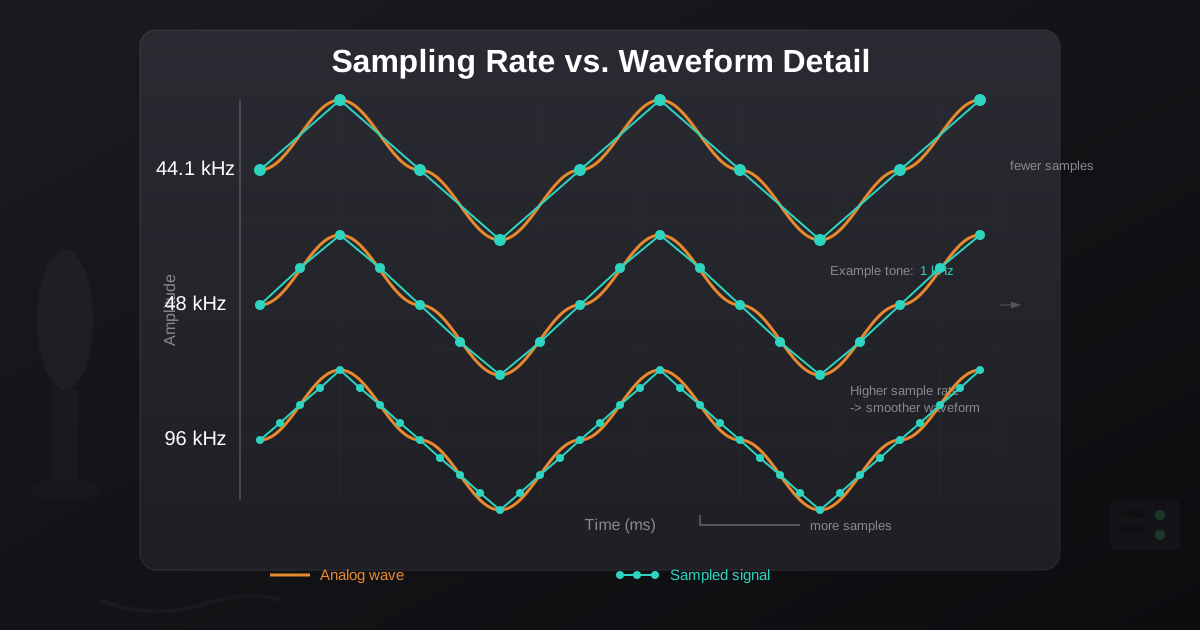
As mentioned, it's generally best to keep the sample rate of the output WAV file the same as the source AAC. Changing it forces the software to either invent new audio samples (upsampling) or discard existing ones (downsampling), neither of which is ideal. For bit depth, converting to 24-bit provides more headroom for editing, even if the source was 16-bit, but it also creates a larger file. For simple playback or archiving, 16-bit is perfectly fine.
Keep Your Documentation in Order
Large audio or video projects often come with extensive documentation—cue sheets, project notes, or technical specifications, often in PDF format. Managing these documents alongside your media files is crucial.
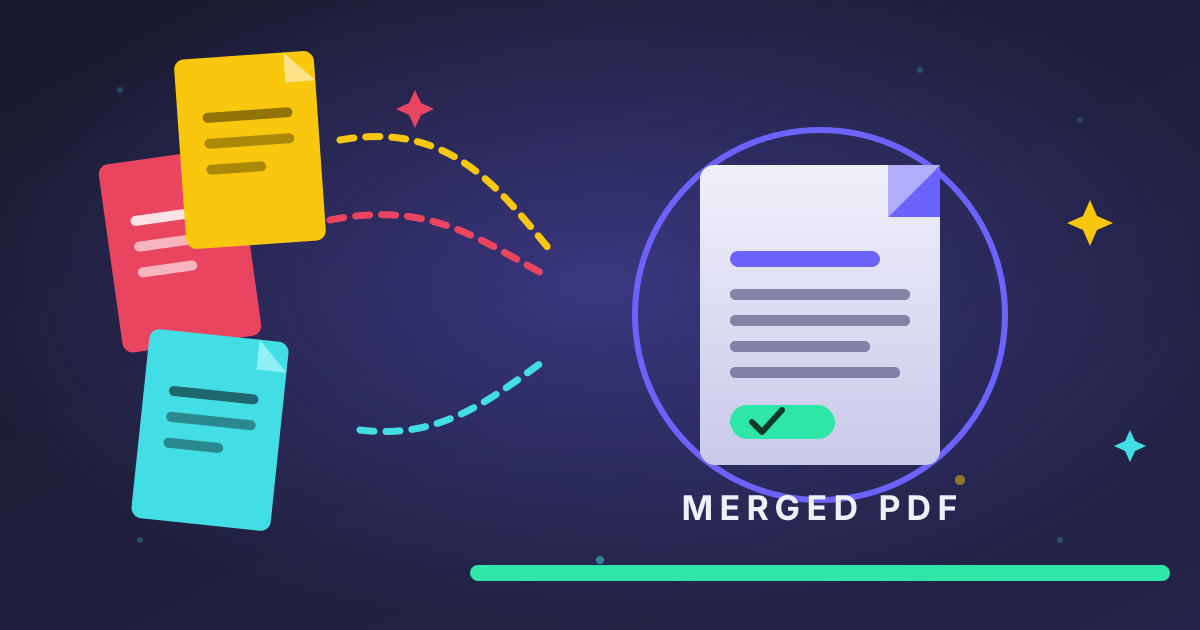
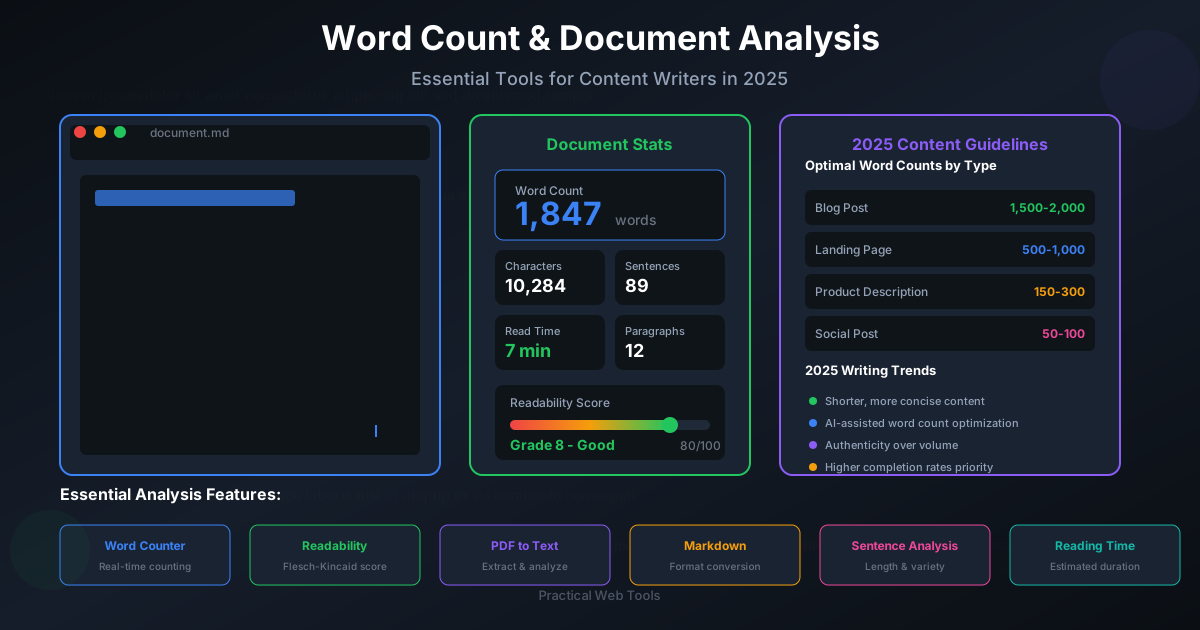
If you have technical specs scattered across multiple documents, a great way to consolidate them is to Merge PDFs into a single, cohesive project file. This keeps all your vital information in one place. Furthermore, if you need to quickly copy and paste technical data—like specific sample rates or timecodes—from a protected manual, using a PDF to Text tool can save you hours of manual transcription.
Naming Conventions are Your Friend
Always use a clear file naming system to distinguish between your original and converted files. For example:
MySong_original.aacMySong_master.wavMySong_final_export.mp3
This prevents you from accidentally editing the original lossy file and helps you keep track of your workflow.
Conclusion: Convert with Purpose
Converting AAC to WAV is a simple technical process, but understanding its implications is what separates amateurs from professionals. Remember the key takeaway: the conversion is not a magic quality-enhancer. It's a practical step for achieving compatibility, enabling high-quality editing, and standardizing your files for professional workflows.
By choosing the right tool for the job—whether it's a user-friendly editor like Audacity or a powerful command-line utility like FFmpeg—you can ensure your audio files are perfectly prepared for any task, from studio mastering to long-term archiving.
While you're busy streamlining your audio workflow, don't forget that managing the documents that go with it is just as important. Practical Web Tools offers a full suite of free, private, and easy-to-use tools to handle all your digital file needs. Explore our tools today and take control of your entire project workflow!