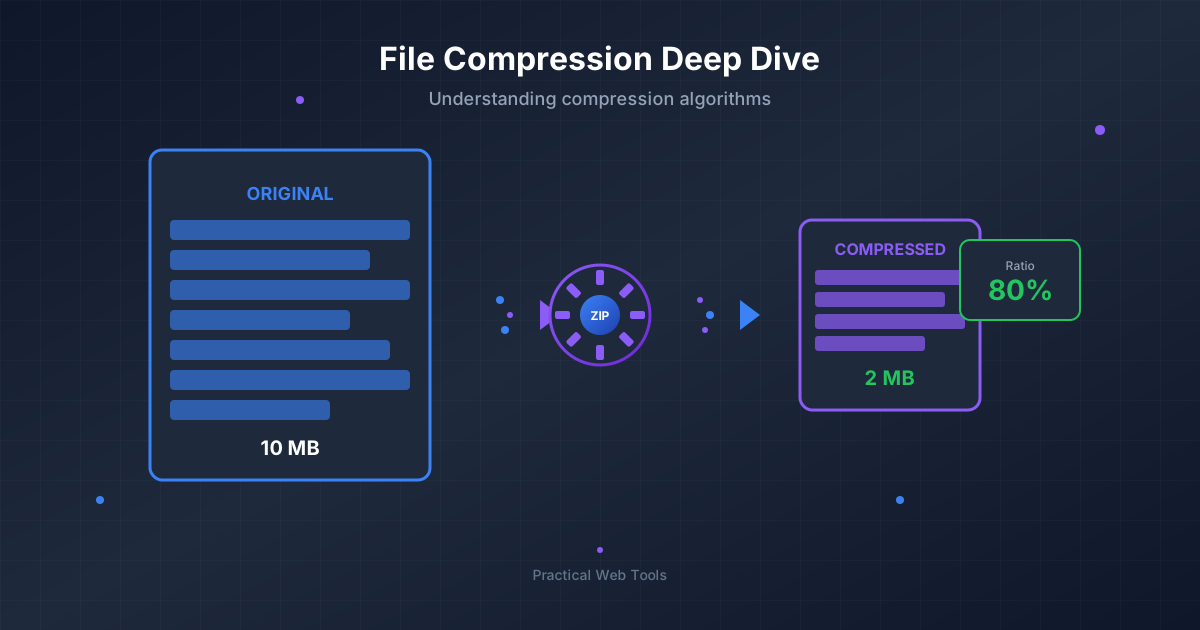
Boost Website Speed: Your Ultimate Guide to Image Compression

Is your website slower than a snail in molasses? You've checked your hosting, optimized your code, but the loading bar still creeps along. More often than not, the culprit is hiding in plain sight: your images.
High-resolution images are beautiful, but they are also heavy. They are the single biggest contributor to page weight on most websites. Every extra kilobyte (KB) an image carries is another fraction of a second your visitor has to wait. In a world of fleeting attention spans, those fractions add up, leading to higher bounce rates, frustrated users, and even lower search engine rankings.
But don't worry, you don't have to sacrifice stunning visuals for a speedy site. The solution is image compression. This comprehensive guide will walk you through everything you need to know about optimizing your images, from understanding the core concepts to implementing a practical workflow. Get ready to transform your website from a sluggish crawler into a lightning-fast sprinter.
Why Image Size Matters for Website Performance
Before we dive into the 'how,' let's solidify the 'why.' Understanding the profound impact of image size on your website's performance is the best motivation for making optimization a non-negotiable step in your content creation process.
Impact on Page Load Speed
This is the most direct consequence. The larger the total size of your webpage, the longer it takes to download and display in a user's browser. Since images often make up 50-70% of a page's total weight, reducing their file size is the lowest-hanging fruit for a significant speed boost. This directly affects Core Web Vitals, particularly the Largest Contentful Paint (LCP), a key metric Google uses to measure user experience.
User Experience and Bounce Rates
Modern users are impatient. Studies have consistently shown that as page load time increases, the probability of a user leaving (bouncing) skyrockets. A delay of just a few seconds can lead to a massive drop-off in visitors. A fast, snappy website feels professional and respects the user's time, creating a positive first impression and encouraging them to stay and explore.
SEO Ranking Factors
Search engines like Google have made it clear: site speed is a ranking factor. A faster website provides a better user experience, which Google aims to reward with higher visibility in search results. Optimizing your images is a direct, powerful, and relatively simple SEO technique that can give you an edge over slower competitors.
Mobile Experience
With over half of all web traffic coming from mobile devices, a lean website is more critical than ever. Mobile users are often on slower, less reliable network connections. For them, a heavy page isn't just an annoyance; it can be a barrier that prevents them from accessing your content at all. Compressed images ensure your site is accessible and enjoyable for everyone, regardless of their device or connection speed.
Understanding Image Compression: The Basics
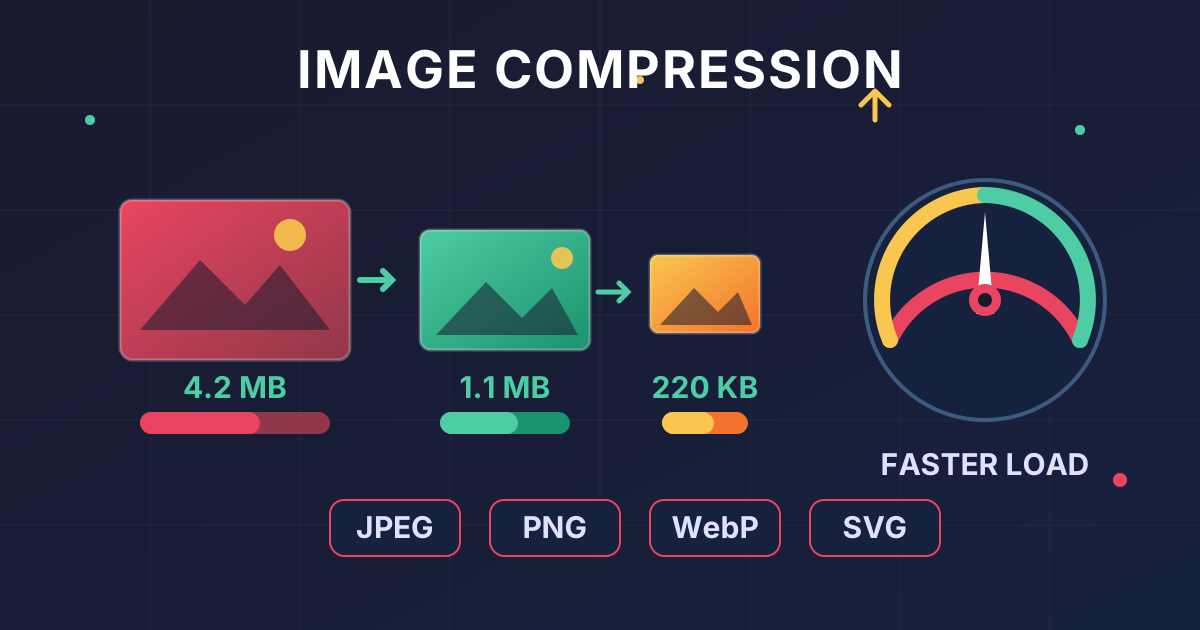
Image compression is the process of reducing the file size of a digital image without a significant drop in its visual quality. It works by using clever algorithms to discard redundant or unnecessary data from the image file. Think of it as packing a suitcase more efficiently—you're fitting the same essential items into a much smaller space.
There are two primary methods of image compression, and understanding the difference is key to choosing the right approach for your needs.
Lossy vs. Lossless Compression: What's the Difference?
Choosing between lossy and lossless compression depends entirely on the type of image you're working with and your priorities regarding file size versus quality.
| Feature | Lossy Compression | Lossless Compression |
|---|---|---|
| Data Removal | Permanently removes some data from the file. | Removes no data; it only rearranges it more efficiently. |
| File Size | Significantly smaller file sizes. | Moderate file size reduction. |
| Quality | Minor, often imperceptible, loss of quality. | Perfect, pixel-for-pixel quality is retained. |
| Best For | Photographs, complex images with gradients, textures. | Logos, icons, text, line drawings, transparent graphics. |
| Common Formats | JPEG, WebP, GIF | PNG, RAW, BMP, some modes of WebP and GIF |
Lossy compression is the go-to for most web images, especially photographs. The data it removes is typically so subtle that the human eye can't detect the difference. This trade-off allows for massive reductions in file size, which is perfect for web performance.
Lossless compression is essential when every single pixel matters. For a company logo, a technical diagram, or an image with sharp text, you cannot afford any degradation in quality. The file size reduction won't be as dramatic, but you'll have peace of mind knowing the image is a perfect replica of the original.
Choosing the Right Image Format
Before you even think about compression, you need to start with the right file format. Each format is designed for a specific purpose, and choosing the correct one is the first and most important optimization step.
JPEG (or JPG)
- Best for: Photographs and complex images with millions of colors and smooth gradients.
- Details: JPEG is the king of the web for photos. It uses lossy compression, allowing you to find a great balance between file size and quality. It does not support transparency.
PNG
- Best for: Logos, icons, illustrations, and any image that requires a transparent background.
- Details: PNG uses lossless compression, which means it preserves all the detail and sharpness. This makes it perfect for graphics with hard edges and text, but it also results in larger file sizes than JPEG, making it a poor choice for photos.
GIF
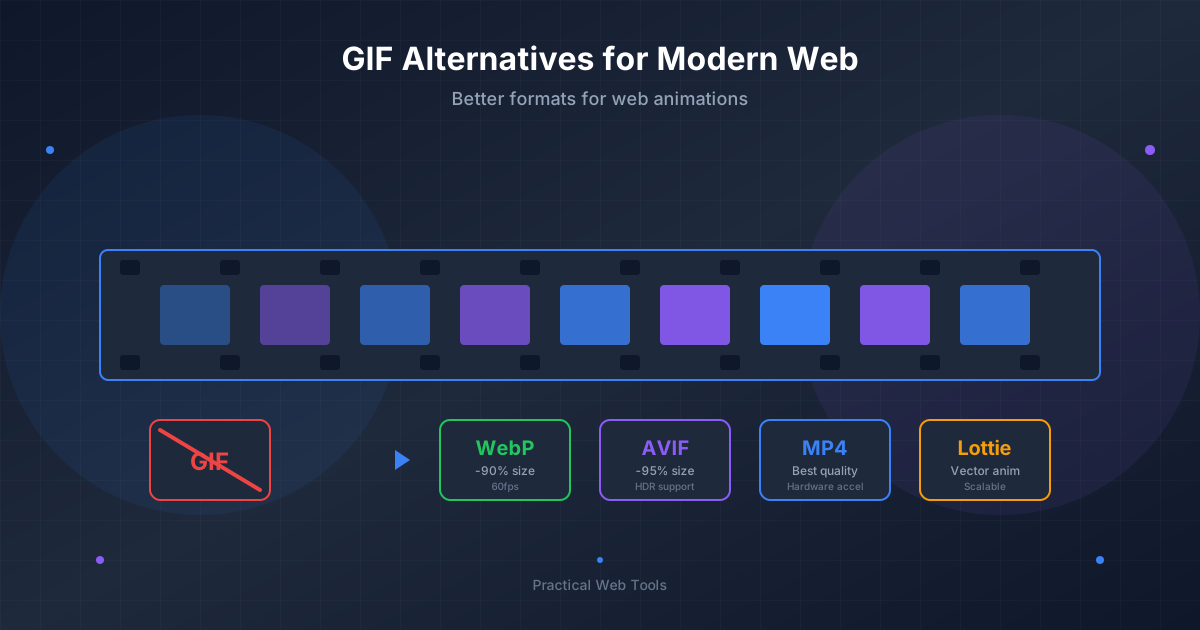
- Best for: Short, simple animations and graphics with a very limited color palette.
- Details: GIF files are small but are limited to only 256 colors, which can make complex images look poor. They are primarily used for their animation capabilities today.
SVG
- Best for: Logos, icons, and simple vector graphics.
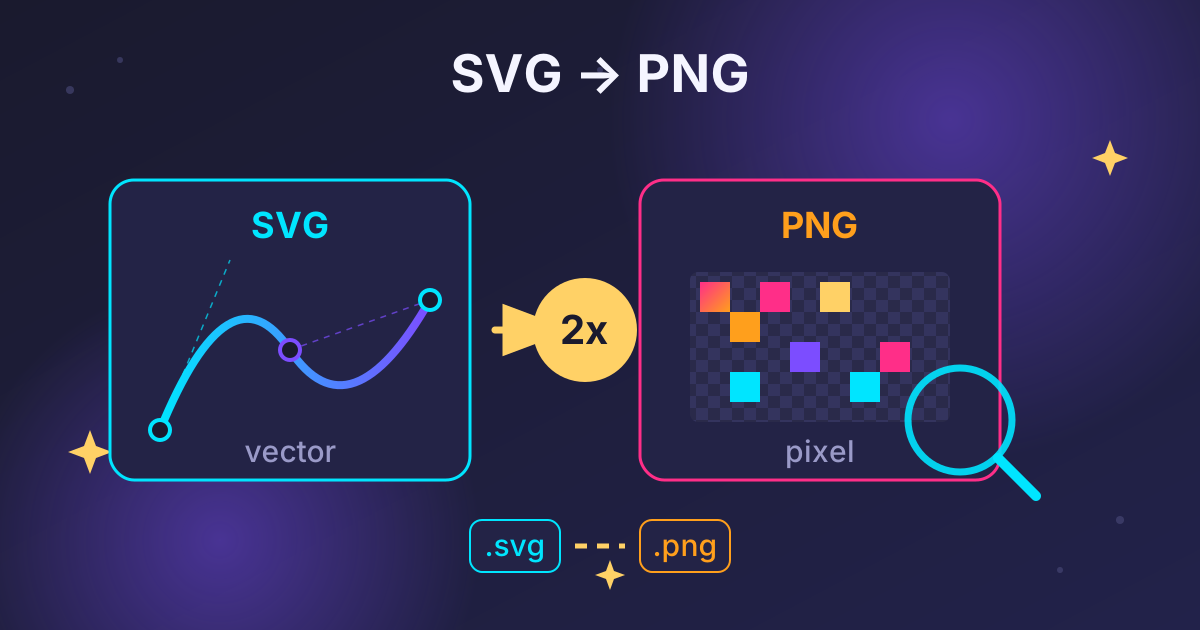
- Details: Unlike the other formats, SVG is vector-based, not pixel-based. This means it's defined by code and can be scaled to any size without losing quality. SVGs are typically tiny in file size and are perfect for logos and icons on modern websites.
Next-Gen Formats: WebP and AVIF
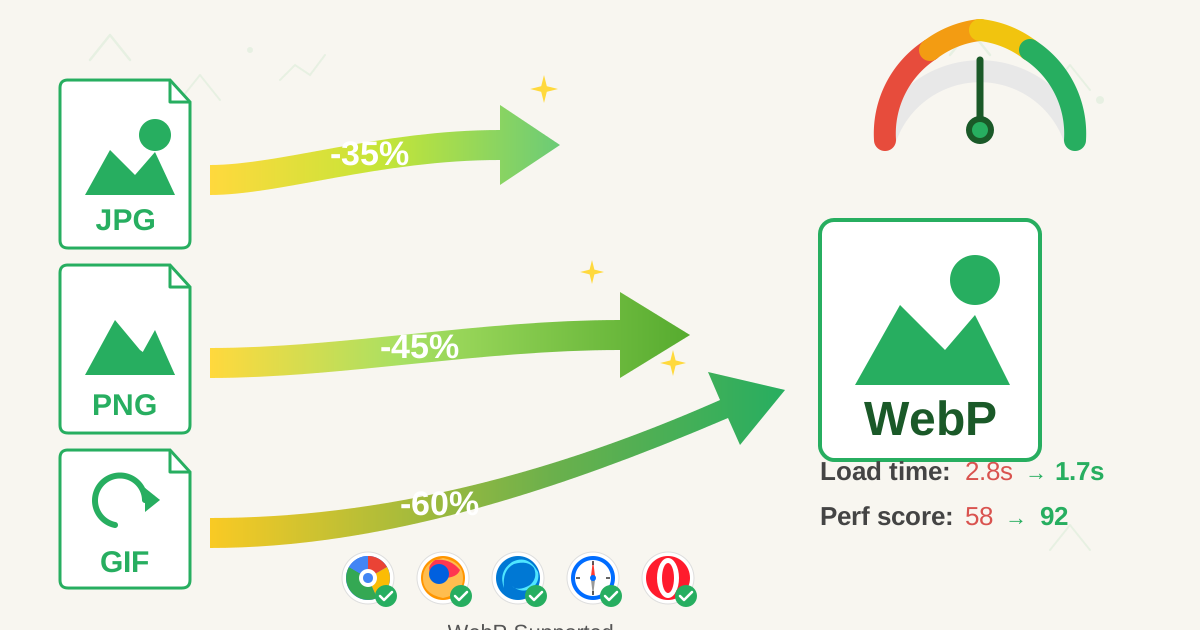
WebP and AVIF are modern image formats that offer superior compression compared to their predecessors. They can provide the same quality as a JPEG or PNG at a significantly smaller file size.
- WebP: Developed by Google, WebP supports both lossy and lossless compression, as well as transparency and animation. It's widely supported by all modern browsers and is an excellent choice for improving performance.
- AVIF: This is the newest format, offering even better compression than WebP. Browser support is growing rapidly, making it a format to watch and adopt.
How to Compress Images: A Step-by-Step Guide
Now for the practical part. There are several ways to compress your images, each suited for different workflows.
Method 1: Using Online Compression Tools
For most people, online tools are the fastest and easiest way to compress images without needing to install any software. They are perfect for quick, one-off tasks or batch processing a handful of images.
Our own Compress Files tool at Practical Web Tools is a perfect example. It's free, privacy-focused, and incredibly simple to use.
Here’s how to use it:
- Navigate to the Tool: Open the Compress Files tool in your browser.
- Upload Your Images: Drag and drop your image files (JPG, PNG, etc.) into the upload box or click to select them from your computer.
- Process: The tool automatically compresses the files using optimized settings to provide a great balance of size and quality.
- Download: Download your newly optimized images one by one or as a single ZIP archive.
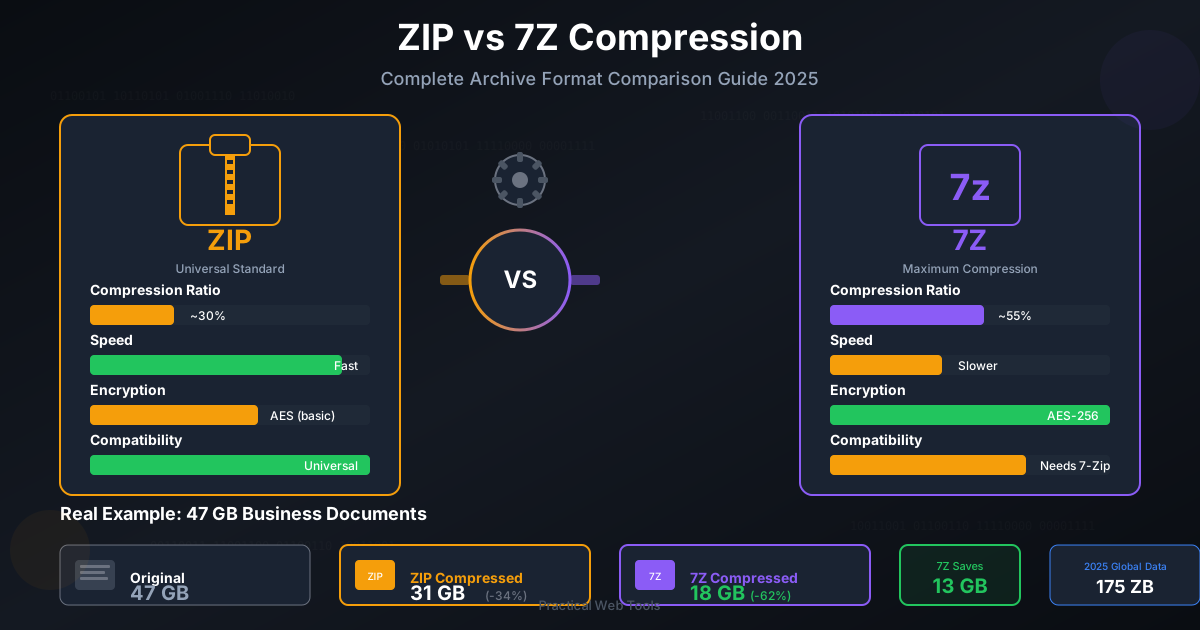
Our tool handles more than just images; it's a versatile file compressor. You can bundle multiple assets into a single ZIP, 7Z, or TAR.GZ file. And if you receive compressed assets from a colleague, you can just as easily use our Decompress Files tool to extract them.
Method 2: Using Desktop Software
If you're a designer or developer who works with images daily, desktop software offers more control and can be integrated into your workflow.
- Adobe Photoshop: The industry standard. Photoshop has a powerful 'Save for Web (Legacy)' or 'Export As' feature that allows you to preview the quality and file size of different formats and compression levels in real-time.
- GIMP: A free and open-source alternative to Photoshop with similar export capabilities.
- Specialized Tools: Applications like ImageOptim (Mac) or RIOT (Windows) are built specifically for image compression. They often allow you to drag a folder of images and will automatically compress them in place.
Method 3: Using Website Plugins (for CMS users)
If your website runs on a Content Management System (CMS) like WordPress, plugins can automate the entire optimization process for you.
When you upload an image to your media library, these plugins automatically compress it in the background. Popular options include:
- Smush
- ShortPixel
- Imagify
These tools are incredibly convenient, but they may come with subscription costs for higher volumes and can add a small amount of overhead to your server.
Advanced Image Optimization Techniques
True web performance goes beyond just compression. To achieve the fastest possible load times, you should incorporate these advanced strategies.
Properly Sizing Images (Image Dimensions)
This is arguably as important as compression itself. Never upload an image that is larger than it needs to be. If your blog's content area is 800 pixels wide, there is no reason to upload a 4000-pixel wide image from your camera. It forces the user's browser to download a massive file and then shrink it down, wasting bandwidth and processing power.
Workflow: Before uploading, resize your image in an editor to the maximum dimensions it will be displayed at on your site.
Lazy Loading
Lazy loading is a technique where images outside of the initial viewport (the part of the screen you can see) are not loaded until the user scrolls down to them. This dramatically speeds up the initial page load time because the browser only has to download the content that's immediately visible.
Using a Content Delivery Network (CDN)
A CDN is a network of servers distributed around the world. It stores copies of your website's static assets, like images. When a user visits your site, the CDN delivers the images from a server that is geographically closest to them. This physical proximity reduces latency and makes images load much faster for a global audience.
Conclusion: Start Compressing for a Faster Web
Image optimization is not a one-time fix but an ongoing best practice. By making it a standard part of your web content workflow, you ensure your site remains fast, efficient, and user-friendly.
We've covered the why and the how—from understanding lossy vs. lossless compression and choosing the right formats to using the best tools for the job. You now have the knowledge to significantly cut down your page load times, improve your SEO, and create a better experience for every single visitor.
Ready to put this knowledge into action? Don't let large images slow you down another day. Head over to our free Compress Files tool and start optimizing your images right now. It's the easiest first step toward a faster, more successful website.