How to Compress Images for a Faster Website: A Complete Guide
Is your website slower than a sloth on a Sunday morning? Before you blame your hosting or complex code, take a hard look at your images. Unoptimized, high-resolution images are one of the biggest culprits behind slow page load times. They devour bandwidth, frustrate visitors, and can even harm your search engine rankings.
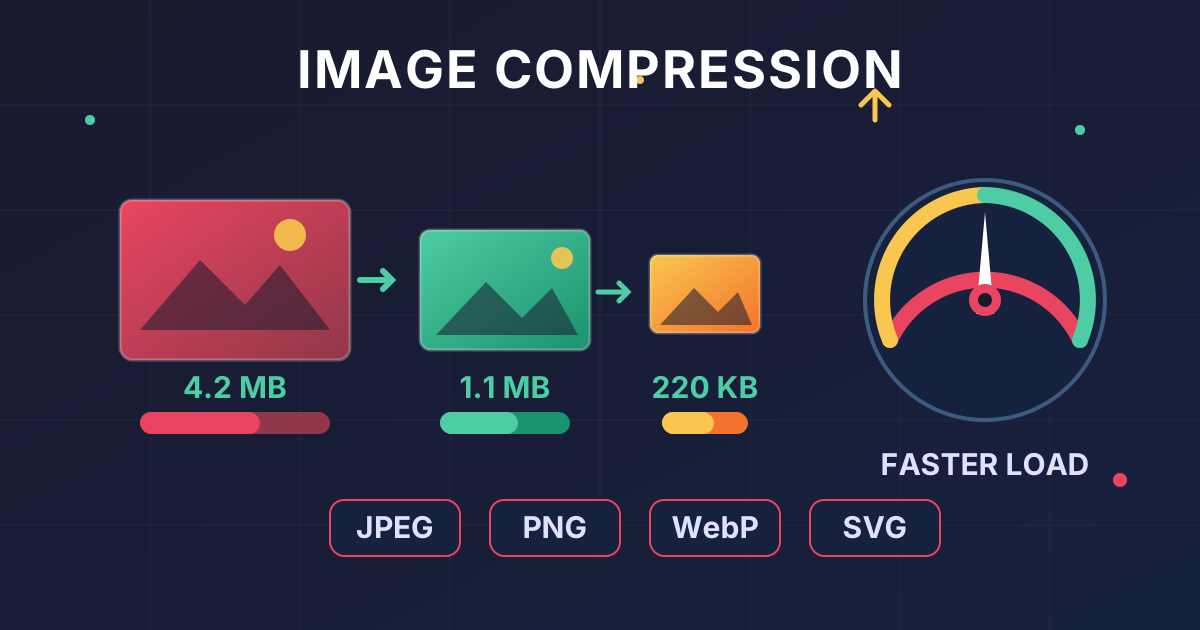
But here’s the good news: fixing it is easier than you think. Image compression is a powerful technique that dramatically reduces file sizes without a noticeable drop in quality. In this comprehensive guide, we'll walk you through everything you need to know to compress images effectively, speed up your website, and create a better experience for your users.
Why Image Compression is Critical for Web Performance
Before we dive into the "how," let's solidify the "why." Optimizing your images isn't just a best practice; it's a fundamental requirement for any modern website. Here’s the impact it has:
- Boosts Page Load Speed: This is the most obvious benefit. Smaller files download faster. According to Google, the probability of a user bouncing increases by 32% as page load time goes from 1 to 3 seconds. Every kilobyte counts.
- Improves SEO Rankings: Search engines like Google use page speed as a key ranking factor. A faster website is rewarded with better visibility in search results. Optimized images also contribute to Core Web Vitals, specifically the Largest Contentful Paint (LCP), which measures how quickly the main content of a page loads.
- Enhances User Experience (UX): No one likes to wait. A fast, responsive website keeps users engaged and encourages them to explore more of your content. A slow site, on the other hand, leads to frustration and high bounce rates.
- Saves Bandwidth and Hosting Costs: Smaller image files consume less bandwidth for both you and your visitors. This is especially important for users on mobile devices with limited data plans. It also reduces the load on your server.
Understanding the Core Concepts: File Formats and Compression Types
To become an image optimization pro, you need to understand two key concepts: the different image file formats and the two primary methods of compression.
Choosing the Right Image File Format
Not all image formats are created equal. Choosing the right one for the job is the first step in effective optimization.
| Format | Best For | Compression | Transparency | Key Feature |
|---|---|---|---|---|
| JPEG | Photographs, complex images with gradients | Lossy | No | Excellent for creating small file sizes for photos. |
| PNG | Logos, icons, graphics with sharp lines | Lossless | Yes | Perfect quality and supports transparent backgrounds. |
| WebP | All-purpose web images (photos & graphics) | Both | Yes | Modern format with superior compression to JPEG & PNG. |
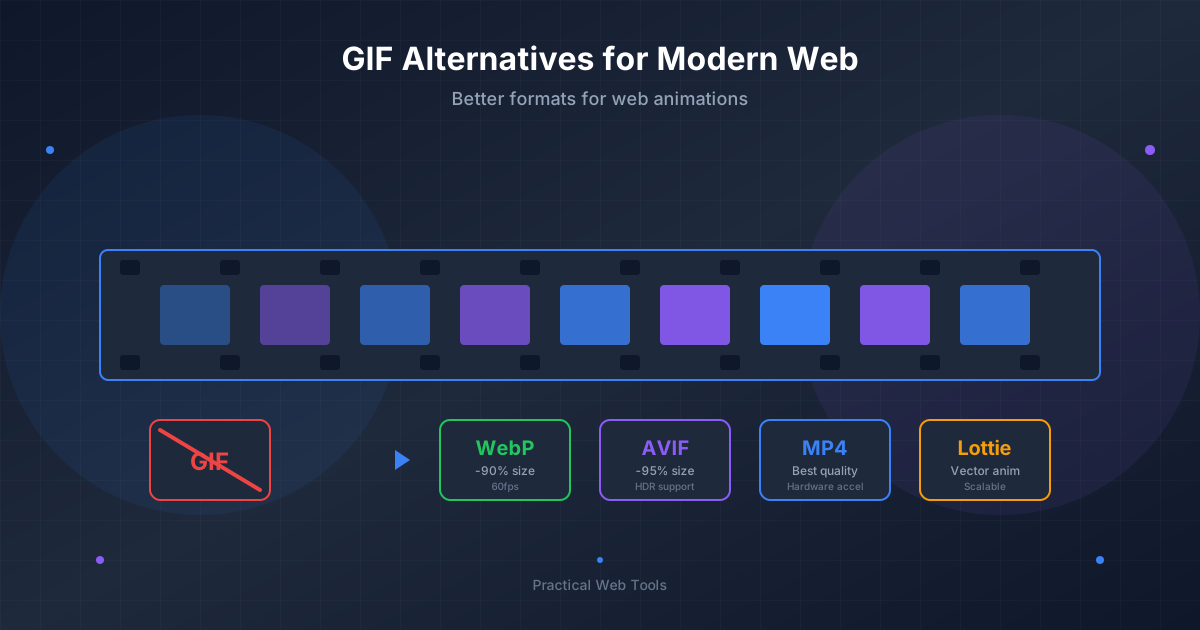
| GIF | Simple animations | Lossless | Yes | Limited to 256 colors, best for short, simple loops. |
| SVG | Logos, icons, simple illustrations | N/A (Vector) | Yes | Infinitely scalable without any loss of quality. |
- JPEG (Joint Photographic Experts Group): Your go-to for all photographic images. Its lossy compression algorithm is fantastic at reducing file sizes for complex images with millions of colors.
- PNG (Portable Network Graphics): Use this for images that require a transparent background or for graphics with sharp lines and text, like logos or screenshots. Its lossless compression ensures no quality is lost.
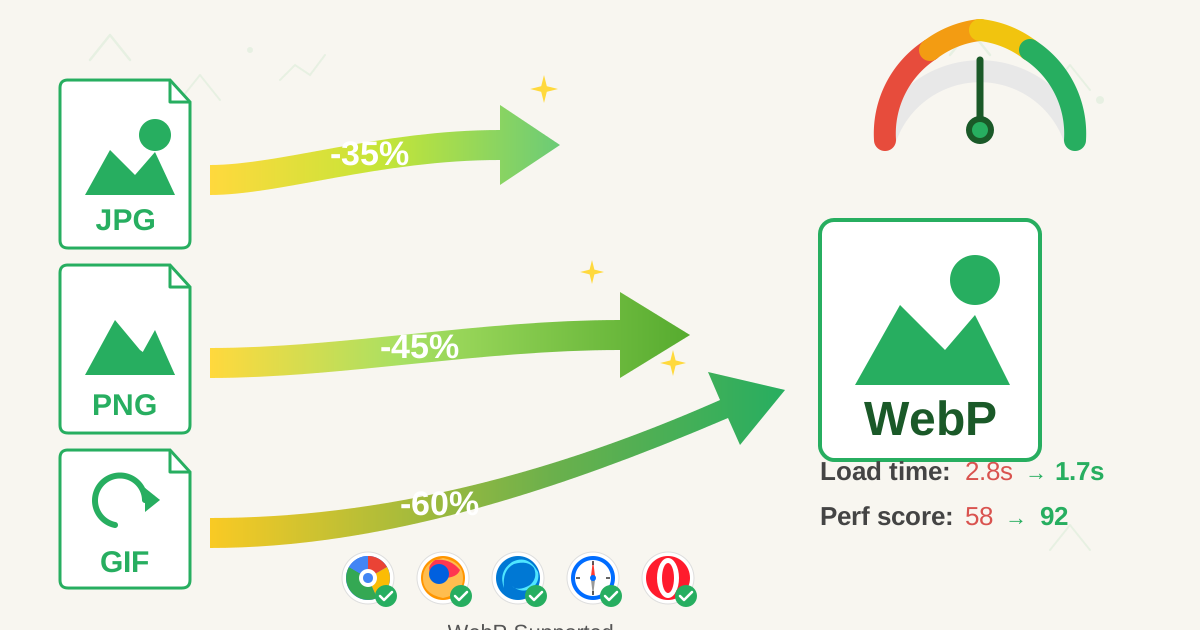
- WebP: Developed by Google, WebP is the modern champion. It can provide both lossy and lossless compression that is often superior to JPEG and PNG, resulting in significantly smaller file sizes at comparable quality. Browser support is now excellent across all major browsers.
- GIF (Graphics Interchange Format): Mostly a legacy format, its primary use today is for simple, short animations. For static images, PNG or WebP are almost always better choices.
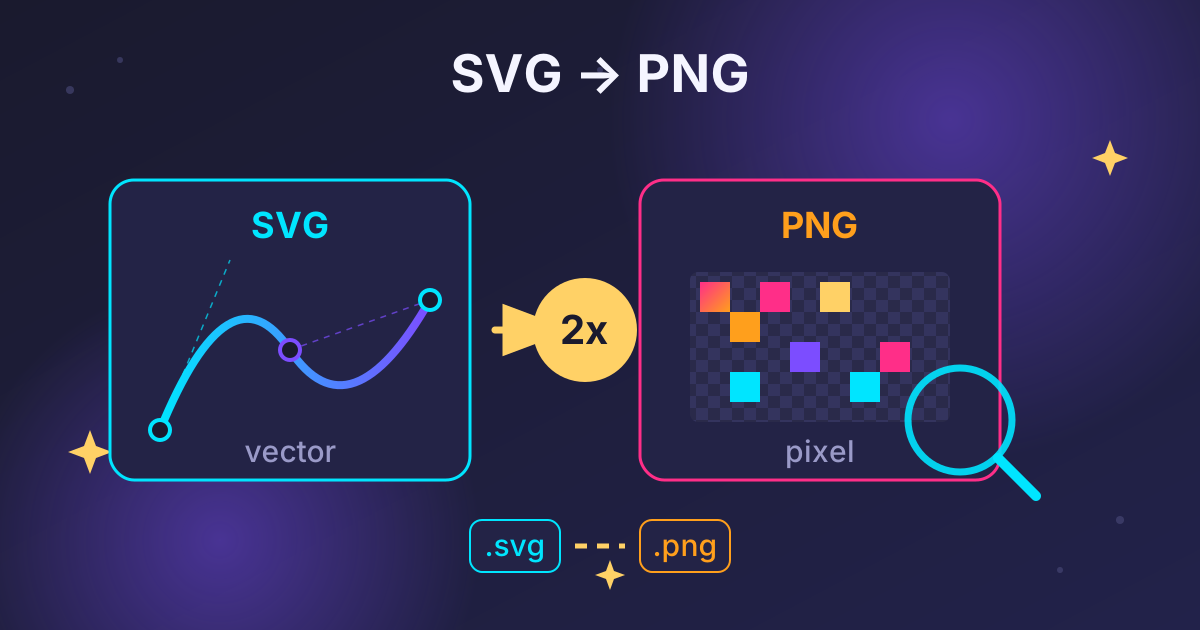
- SVG (Scalable Vector Graphics): Unlike the others, SVG is a vector format, not a raster (pixel-based) one. This means it's defined by code and can be scaled to any size without losing clarity. It's perfect for logos and icons.
Lossy vs. Lossless Compression: What's the Difference?
This is where the magic happens. Understanding the distinction between lossy and lossless compression will help you make the right trade-off between file size and quality.
Lossless Compression
Think of lossless compression as being perfectly organized. It reduces file size by removing non-essential metadata and finding more efficient ways to represent the pixel data without discarding any of it. When the file is opened, the original data is reconstructed perfectly.
- Pros: Preserves 100% of the original image quality.
- Cons: The file size reduction is less significant compared to lossy compression.
- When to Use: When image quality is absolutely critical and cannot be compromised. Think technical diagrams, archival photos, or medical imaging.
Lossy Compression
Lossy compression is clever and a little ruthless. It achieves much greater file size reductions by permanently discarding some of the image data. It analyzes the image and removes bits of information that the human eye is least likely to notice. You can usually control the level of compression, finding a balance between size and quality.
- Pros: Achieves massive reductions in file size.
- Cons: Results in a slight (and often imperceptible) loss of quality. This quality loss is permanent.
- When to Use: For almost all images on the web, especially photographs. A JPEG saved at 80% quality is often visually indistinguishable from the 100% original but can be less than half the file size.
The Ultimate Guide to Compressing Your Images
Now, let's get practical. Here is a step-by-step process you can follow to ensure every image on your site is fully optimized.
Step 1: Resize Your Images to the Correct Dimensions
This is the most overlooked step. Compressing a 5000x3000 pixel image and then displaying it in a 600x400 pixel container on your website is incredibly wasteful. You're forcing the user to download a massive file only for their browser to shrink it down.
Before you even think about compression, resize your image to its maximum required display dimensions. If your blog's content area is 800 pixels wide, there's no reason to upload an image that's 2000 pixels wide.
- Determine the maximum size the image will be displayed at on your site.
- Use any basic image editor (like Preview on macOS, Photos on Windows, or a free online tool) to scale the image down.
- Save the newly sized image.
Step 2: Choose the Best File Format
Refer back to our table. Is it a photo? Use JPEG or WebP. Is it a logo with transparency? Use PNG or WebP. Is it a simple icon? SVG is likely your best bet.
Step 3: Compress the Image File
Once your image is correctly sized and formatted, it's time to compress it. You have several great options here.
Method A: Using Free Online Tools
For most users, online tools are the fastest and easiest way to compress images. They require no software installation and get the job done in seconds.
Here at Practical Web Tools, we believe in powerful, privacy-focused utilities. While we don't have a dedicated image compressor yet, you'll often find yourself working with multiple assets at once. For instance, when you download a batch of images from a stock photo site, they often arrive in an archive. Before optimizing, you'll need to use a tool like our free Decompress Files utility to extract them.
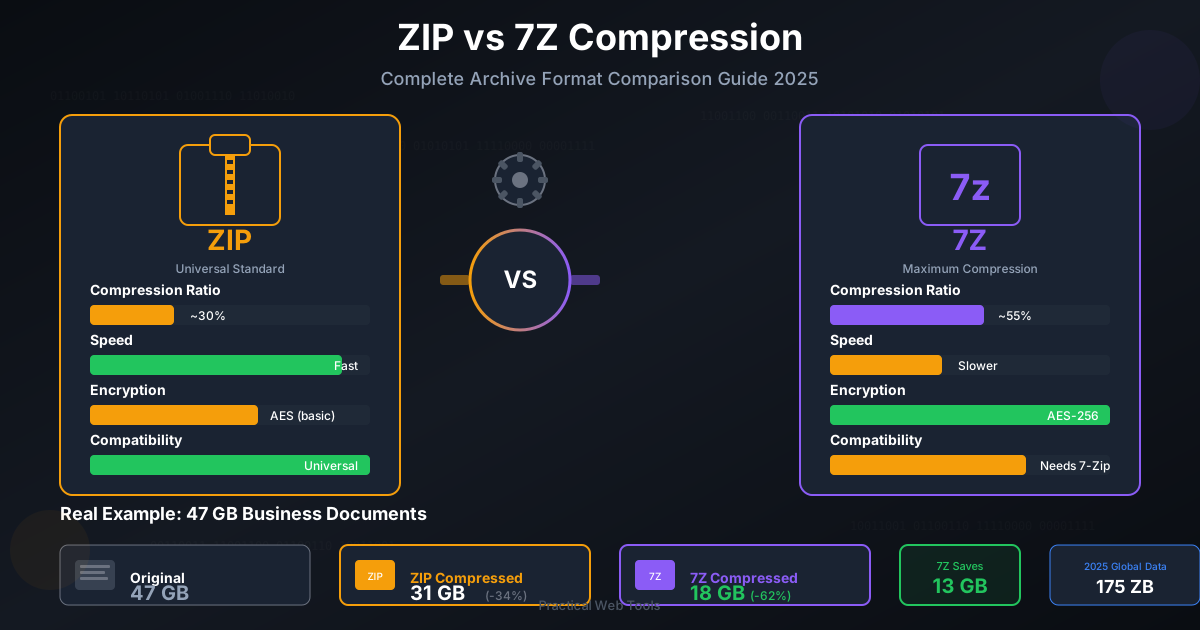
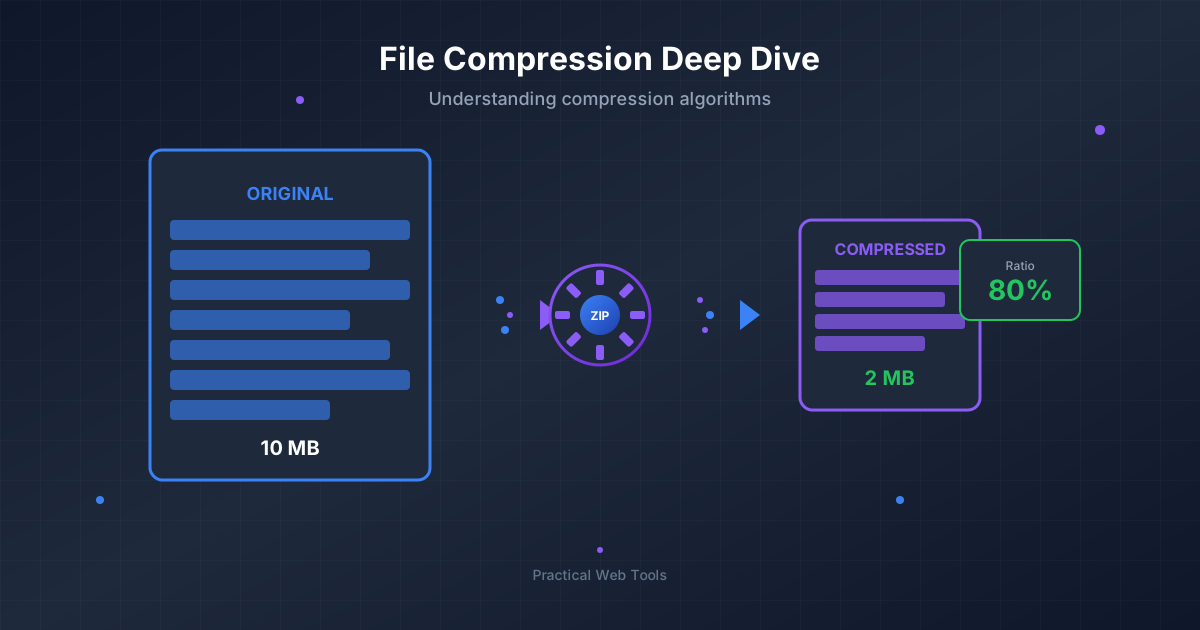
Once your images are ready, you can compress them individually using a reputable online image compressor. After optimization, if you need to bundle them for a project upload or for easy storage, our Compress Files tool is perfect for creating a tidy ZIP archive. This workflow keeps your assets organized both before and after optimization.
Method B: Using Desktop Software
If you regularly work with images, desktop software offers more control and batch processing capabilities.
- Adobe Photoshop: Its "Save for Web (Legacy)" or "Export As" features provide a fantastic preview pane where you can adjust quality settings and see the resulting file size in real-time.
- GIMP: A powerful, free, and open-source alternative to Photoshop with similar export and optimization features.
- Specialized Apps: Tools like ImageOptim (Mac) or RIOT (Windows) are built specifically for image compression and are excellent at stripping out unnecessary data to get the smallest possible file size.
Method C: Using Website & CMS Plugins
If you're using a Content Management System (CMS) like WordPress, plugins can automate the entire optimization process for you.
- Popular Plugins: Smush, ShortPixel, and Imagify are leading plugins that can automatically resize, compress, and even convert your images to WebP format as you upload them. They can also retroactively optimize your entire existing media library.
Advanced Image Optimization Techniques
Want to take your site speed to the next level? Go beyond basic compression with these advanced strategies.
- Implement Lazy Loading: Lazy loading is a technique that defers the loading of off-screen images until the user scrolls down to them. This dramatically improves initial page load time, as the browser doesn't have to download every single image on the page at once.
- Use a Content Delivery Network (CDN): A CDN stores copies of your images on servers located all around the world. When a user visits your site, images are served from the server geographically closest to them, significantly reducing latency and speeding up delivery.
- Serve Responsive Images with
srcset: Thesrcsetattribute in the<img>tag allows you to provide the browser with a list of different-sized versions of an image. The browser then intelligently decides which version to download based on the user's screen size and resolution, ensuring a small-screen mobile user doesn't download a huge desktop-sized image.
Final Thoughts: Start Compressing Today
Image optimization is no longer optional—it's a cornerstone of a high-performing website. By following the steps outlined in this guide, you can dramatically reduce your page load times, improve your SEO rankings, and create a far better experience for your visitors.
Remember the core workflow:
- Resize your image to the correct dimensions first.
- Choose the most appropriate file format (JPEG, PNG, WebP).
- Compress the file using the method that works best for you.
Ready to get started? While you find the perfect image compression tool, remember to keep your workflow organized. If you're dealing with multiple image assets, use our free and private Compress Files tool to bundle them into a single, manageable archive. It's a simple step that can streamline your entire optimization process.