MP4 to iPad: The Ultimate Video Format Conversion Guide

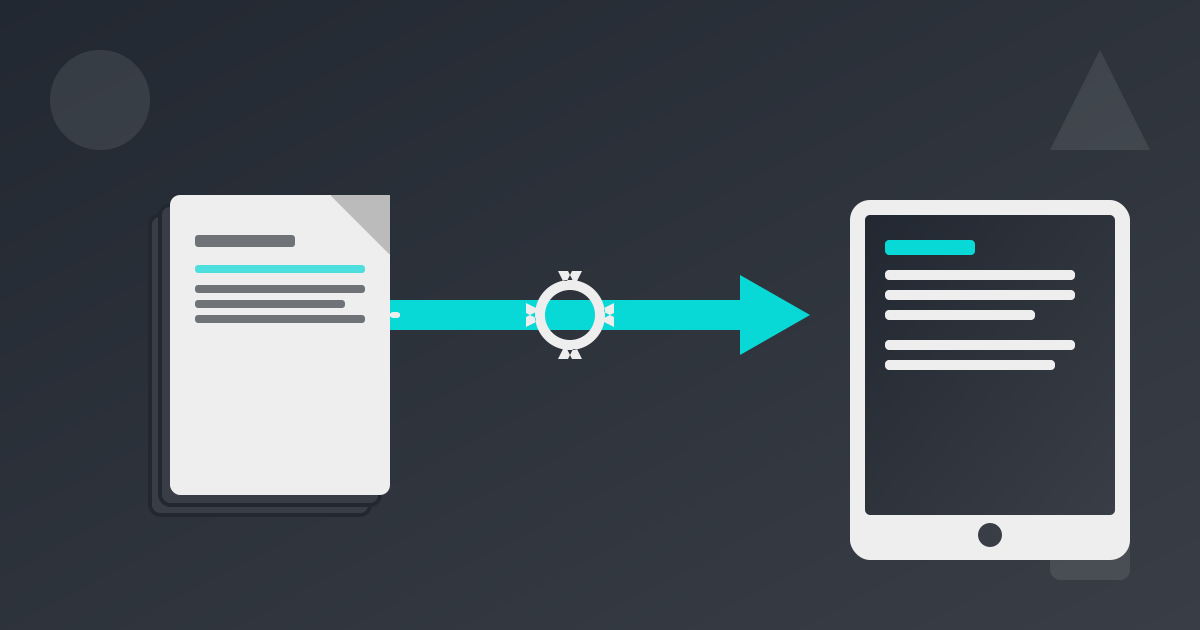
You have a brand new iPad with a stunning Liquid Retina display, perfect for watching movies. You transfer an MP4 video file, tap play, and... nothing. Or worse, you get an error message: "Unsupported Video Format." It's a frustratingly common scenario. You thought MP4 was a universal format, so why won't it play on one of the most popular tablets in the world?
The truth is, the world of video formats is more complex than it seems. The problem isn't necessarily the MP4 file itself, but what's inside it. This comprehensive guide will demystify the technical details in simple terms, show you exactly what video formats your iPad loves, and provide step-by-step instructions to convert any MP4 for flawless playback. Get ready to turn your iPad into the ultimate portable cinema.
The MP4 Misconception: Not All MP4s Are Created Equal
First, let's clear up the biggest source of confusion. MP4 is not a video format; it's a container.
Think of it like a shipping box. The box itself (the .mp4 file extension) tells you very little about its contents. Inside that box, you have at least two separate items: a video stream and an audio stream. Each of these streams is compressed using a specific method called a codec (short for coder-decoder).
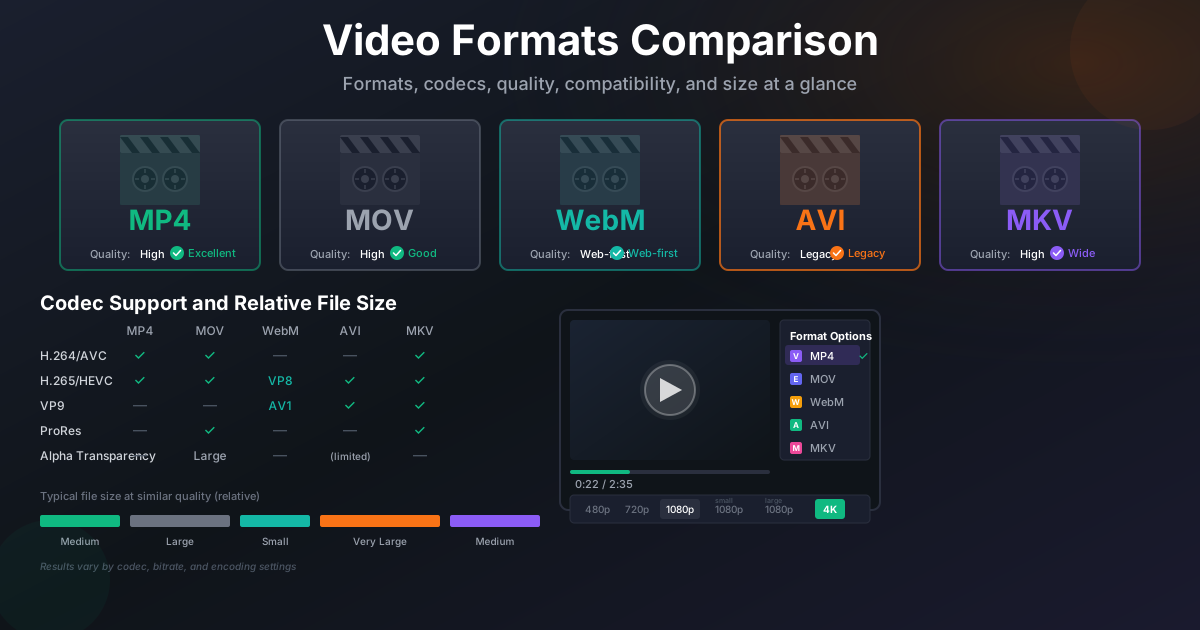
- Container: The file that holds everything together (e.g., MP4, MOV, AVI, MKV).
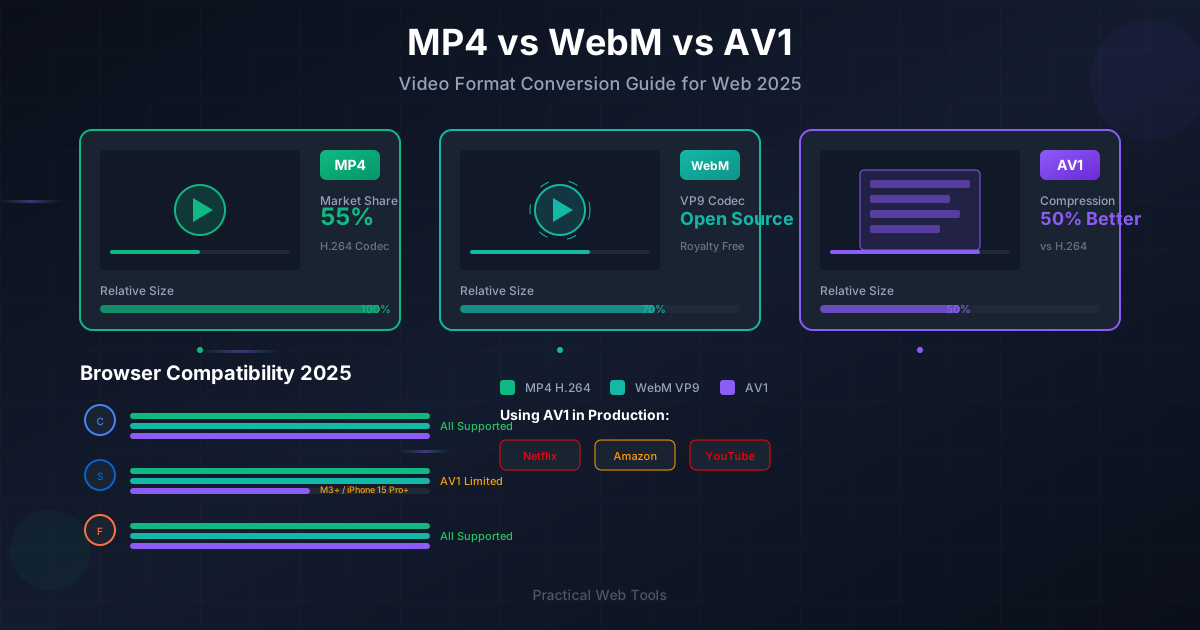
- Video Codec: The technology used to compress and decompress the visual data (e.g., H.264, H.265/HEVC, AV1).
- Audio Codec: The technology used to compress and decompress the audio data (e.g., AAC, MP3, AC3).
Your iPad is like a picky warehouse clerk. It will only accept boxes (containers) of a certain shape, and more importantly, it must know how to handle the specific contents (codecs) inside. If your MP4 file contains a video or audio codec that your iPad doesn't recognize, it will refuse to play the file.
Common reasons an MP4 file might not play on an iPad include:
- Unsupported Video Codec: The file might use a codec like DivX, XviD, or an older version of MPEG that Apple devices don't support natively.
- Unsupported Audio Codec: The video might be fine, but the audio could be in a format like AC3 or DTS, which often causes playback with no sound.
- Excessive Bitrate or Profile Level: The video might be encoded with settings that are too demanding for the iPad's hardware, even if the codec is correct. Think of it as a file that's too "heavy" for the device to lift.
- File Corruption: The MP4 file itself could be damaged or incomplete.
To ensure compatibility, you need to make sure both the container and the codecs inside are on Apple's approved list.
What Video Formats Does an iPad Officially Support?
Apple provides specific guidelines for the video formats its devices can handle. While these can vary slightly between iPad models (e.g., a new iPad Pro vs. an older iPad Air), they generally follow a standard set of rules. For the best results, you should aim for these specifications.
Here’s a table optimized for clarity, outlining the most common and recommended formats for iPad playback:
| Format / Container | Video Codec | Audio Codec | Max Resolution & Frame Rate | Notes |
|---|---|---|---|---|
| MP4, M4V, MOV | H.265 / HEVC | AAC-LC, HE-AAC | 4K (3840x2160) at 60 fps | Highly Recommended. This is the modern, efficient standard for Apple. |
| MP4, M4V, MOV | H.264 / AVC | AAC-LC | 4K (3840x2160) at 60 fps | Best Compatibility. The most widely supported format across all devices. |
| MP4 | MPEG-4 Part 2 | AAC-LC | 640x480 at 30 fps | An older, less efficient format. Avoid using it unless necessary. |
| AVI | Motion JPEG (M-JPEG) | PCM Stereo, ulaw | 1280x720 at 30 fps | Typically used by older digital cameras. Results in very large files. |
Key Takeaway: The safest bet for universal iPad compatibility is an MP4 file with an H.264 video codec and an AAC audio codec. For higher quality on modern devices, H.265 (HEVC) is an excellent choice as it offers better compression (smaller file sizes) at the same quality.
A Quick Note on Profiles and Levels
When you dive into video encoding settings, you might see terms like "Profile" and "Level" for H.264. In simple terms:
- Profile: A set of capabilities and features the codec can use. Common profiles are Baseline, Main, and High.
- Level: A set of constraints on performance, such as maximum resolution, frame rate, and bitrate.
For iPads, you'll want to stick to the High Profile at Level 4.2 or below for H.264. The good news is that most conversion software has built-in presets that handle these technical settings for you.
How to Check Your MP4 File's Specifications
Before you start converting, it’s helpful to diagnose your existing file to see what’s causing the problem. Here’s how to check the codecs and other properties of your video file.
On macOS
The easiest way is with QuickTime Player, which is built into macOS.
- Open your MP4 file in QuickTime Player.
- In the menu bar, click Window > Show Movie Inspector (or press
Cmd + I). - A window will pop up showing the "Format," which lists the codecs, resolution, frame rate, and data rate.
On Windows
Windows has a built-in way to see some details, though it's less comprehensive than other tools.
- Right-click on your MP4 file and select Properties.
- Go to the Details tab.
- Scroll down to the "Video" and "Audio" sections to see information like frame width, frame height, data rate, and audio format.
Using VLC Media Player (Cross-Platform)
For the most detailed information on any operating system, the free VLC Media Player is an indispensable tool.
- Download and install VLC if you don't have it.
- Open your MP4 file in VLC.
- In the menu bar, click Window > Media Information (or press
Cmd + Ion Mac,Ctrl + Ion Windows). - Click on the Codec Details tab. This will give you an exhaustive breakdown of Stream 0 (video) and Stream 1 (audio), including their exact codec names.
Once you've inspected your file, you can compare its codecs to the compatibility table above to confirm if a conversion is necessary.
Step-by-Step Guide: Converting MP4 for Your iPad
If you've determined your MP4 file is incompatible, the next step is to convert it. The goal is to create a new MP4 file using iPad-friendly codecs. We recommend using HandBrake, a free, open-source, and incredibly powerful video transcoder available for Mac, Windows, and Linux.
Using HandBrake: The Best Free Option
HandBrake’s built-in device presets make this process almost foolproof.
-
Download and Install: Go to the official HandBrake website (
handbrake.fr), download the version for your operating system, and install it. -
Open Your Source File: Launch HandBrake. It will prompt you to select a source file. Navigate to and select the MP4 file you want to convert.
-
Choose a Preset: This is the most important step. On the right side of the window (or from the "Preset" dropdown), you'll see a list of presets. Click on Devices and select an Apple preset. For maximum compatibility, choose Apple 1080p30 Surround. If your source video is 4K, you can choose a 4K preset like Apple 2160p60 4K HEVC Surround.
- Why presets are great: These presets automatically configure all the complex settings—video codec (H.264 or HEVC), audio codec (AAC), profile, level, and bitrate—to match Apple's specifications.
-
Review the Summary: Under the "Summary" tab, ensure the Format is set to MP4.
-
Set the Destination: At the bottom of the window, click the Browse button to choose where you want to save the new, converted file and what you want to name it. Be sure to save it in a different location or with a different name to avoid overwriting your original.
-
Start the Conversion: Click the green Start Encode button at the top of the window. The conversion process will begin. The time it takes will depend on the length and resolution of your video and the speed of your computer. You can monitor the progress at the bottom of the window.
Once HandBrake finishes, your new file will be ready. Transfer it to your iPad, and it should play perfectly.
Beyond Video: Managing Media on Your iPad
Getting your videos to play is just one part of managing media in the Apple ecosystem. Often, you're also transferring photos from your computer or camera to your iPad.
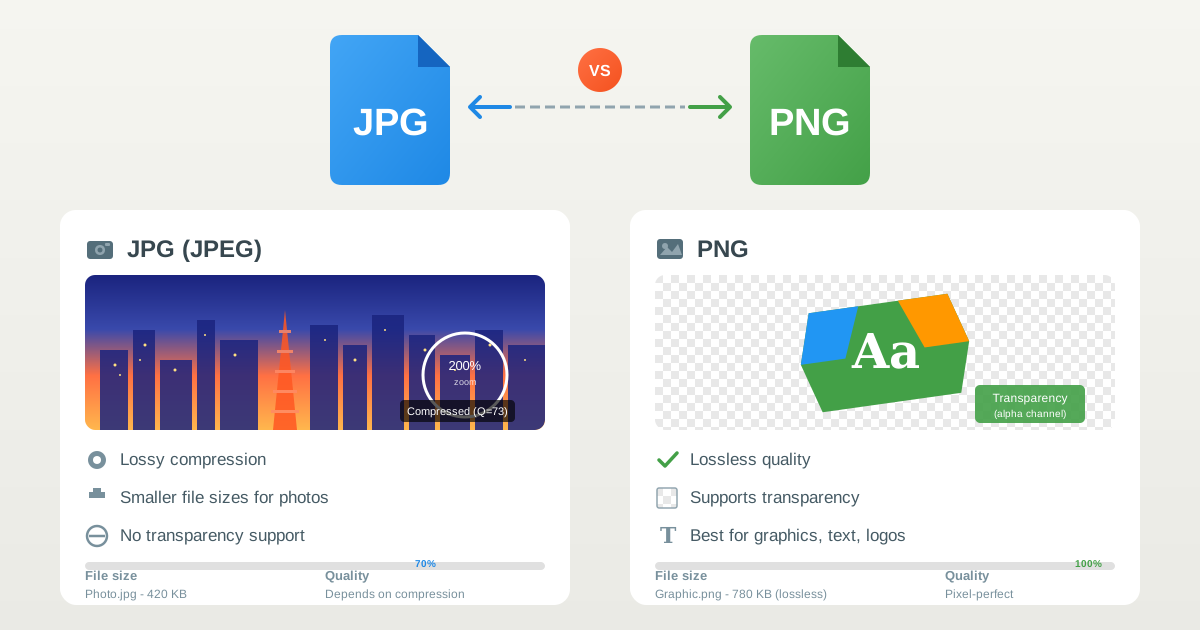
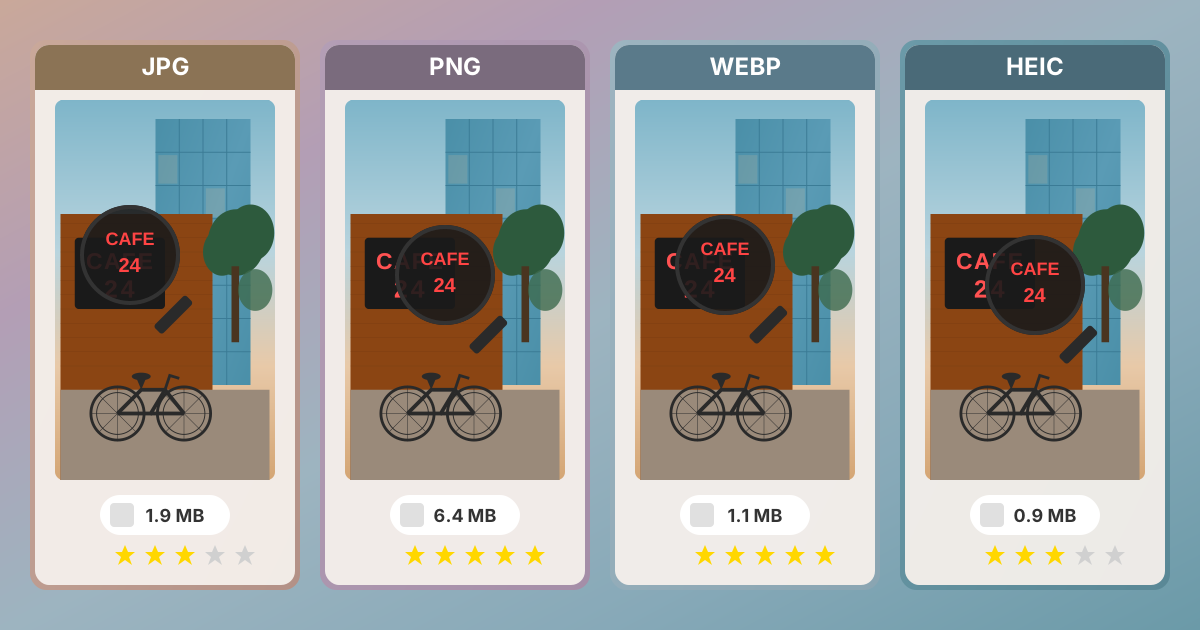
Apple has adopted the High-Efficiency Image Format (HEIC) as the default for photos on iPhones and iPads. This format provides excellent quality at a much smaller file size than the traditional JPEG. However, this can create compatibility issues when you move images from your iPad to a Windows PC or an older Mac.
If you need to share photos from your iPad with someone using a non-Apple device, our tools can help. You can easily convert your pictures with our free HEIC to JPG converter, ensuring anyone can view them. Conversely, if you have a large collection of JPEGs and want to save space on your iPad before transferring them, using a JPG to HEIC converter is a smart move.
Troubleshooting Common Playback Issues
Even after conversion, you might run into a snag. Here are some common problems and their solutions.
-
Problem: The video plays on my iPad, but there is no sound.
- Cause: This almost always means the audio codec is incompatible (e.g., AC3, DTS, FLAC). Your iPad can't decode the audio stream.
- Solution: Re-encode the file using HandBrake. In the "Audio" tab, make sure the codec is set to AAC (CoreAudio) or AAC (avcodec). The Apple presets do this automatically.
-
Problem: The video is stuttering, lagging, or looks choppy.
- Cause: The file's bitrate or resolution is too high for your iPad model's hardware to handle in real-time. This is more common on older iPads playing 4K HEVC files.
- Solution: Convert the file again, but choose a lower-resolution preset. If your source is 4K, try the Apple 1080p30 Surround preset. This will create a file that is much less demanding to play.
-
Problem: The converted file is much larger/smaller than the original.
- Cause: Video encoding is a balance between quality and file size. HandBrake's presets aim for a specific quality level, which may result in a different file size.
- Solution: This is usually not a problem. If you need a smaller file, you can go to the "Video" tab in HandBrake and drag the "Constant Quality" slider to a higher number (e.g., from 22 to 24) to decrease quality and file size. For higher quality (and a larger file), drag it to a lower number.
Conclusion: Your Videos, Your iPad, No Compromises
Understanding the relationship between video containers and codecs is the key to solving the frustrating "MP4 won't play" problem. By remembering that MP4 is just the box and H.264/HEVC and AAC are the iPad-friendly contents, you can take control of your media library.
Using a powerful and free tool like HandBrake with its built-in Apple presets is the most reliable and straightforward way to ensure any video you have can be enjoyed on your iPad's brilliant display. The few minutes it takes to convert a file properly will save you headaches and guarantee a smooth, high-quality viewing experience every time.
Now that your video library is in order, why not explore the other free, privacy-focused utilities at Practical Web Tools? From image converters to text tools, we have over 455 utilities to help you master your digital world. Happy watching!