Robots.txt Generator: The Ultimate Guide for Perfect SEO
Your Website's Secret Handshake with Google
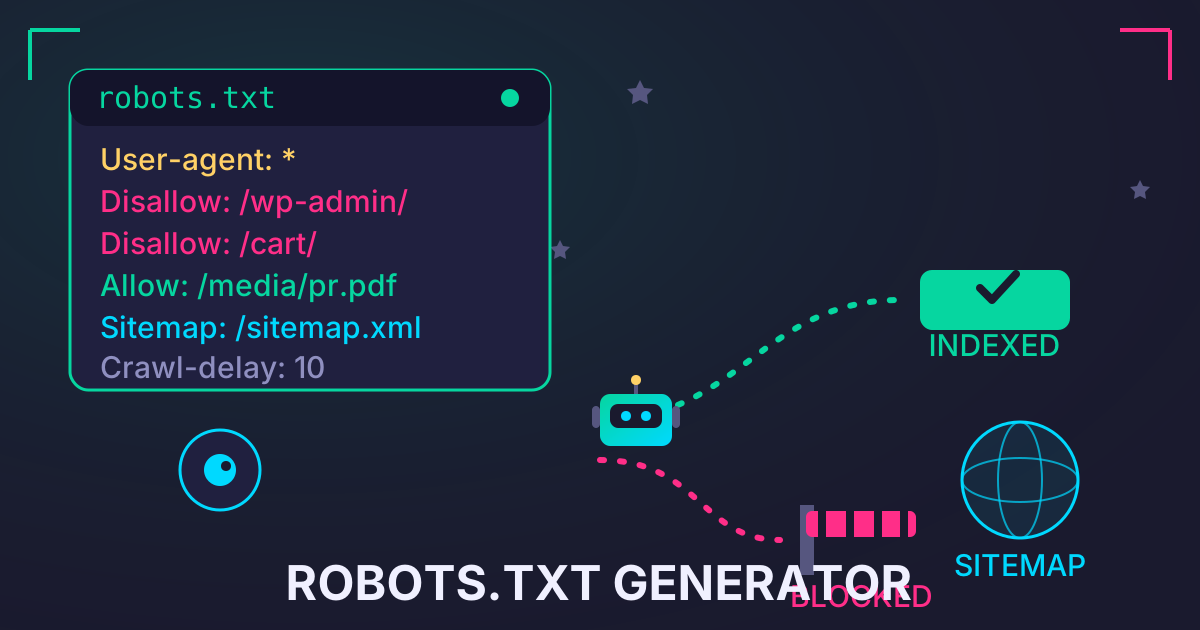
Ever wonder how search engines like Google know which pages on your website to look at and which to ignore? It’s not magic; it’s a simple but powerful text file called robots.txt. Think of it as a friendly traffic cop standing at the entrance of your website, giving polite directions to visiting search engine crawlers (or "bots"). Get these directions right, and you can guide bots to your best content, save valuable server resources, and significantly improve your SEO.
But get them wrong? You could accidentally make your entire website invisible to Google, tanking your rankings overnight. The syntax is precise, and a single misplaced character can have disastrous consequences.
That's where a robots.txt generator comes in. This guide will walk you through everything you need to know, from the basic anatomy of the file to using a generator to create a flawless one in minutes. We'll demystify the directives, highlight common pitfalls, and show you how to take firm control of your site's crawlability.
Understanding the Basics: What is Robots.txt?
At its core, robots.txt is a text file that lives in the root directory of your website (e.g., yourwebsite.com/robots.txt). It follows the Robot Exclusion Protocol (REP), a web standard that outlines how websites can communicate with web crawlers and other bots.
Its primary job is to tell user-agents (the specific bots, like Googlebot or Bingbot) which URLs and directories on your site they are not allowed to access. It’s important to understand a key distinction:
robots.txtprovides directives, not commands. Reputable crawlers like those from Google, Bing, and DuckDuckGo will respect your rules. However, malicious bots (like email scrapers or malware scanners) will likely ignore them completely. Therefore,robots.txtis not a security mechanism. Never use it to hide sensitive or private information.
The Crucial Role of Robots.txt in SEO
So, if it’s not for security, why is it so vital for SEO? Its influence boils down to managing how search engines use their limited resources on your site.
-
Crawl Budget Management: Search engines allocate a finite amount of resources, known as a "crawl budget," to each website. For large sites with thousands of pages, you don’t want Googlebot wasting time on low-value pages like internal search results, admin login pages, or thank-you pages. By disallowing these sections, you direct the crawl budget towards your most important content, ensuring it gets indexed faster and more frequently.
-
Preventing Duplicate Content: Many websites have multiple versions of the same page (e.g., a regular version and a print-friendly version). If Google crawls and indexes both, it can lead to duplicate content issues that dilute your SEO authority. A
robots.txtfile can tell crawlers to ignore the duplicate versions. -
Keeping Private Sections Out of Search: While not a security tool, it’s an effective way to keep non-public sections of your site, like a staging environment or a client-only portal, from being accidentally indexed and appearing in public search results.
Deconstructing the Directives: Core Components
A robots.txt file is made up of simple rule sets. Each set contains one or more directives. Let's break down the essential building blocks.
| Directive | Purpose |
|---|---|
User-agent |
Specifies the web crawler the following rules apply to. * is a wildcard that applies the rules to all bots. Examples: Googlebot, Bingbot. |
Disallow |
The core directive. It tells the user-agent not to crawl the specified URL path. |
Allow |
An exception to a Disallow rule. It allows crawling of a sub-directory or page within a disallowed parent directory. |
Sitemap |
Not part of the original REP, but widely supported. It specifies the location of your XML sitemap(s), helping bots discover all your pages. |
Crawl-delay |
A non-standard directive to specify a waiting period in seconds between crawls. Largely ignored by Googlebot now. |
Common Examples and Use Cases
Let's see how these directives work in practice.
Example 1: Allow everything (the default if no robots.txt exists)
User-agent: *
Disallow:
An empty Disallow means nothing is blocked.
Example 2: Block everything for all crawlers
User-agent: *
Disallow: /
The single / represents the root of your site, effectively blocking the entire domain.
Example 3: Block a specific directory
User-agent: *
Disallow: /wp-admin/
Disallow: /cart/
This tells all bots to stay out of the WordPress admin area and the e-commerce cart directory.
Example 4: Block a specific file type
User-agent: *
Disallow: /*.pdf$
This blocks all PDF files on the site.
Example 5: Allow a file within a disallowed directory
User-agent: Googlebot
Disallow: /media/
Allow: /media/press-release.pdf
This tells Googlebot to avoid the /media/ directory except for the press-release.pdf file.
Why Use a Robots.txt Generator?
While the syntax looks simple, it's surprisingly easy to make a costly mistake when creating a robots.txt file manually. A generator tool removes the guesswork and provides several key advantages.
The Pitfalls of Manual Creation
- Syntax Errors: A simple typo, like writing
Disalowinstead ofDisallow, can invalidate an entire rule set. Using the wrong path structure (e.g.,yourdomain.com/privateinstead of/private/) is another common error. - Accidental Blocking: The most dangerous mistake is adding
Disallow: /without realizing it will make your entire site invisible to search engines. - Complexity: As your site grows, managing rules for different bots and subdirectories can become complicated and prone to error.
The Benefits of Using a Generator
- Error-Free Syntax: Generators produce perfectly formatted code every time, eliminating the risk of human error.
- User-Friendly Interface: You don't need to memorize directives. A good generator provides a simple form where you select options and input paths, making the process intuitive for beginners.
- Speed and Efficiency: What could take 20 minutes of careful typing and double-checking can be accomplished in under a minute with a generator.
- Comprehensive Options: Most generators include fields for all common directives, including the crucial
Sitemappath that is often forgotten.
A Step-by-Step Guide to Using a Robots.txt Generator
Ready to create your own file? Here’s a generic process that applies to most online robots.txt generator tools.
Step 1: Set a Default Policy
The first option is usually the default access for all robots (User-agent: *). You'll typically choose between:
- Allow All: This is the standard starting point for most websites. It creates an empty
Disallow:rule. - Disallow All: This is for sites that are in development or should not be indexed at all.
Step 2: Add Your Sitemap
This is one of the most important steps. Find the URL for your XML sitemap (it's often yourdomain.com/sitemap.xml) and paste the full URL into the sitemap field. This gives search engines a complete roadmap of the pages you want them to crawl.
Step 3: Add Bot-Specific Rules (Optional)
Most sites can stick with the wildcard (*) user-agent. However, if you want to set a specific rule for Googlebot that differs from Bingbot, you can add rules for each one.
Step 4: Specify Disallow Rules
This is where you list the directories and pages you want to block. Think about the parts of your site that don't provide value in search results:
- Admin login pages (
/wp-admin/,/admin/) - Shopping cart and checkout processes (
/cart/,/checkout/) - Internal search result pages (
/?s=) - Thank you pages (
/thank-you/) - Specific files or directories with temporary or internal content.
Enter each path on a new line in the generator's Disallow section.
Step 5: Generate and Review Your File
Click the "Generate" button. The tool will produce the robots.txt code based on your inputs. Review it carefully to ensure it matches your intentions. It should look something like this:
User-agent: *
Disallow: /wp-admin/
Disallow: /cart/

Sitemap: https://yourdomain.com/sitemap.xml
Putting Your File to Work: Upload and Validation
Creating the file is only half the battle. Now you need to upload it to your server and test it.
Uploading Your robots.txt File
The generated file must be named robots.txt and placed in the root directory of your website. This is the top-level folder, the same place your homepage file is often located. You cannot place it in a subdirectory (e.g., yourdomain.com/files/robots.txt will not work).
You can typically upload the file using:
- An FTP/SFTP client like FileZilla.
- The File Manager in your hosting control panel (like cPanel).
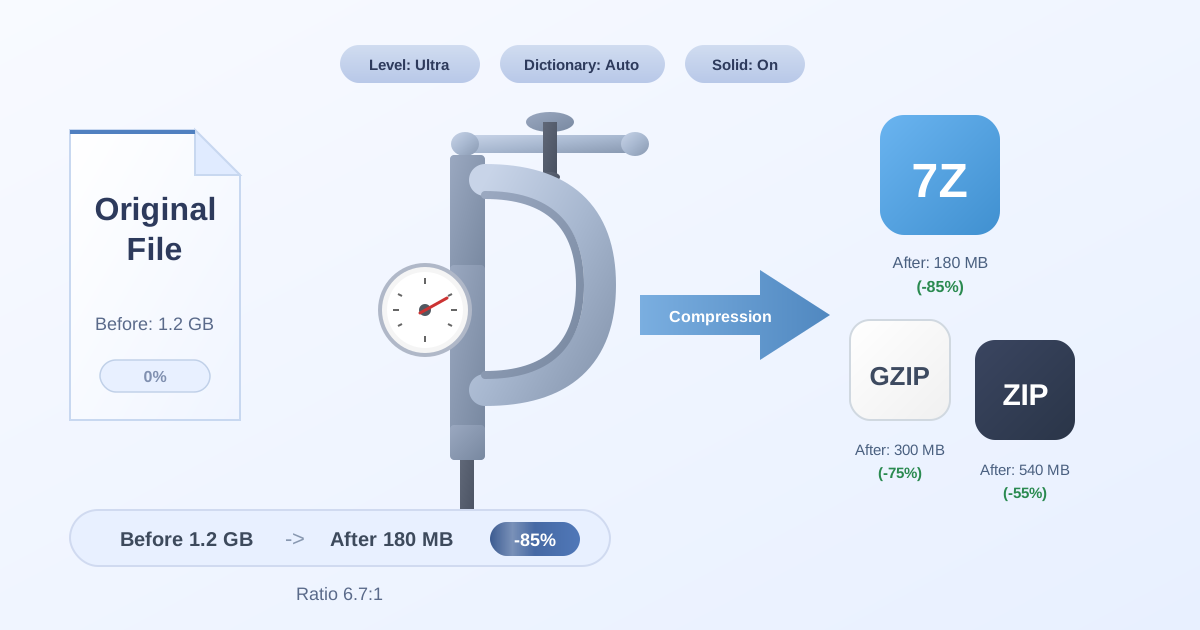
Before making changes to your site's core files, it's always wise to have a complete backup. Backups are often large archives, and to manage them efficiently, you might need to Compress Files for easier storage. Similarly, if your backups are in ZIP format and you need a more efficient format, you can easily convert them from ZIP to 7Z.
Testing Your Implementation
Once uploaded, you absolutely must test your robots.txt file. The best tool for this is Google's own Robots.txt Tester, available for free in Google Search Console.
- Navigate to the Robots.txt Tester for your property.
- It will show you the version of the file Google has cached and highlight any syntax errors or warnings.
- You can test specific URLs from your site by entering the path at the bottom of the page and selecting a user-agent.
- The tool will tell you instantly if the URL is Allowed or Blocked by your rules.
This step is non-negotiable. It verifies that your file is working as intended and that you haven't accidentally blocked critical pages.
Final Thoughts: Taking Control of Your Crawlability
The robots.txt file is a small but mighty component of technical SEO. By understanding its directives and leveraging a generator, you can move from uncertainty to confident control over how search engines interact with your website. You can protect your crawl budget, prevent indexing issues, and guide crawlers to the content that matters most.
Remember the golden rules: always start with a clear plan, use a generator to ensure perfect syntax, and never, ever skip the testing phase. By following this guide, you've taken a significant step toward a healthier, more efficient, and better-optimized website.
Now that you've mastered your site's crawlability, why not explore the other 455+ free, privacy-focused online tools at Practical Web Tools to streamline your digital life?