7z to TAR: The Ultimate Guide to Converting Files in 2024

Have you ever downloaded a file compressed with the high-efficiency 7z format, only to realize you need it in a TAR archive for your Linux server, development environment, or a specific application? You're not alone. While 7z is fantastic for its superior compression, TAR remains the undisputed standard in the Unix and Linux worlds for bundling files. This perceived incompatibility can seem like a roadblock, but it's actually a straightforward problem to solve.
This comprehensive guide will walk you through everything you need to know about converting .7z files to .tar archives. We'll explore the fundamental differences between these formats, break down the conversion process into simple steps, and cover three distinct methods—from a simple online click to powerful command-line magic. By the end, you'll be able to convert your files confidently, no matter your technical skill level.
Understanding the Formats: 7z vs. TAR
Before we dive into the 'how,' let's understand the 'what.' Knowing the nature of 7z and TAR files is crucial to understanding why the conversion process works the way it does. They are both archive formats, but they serve fundamentally different primary purposes.
What is a 7z File?
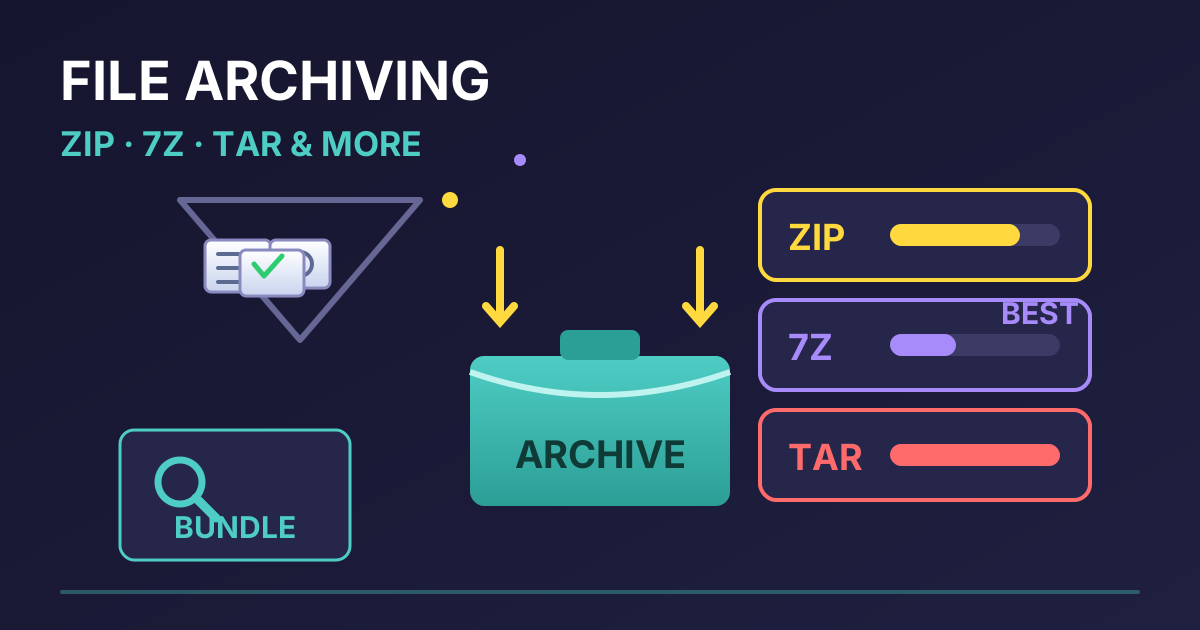
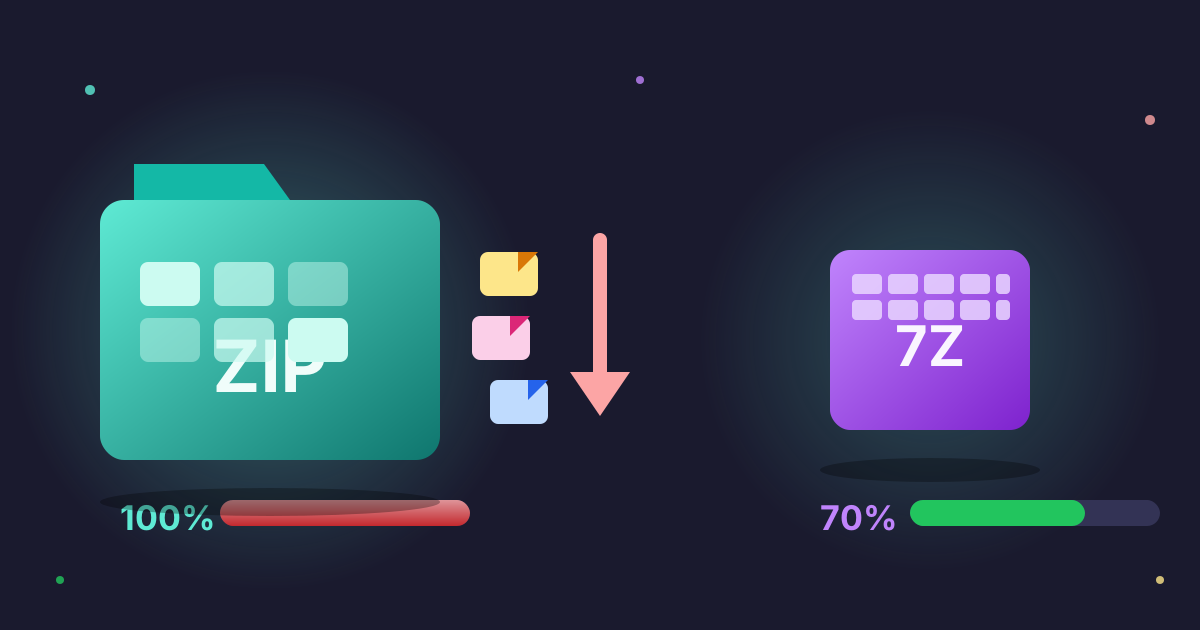
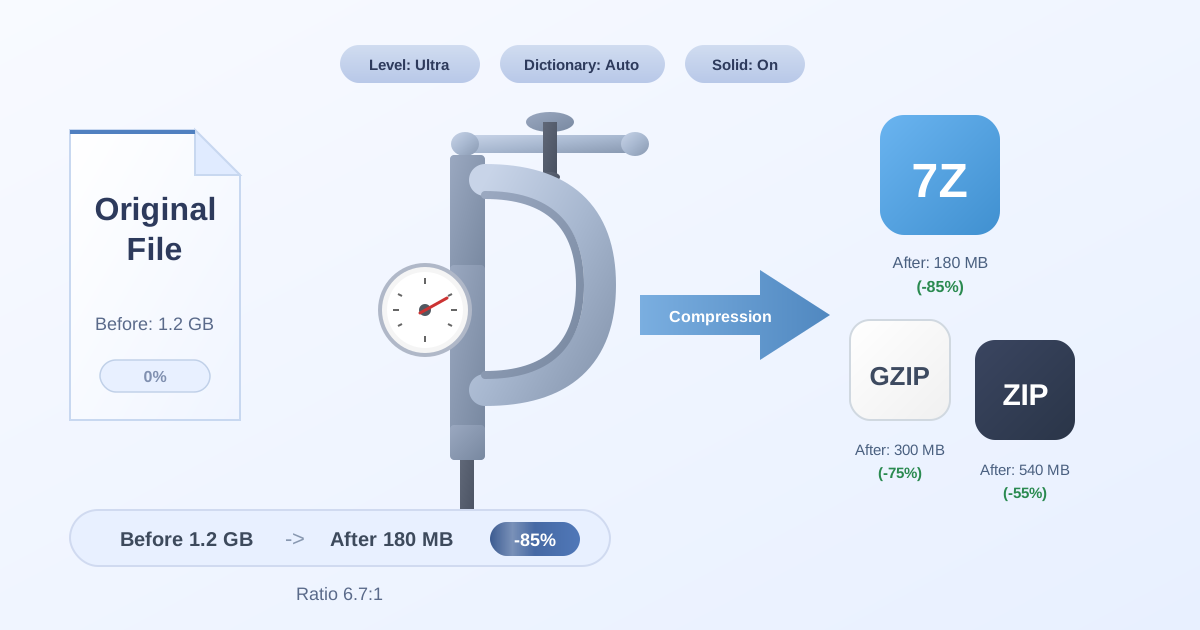
A .7z file is an archive created using the 7-Zip archiver, developed by Igor Pavlov. Its main claim to fame is its incredibly high compression ratio, primarily thanks to the an LZMA and LZMA2 compression algorithms. In many cases, 7z can compress files 30-70% better than the standard ZIP format.
Key Features of 7z:
- High Compression: Its primary advantage, saving significant disk space and reducing download times.
- Strong Encryption: It offers robust AES-256 encryption for both files and the archive's directory structure.
- Versatility: It can handle a wide variety of compression algorithms and supports very large file sizes (up to 16 exbibytes).
- Open Source: The format is open source, meaning anyone can use and implement it.
However, its one drawback is that it's not as natively supported on all operating systems as other formats. While Windows users have the excellent 7-Zip tool, macOS and Linux users often need to install a separate utility to handle it.
What is a TAR File?
TAR stands for Tape Archive. The name hints at its origins: it was created to write data to sequential I/O devices like tape drives. Unlike 7z or ZIP, TAR's primary job is not to compress files, but to bundle them. It takes a collection of files and directories and consolidates them into a single .tar file, often called a 'tarball'.
Key Features of TAR:
- Bundling, Not Compressing: It combines files into one, but the resulting
.tarfile size is roughly the sum of the individual file sizes. - Preserves Metadata: TAR is excellent at preserving file system information, such as user and group permissions, timestamps, and directory structures. This is critical for backing up and deploying applications on Unix-like systems.
- Unix/Linux Standard: It is the de facto standard for packaging files on Linux, macOS, and other Unix-based systems.
Because TAR doesn't compress, it's almost always paired with a separate compression utility. This is why you so often see files ending in .tar.gz (compressed with Gzip) or .tar.bz2 (compressed with Bzip2).
Why Convert from 7z to TAR?
The conversion is necessary when you need the structural and compatibility benefits of TAR but your source files are in the space-saving 7z format. Common scenarios include:
- Software Deployment: Many deployment pipelines and package managers on Linux expect a
.taror.tar.gzfile. - Docker Contexts: When building Docker images, the build context is often sent to the Docker daemon as a tarball.
- System Backups: TAR is preferred for system backups on Linux because of its ability to perfectly preserve file permissions.
- Cross-Platform Compatibility: A developer on Windows might use 7z for its compression, but a colleague on a Mac or Linux machine may need it in TAR format to integrate into their workflow.
Method 1: The Easiest Way - Online Converters
For quick, one-off conversions without installing any software, online tools are the perfect solution. They are platform-independent and incredibly user-friendly.
At Practical Web Tools, we prioritize simplicity and privacy. Our converter handles the entire process in the cloud and deletes your files from our servers shortly after, ensuring your data remains yours.
Step-by-Step Guide: Using Practical Web Tools
Converting your file takes less than a minute. Here’s how to do it:
- Open the Converter: Navigate to our free 7Z to TAR converter tool in your web browser.
- Upload Your File: Click the 'Choose File' button and select the
.7zfile from your computer. You can also drag and drop the file directly onto the page. - Automatic Conversion: The tool automatically begins the conversion process as soon as the file is uploaded. It first decompresses the 7z archive and then re-packages the contents into a TAR archive.
- Download the Result: Once complete, a 'Download' button will appear. Click it to save your new
.tarfile to your device.
Why Use an Online Tool?
- No Installation: Nothing to download or install on your computer.
- Accessibility: Works on any operating system with a modern web browser (Windows, macOS, Linux, ChromeOS).
- Simplicity: The user interface is straightforward, with no complex settings to configure.
- Speed: Ideal for small to medium-sized files when you just need the job done quickly.
Method 2: Command-Line Tools (For Developers & Power Users)
If you're comfortable with the terminal or need to automate the conversion process, the command line is your most powerful ally. This method involves a two-step process: first extracting the 7z archive, then creating a new TAR archive from the contents.
Prerequisites: Installing Necessary Software
Most non-Windows systems have tar pre-installed. The main utility you'll need is one that can handle .7z files. The most common is p7zip.
- On Debian/Ubuntu:
sudo apt-get update && sudo apt-get install p7zip-full - On Fedora/CentOS/RHEL:
sudo dnf install p7zip p7zip-plugins - On macOS (using Homebrew):
brew install p7zip - On Windows: You can use the official 7-Zip command-line executable (
7z.exe) or use a Linux environment like Windows Subsystem for Linux (WSL) and follow the Linux instructions.
The Two-Step Conversion Process
Let's assume you have a file named my_project.7z.
Step 1: Decompress the 7z Archive
Open your terminal and navigate to the directory containing your file. Run the following command to extract its contents into a new directory:
7z x my_project.7z -omy_project_extracted
Let's break that down:
7z: The command to run the 7-Zip archiver.x: The command to eXtract files with their full paths preserved.my_project.7z: Your source file.-omy_project_extracted: The output directory. Note there is no space after the-oswitch.
After this command runs, you will have a new folder named my_project_extracted containing all the files from your archive.
Step 2: Create the TAR Archive
Now, use the tar command to bundle the contents of that new directory into a tarball:
tar -cvf my_project.tar -C my_project_extracted .
Here's what that command does:
tar: The Tape Archive command.-cvf: A combination of three flags:c: create a new archive.v: verbose mode, which lists the files as they are being added.f: specifies the filename of the archive to be created (my_project.tar).
-C my_project_extracted: This is a crucial flag. It tellstarto Change to themy_project_extracteddirectory before it starts adding files. This prevents the directory itself from being included at the top level of the archive..: This final dot tellstarto add everything (.) in the current directory (which we just changed to with-C).
You now have a my_project.tar file in your original directory.
Method 3: Using Desktop GUI Software
If you prefer a graphical user interface but want to manage files locally, dedicated desktop archive managers are the way to go. The process is conceptually the same as the command-line method—extract then re-archive—but with clicks instead of commands.
For Windows: 7-Zip File Manager
The free and powerful 7-Zip application is the best tool for this on Windows.
- Install 7-Zip: If you don't have it, download it from the official website (7-zip.org).
- Extract: Right-click your
.7zfile, hover over '7-Zip', and choose 'Extract to "folder_name".' - Re-archive: You will now have a new folder with the extracted contents. Right-click this new folder, hover over '7-Zip', and choose 'Add to archive...'.
- Select TAR Format: In the 'Add to Archive' window, find the 'Archive format:' dropdown menu and select tar.
- Create Archive: Click 'OK'. Your new
.tarfile will be created in the same location.
For macOS: Keka
While macOS has a built-in Archive Utility, it can't create TAR files easily from the GUI. A fantastic free tool called Keka is a great alternative.
- Install Keka: Download it from the App Store or the Keka website.
- Extract: Simply drag your
.7zfile onto the Keka window or icon to extract it. - Set Keka to TAR mode: Open the Keka application window. At the top, set the default compression format to TAR.
- Re-archive: Drag the newly created folder (from step 2) onto the Keka window. It will automatically create a
.tararchive from it.
Comparing the Methods: Which One is Right for You?
Each method has its strengths. Here’s a quick comparison to help you choose:
| Feature | Online Converter (Practical Web Tools) | Command-Line | Desktop GUI |
|---|---|---|---|
| Ease of Use | Very Easy | Difficult (for beginners) | Easy |
| Speed | Fast (depends on upload/download) | Very Fast (local processing) | Fast (local processing) |
| Installation | None | Required (p7zip) | Required |
| Batch Processing | One file at a time | Excellent (via scripting) | Tedious and manual |
| Platform | Any (with a browser) | Linux, macOS, Windows (with WSL) | OS-specific |
| Best For | Quick, single file conversions | Automation, scripting, power users | Everyday desktop use, visual feedback |
Frequently Asked Questions (FAQ)
Q: Can I convert 7z to tar in one step without extracting first?
A: Not directly. Because 7z is a compressed format and TAR is just a container, the data must be decompressed from the 7z structure before it can be packaged into the TAR structure. All valid methods, whether online or local, perform this extract-and-repack process, even if they hide the intermediate steps from you.
Q: Will I lose file quality when converting from 7z to tar?
A: Absolutely not. Both 7z and TAR are lossless formats. The process of decompressing and re-archiving does not alter the data within your files in any way. The final files inside the TAR archive will be bit-for-bit identical to the originals.
Q: My 7z file is password-protected. How do I convert it?
A: Password-protected archives add a layer of complexity. Most online converters will reject encrypted files for security reasons. Your best bet is to use a desktop or command-line tool, which will prompt you for the password during the extraction phase. For sensitive files, we always recommend using a local tool like our Decompress Files utility, which can guide you through handling various archive types.
Q: Should I create a .tar or a .tar.gz file?
A: A .tar file is an uncompressed archive. A .tar.gz file is a TAR archive that has been subsequently compressed with Gzip. If your goal is compatibility with a Linux system, .tar.gz is often the better choice as it saves space while still being universally supported. You can use our Compress Files tool to easily create compressed archives like ZIP or GZ from a folder of files.
Conclusion
Converting 7z to TAR is a common task that bridges the gap between the high-efficiency compression of 7z and the universal compatibility of TAR in development and server environments. As we've seen, the fundamental process always involves decompressing and re-archiving, but you have multiple paths to get there.
- For maximum convenience and speed for a single file, an online converter is unbeatable.
- For automation, batch processing, and integration into scripts, the command line is the ultimate tool.
- For a familiar, visual workflow on your own machine, a desktop GUI application provides a perfect middle ground.
No matter which method you choose, you're now equipped with the knowledge to handle this conversion with ease. For your next simple and secure file conversion, give the Practical Web Tools 7Z to TAR converter a try and explore our vast collection of other free, privacy-focused file management tools.