TAR.GZ to ZIP: A Comprehensive Guide to Converting Archives
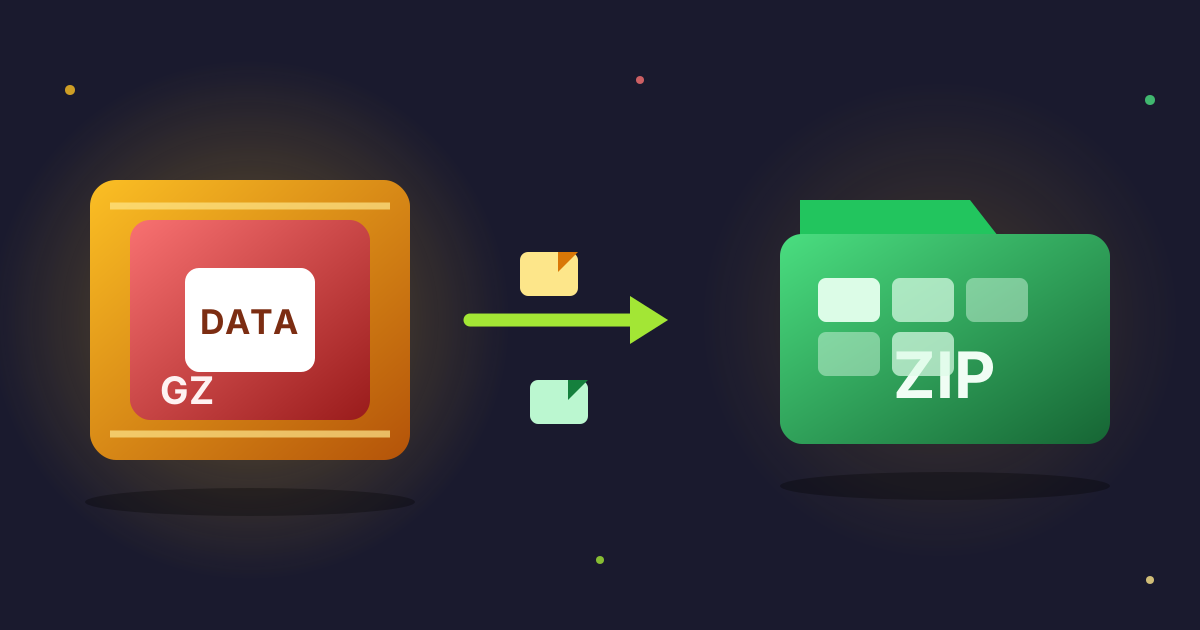
Have you ever downloaded a file from the internet, only to be confronted with a strange .tar.gz extension? If you're a Windows user, your first instinct might be confusion, as your system likely doesn't know what to do with it. This format, common in the world of Linux and open-source software, can feel like a digital barrier. The good news is that there's a simple solution: converting it to a universally friendly .zip file.
In this comprehensive guide, we'll demystify the .tar.gz format, explore why you'd want to convert it to ZIP, and provide detailed, step-by-step instructions for every major operating system. Whether you prefer easy online tools, powerful desktop software, or the command line, you'll find the perfect method for your needs.
What Exactly Are .tar.gz and .zip Files?
Before we dive into the conversion process, it's helpful to understand what these file types are. They might both be used for bundling files, but they work in fundamentally different ways.
The Tale of TAR: The Archiver
The tar in .tar.gz stands for Tape Archive. As the name suggests, it's an old format, originally designed to write data to sequential tape drives for backup purposes. Its primary job is not to compress files but to archive them. This means it takes a collection of files and folders and bundles them into a single .tar file, preserving the directory structure and file permissions.
Think of it as putting all your books into a single, large box before moving. The box itself doesn't make the books smaller, it just keeps them all together in one container.
The Power of Gzip: The Compressor
This is where the .gz part comes in. gzip (GNU Zip) is a compression algorithm. Its sole purpose is to take a single file and make it smaller. It's incredibly efficient at what it does, but it can only operate on one file at a time.
So, the .tar.gz format is a two-step process, a classic Unix/Linux philosophy of using small tools that do one thing well:
tarbundles multiple files and folders into one large.tarfile.gzipcompresses that single.tarfile into a.tar.gzfile (sometimes shortened to.tgz).
The Ubiquitous ZIP: The All-in-One Solution
The .zip format, on the other hand, is an archiver and a compressor rolled into one. When you create a ZIP file, it takes your files and folders, compresses each one individually, and then bundles them into a single .zip archive. This integrated approach is a key reason for its popularity and widespread support.
It's the most common archive format in the world, primarily because it has been natively supported in Microsoft Windows since 1998 and in macOS for just as long.
Why Convert from TAR.GZ to ZIP?
While .tar.gz is highly efficient, there are several compelling reasons to convert it to a .zip file, especially if you're working in a mixed-OS environment or sharing files with less technical users.
- Universal Compatibility: This is the biggest reason. Every modern Windows and macOS computer can open and create
.zipfiles without any third-party software. Double-clicking is all it takes. For.tar.gz, Windows users need to install special software like 7-Zip or WinRAR. - Ease of Use: For non-technical users, receiving a ZIP file is straightforward. They know what to do with it. A
.tar.gzfile can lead to confusion and support requests. - File Sharing: If you're sending files to a client, colleague, or friend, you can't assume they have the tools or knowledge to handle a
.tar.gzarchive. Sending a.zipfile is a safer, more professional bet. - Specific Platform Requirements: Some web applications, content management systems, or online submission forms may only accept file uploads in the
.zipformat.
How to Convert TAR.GZ to ZIP: A Step-by-Step Guide
Now, let's get to the practical part. We'll cover four main methods, from the simplest online tools to native commands for power users.
Method 1: Using Online Conversion Tools (The Easiest Way)
For quick, one-off conversions without installing any software, online tools are a fantastic option. They work on any operating system with a web browser. The process typically involves decompressing the original file and then compressing the contents into the new format.
At Practical Web Tools, we believe in privacy and simplicity. Here’s how you can use our tools to get the job done:
- Decompress the TAR.GZ File: First, you need to extract the contents of your archive. Navigate to the Decompress Files tool. Upload your
.tar.gzfile, and the tool will extract everything into its original folder structure. Download the extracted files to your computer. - Prepare for Zipping: You will now have a folder on your computer containing all the files that were inside the archive.
- Compress to ZIP: Now, go to our Compress Files tool. You can drag and drop the entire folder (or select the individual files) you just extracted. The tool will bundle and compress them.
- Download Your ZIP File: Once the process is complete, you can download your newly created, universally compatible
.zipfile.
This method is perfect for users who value convenience and don't want to clutter their system with new software.
Method 2: Converting on Windows
If you frequently work with various archive types on Windows, installing a dedicated utility is the best long-term solution.
Using 7-Zip (Free & Powerful)
7-Zip is a free, open-source file archiver that can handle almost any compression format you throw at it, including .tar.gz.
- Download and Install: Go to the official 7-Zip website (7-zip.org), download the correct version for your Windows system (32-bit or 64-bit), and install it.
- First Extraction (Gzip to Tar): Right-click on your
.tar.gzfile. Hover over the7-Zipcontext menu entry and selectExtract HereorExtract to "your-file-name\". This will decompress the file, leaving you with a.tarfile. - Second Extraction (Tar to Folder): Now you have a
.tarfile. This is the uncompressed archive. Right-click this.tarfile, go to the7-Zipmenu again, and chooseExtract Here. This will finally extract all the files and folders. - Compress to ZIP: You should now have a folder containing your files. Right-click this folder, go to the
7-Zipmenu, and selectAdd to archive.... - Configure ZIP Settings: In the new window, find the
Archive format:dropdown menu and selectzip. You can also set a password or change the compression level here. ClickOK.
You'll now have a .zip file in the same location, ready to be shared.
Method 3: Converting on macOS
macOS users have it easier, as the operating system has built-in support for decompressing .tar.gz files.
Using the Built-in Archive Utility
This is the simplest method on a Mac and requires no extra software.
- Extract the Archive: Simply double-click your
.tar.gzfile. The native macOS Archive Utility will automatically perform both the decompression and de-archiving steps, leaving you with a folder containing all your files. - Compress to ZIP: Right-click (or Control-click) the newly created folder. From the context menu, select
Compress "your-folder-name".
That's it. macOS will create a .zip file of that folder in the same directory.
Using the Terminal
For those who prefer the command line:
- Open the Terminal app.
- Navigate to the directory where your file is located using the
cdcommand (e.g.,cd ~/Downloads). - Run the following command to extract the archive:
tar -xzf yourfile.tar.gz - This will create a new folder. To zip it, run:
zip -r yourfile.zip your_extracted_folder/
Method 4: Converting on Linux
Linux is the native home of the .tar.gz format, and conversion is trivial using the command line.
- Open your terminal.
- Navigate to the file's directory:
cd /path/to/your/file - Extract the archive with the same command as macOS:
tar -xzf yourfile.tar.gz - This creates a folder with the contents. To create a ZIP file, you first need to ensure you have the zip utility installed. On Debian/Ubuntu, run
sudo apt-get install zip. On Red Hat/Fedora, runsudo dnf install zip. - Create the zip archive:
zip -r yourfile.zip your_extracted_folder/
TAR.GZ vs. ZIP: A Deeper Dive
Understanding the technical differences can help you choose the right format for different tasks.
| Feature | TAR.GZ | ZIP |
|---|---|---|
| Process | Two-step: Archive (tar) then Compress (gzip) | One-step: Archive and Compress simultaneously |
| Compression | Compresses the entire archive as one block (solid) | Compresses files individually within the archive |
| Efficiency | Often better for many small, similar files | Can be faster to extract a single file from a large archive |
| Native Support | Universal on Linux/macOS; needs tools on Windows | Universal on all major OS (Windows, macOS, Linux) |
| Metadata | Preserves Unix file permissions and ownership | Less comprehensive metadata preservation (basic) |
One of the most significant differences is that .tar.gz is a solid archive. Because it bundles everything into one .tar file before compressing, the gzip algorithm can find redundancies across multiple files, often resulting in a smaller final file size, especially when archiving many small, similar text files (like source code).
ZIP, by compressing files individually, can't take advantage of this. However, this individual compression means you can extract a single file from a large ZIP archive much faster without having to decompress the entire thing.
Common Pitfalls and Troubleshooting
- Corrupted Files: If you get an error during extraction, the first step is to try re-downloading the file. An incomplete download is the most common cause of corruption.
- The "Double Extension" Confusion: A common point of confusion for new users is seeing a
.tarfile appear after the first extraction step with a tool like 7-Zip. Remember, it's a two-step format (.gz->.tar-> files), and you just need to perform the extraction one more time. - File Path Length on Windows: Windows has a maximum path length of 260 characters. If a
.tar.gzarchive created on Linux has a very deep folder structure, you might run into errors when extracting it on Windows. Using 7-Zip often helps mitigate this issue better than the built-in Windows utility.
Beyond TAR.GZ to ZIP: Exploring Other Formats
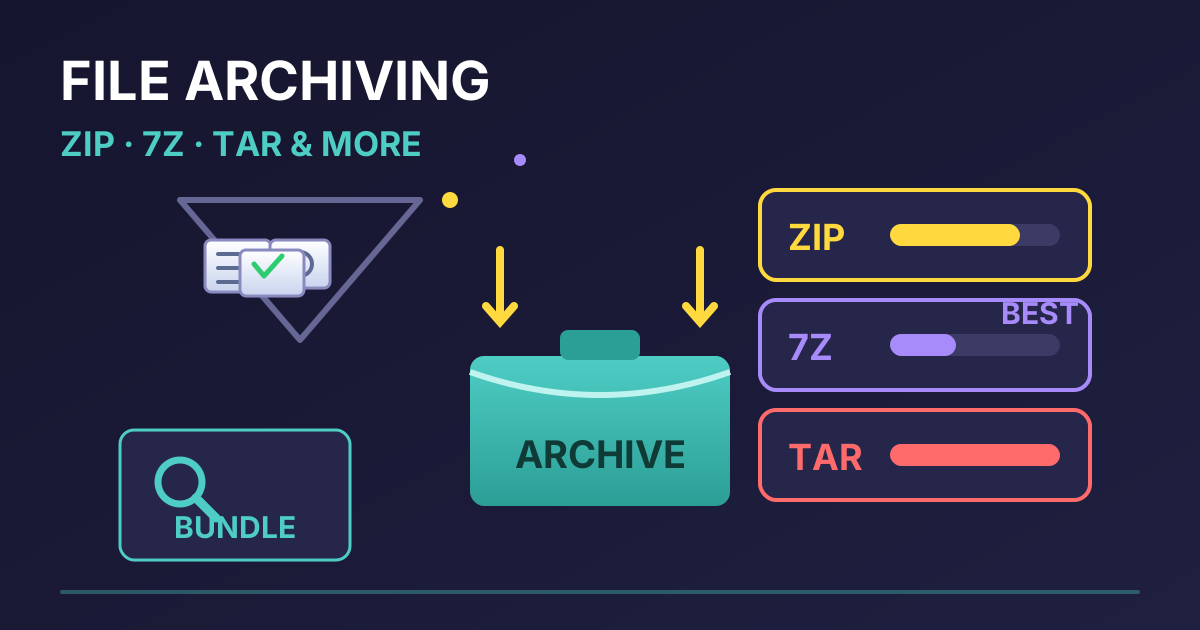
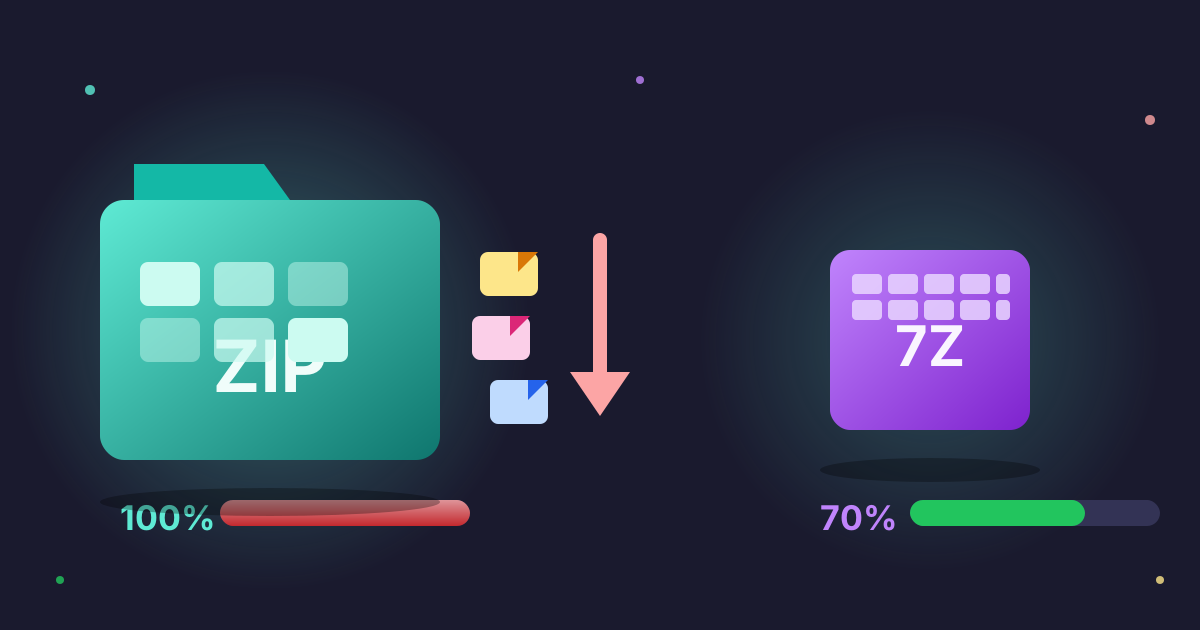
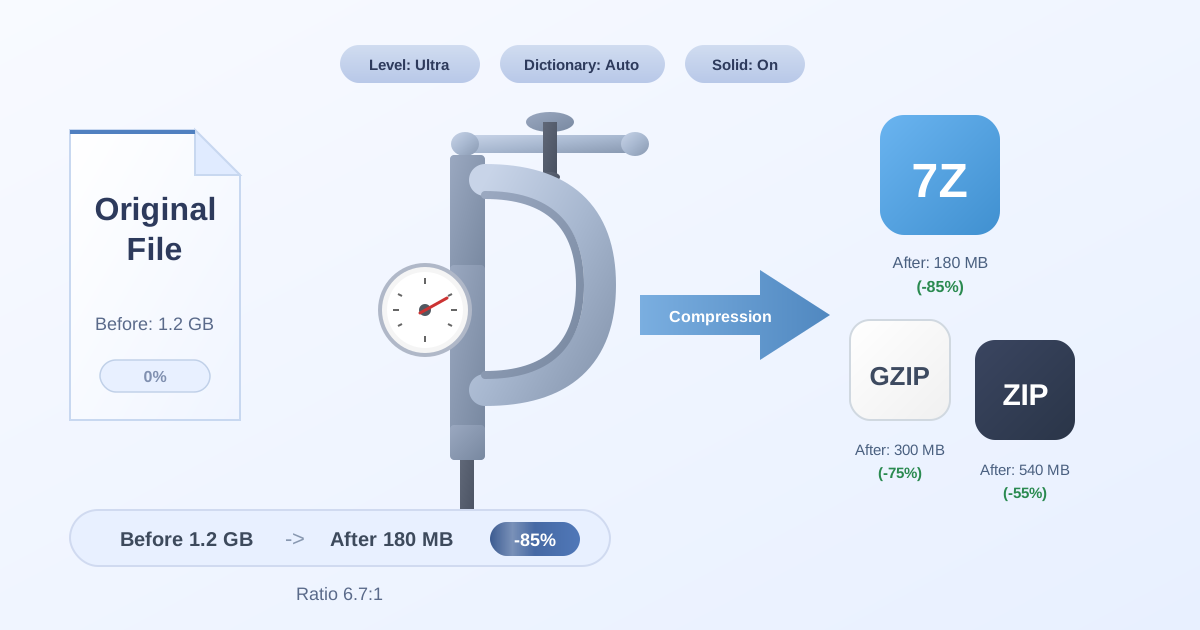
While ZIP is king for compatibility, other formats offer unique advantages. For example, 7-Zip's own .7z format often provides even better compression ratios than both ZIP and Gzip. If your goal is the smallest possible file size and you know your recipient has 7-Zip, converting a ZIP to 7Z can be a great option.
Conclusion: Choose the Right Tool for the Job
Navigating the world of file archives doesn't have to be complicated. While .tar.gz is a powerful and efficient format in its native Linux/macOS environments, its lack of native support on Windows makes .zip the undeniable champion of compatibility.
Converting from .tar.gz to .zip is a simple process that ensures anyone, on any platform, can access your files with ease. Whether you opt for the simplicity of an online tool, the power of desktop software, or the speed of the command line, you're now equipped to handle any archive file that comes your way.
For a quick and easy way to handle your archive files without installing any software, try our free Decompress Files and Compress Files tools today! They are private, secure, and get the job done in seconds.