WebM to MP4: The Ultimate Guide to Converting Video Files
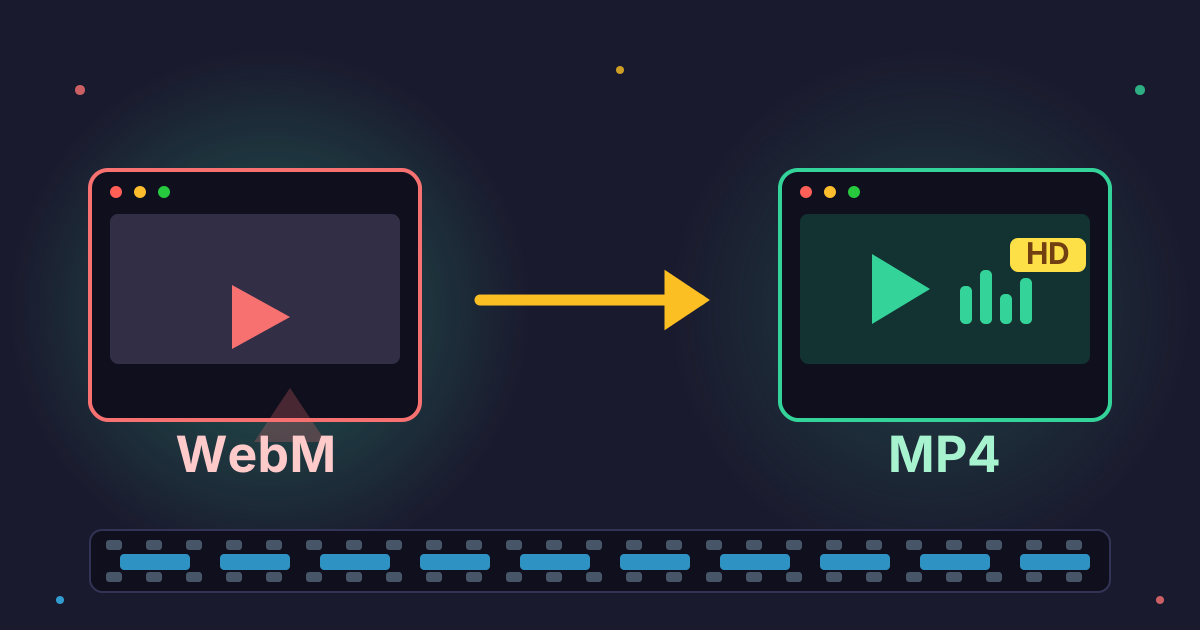
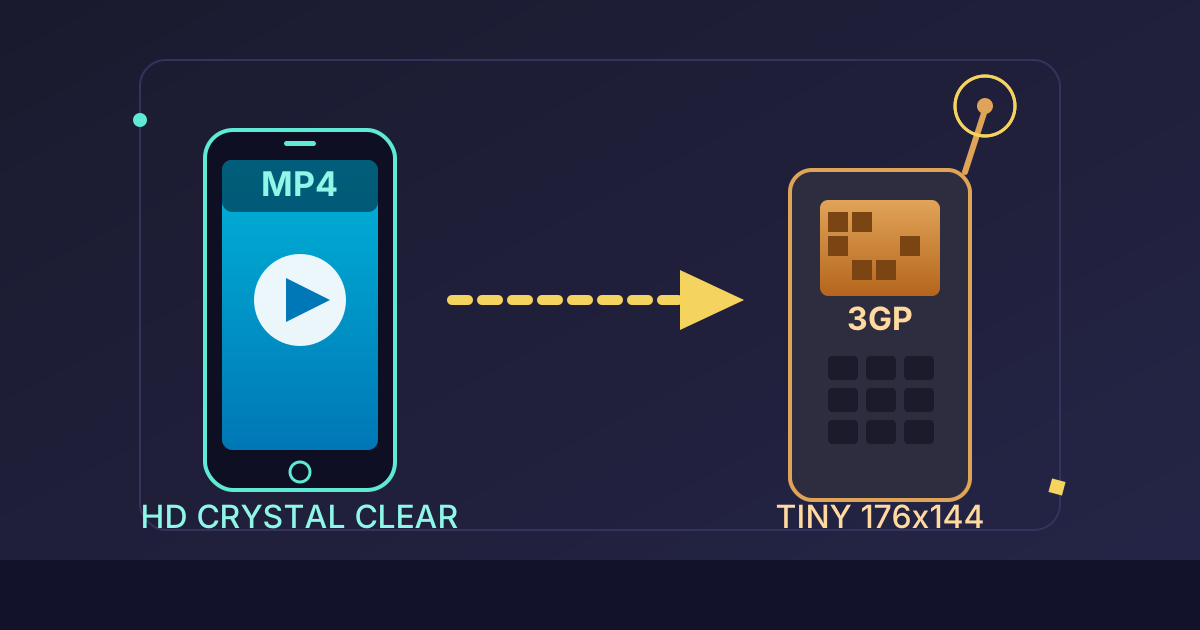
You've just downloaded an interesting video clip from the web, but when you try to play it on your phone or import it into your favorite video editor, you hit a wall. The culprit? A file ending in .webm. While WebM is a fantastic format for online streaming, its compatibility with offline devices and professional software can be limited. The universal solution is to convert it to the ever-reliable MP4 format.
But what's the best way to do this? Should you use a random online tool, download special software, or is there a hidden feature in an app you already have? This comprehensive guide will demystify the entire process. We'll explore what WebM and MP4 files are, why you need to convert them, and provide step-by-step tutorials for the best free methods available. By the end, you'll be able to convert any WebM file to a high-quality MP4 with confidence.
What Exactly is a WebM File?
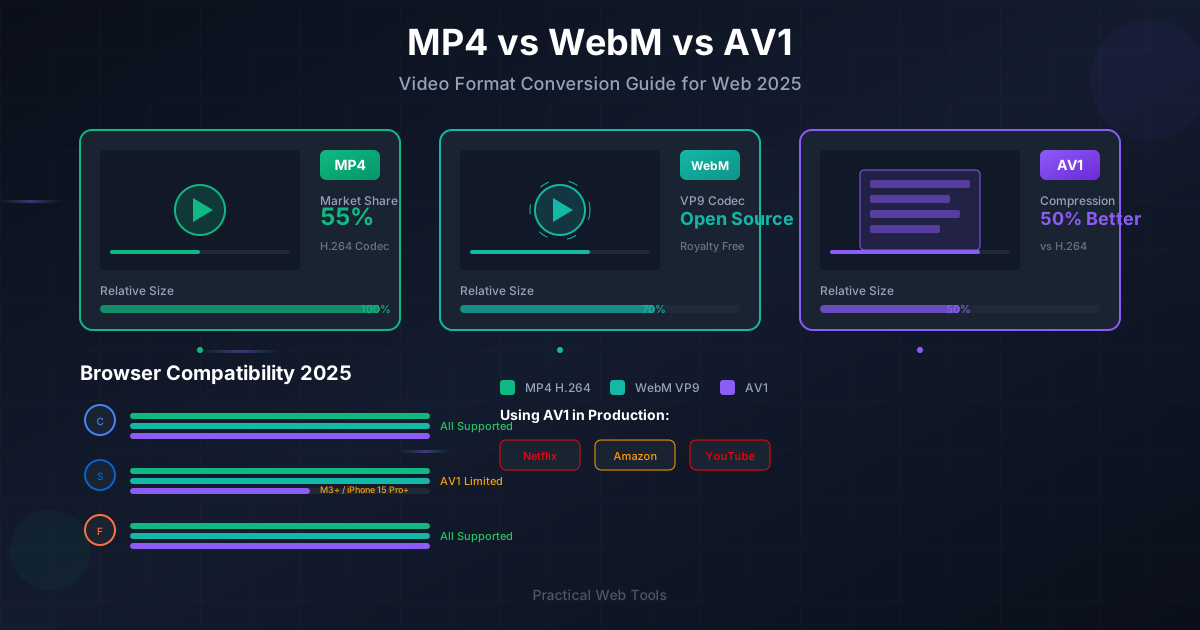
WebM is an open, royalty-free video file format designed specifically for the web. It was first introduced by Google in 2010 as an alternative to proprietary formats. The goal was to provide a high-quality, open-source video compression format for use with HTML5 video.
At its core, a WebM file consists of:
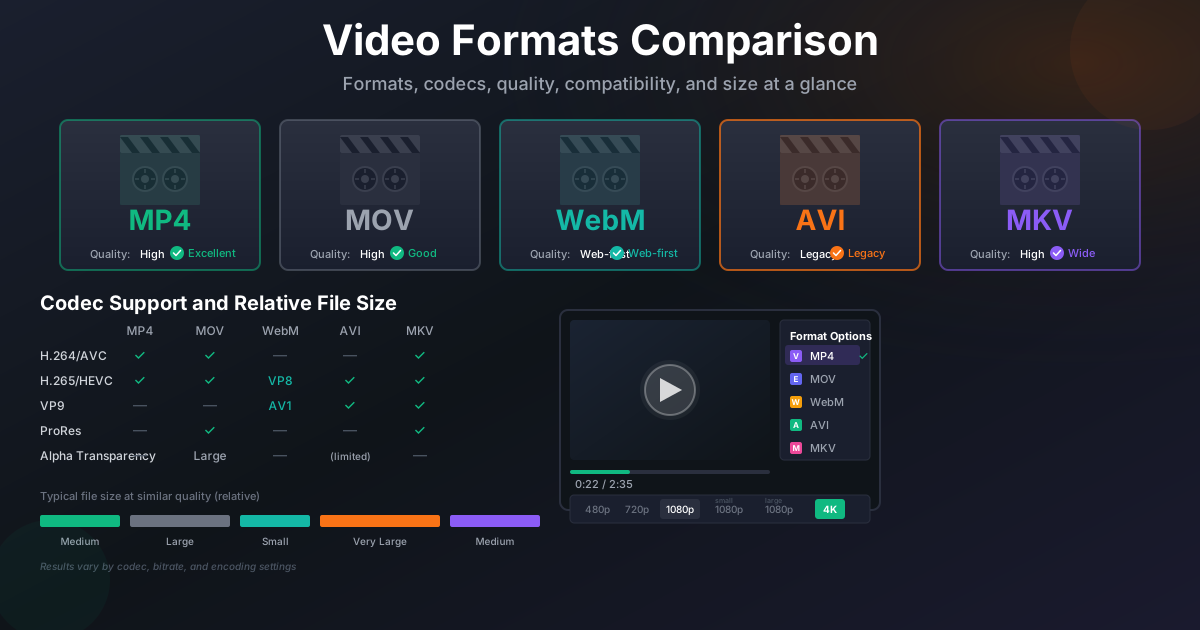
- Video Streams: Compressed with the VP8 or VP9 video codecs.
- Audio Streams: Compressed with the Vorbis or Opus audio codecs.
- A Container: The Matroska (.mkv) container structure holds it all together.
Because it was built for the modern web, WebM offers excellent compression efficiency, meaning it can deliver high-quality video at smaller file sizes, which is perfect for streaming on sites like YouTube and Wikipedia.
Pros and Cons of WebM
Pros:
- Royalty-Free: Anyone can use it without paying licensing fees, which has encouraged wide adoption by web developers and browser makers.
- High-Quality Compression: The VP9 codec, in particular, is highly efficient and competes directly with H.265 (HEVC), offering great quality at low bitrates.
- Optimized for Streaming: It's designed to stream with little to no processing overhead, making it ideal for web browsers.
Cons:
- Limited Native Support: This is the big one. While universally supported by web browsers, many hardware devices and software applications lack native support. Apple devices (iPhones, iPads) and professional video editors like older versions of Adobe Premiere Pro or Final Cut Pro often require conversion or plugins to handle WebM files.
The Universal Standard: What Makes MP4 So Popular?
MP4, technically MPEG-4 Part 14, is the undisputed king of video formats. If WebM is the specialist for the web, MP4 is the jack-of-all-trades that works almost everywhere. It's a digital multimedia container format most commonly used to store video and audio, but it can also be used to store other data such as subtitles and still images.
An MP4 file typically contains:
- Video Streams: Most commonly compressed with the H.264 (AVC) or H.265 (HEVC) codecs.
- Audio Streams: Usually compressed with the AAC (Advanced Audio Coding) codec.
Its incredible popularity stems from its fantastic balance of quality, file size, and, most importantly, compatibility.
Pros and Cons of MP4
Pros:
- Near-Universal Compatibility: MP4 files play on virtually every device, operating system, and application imaginable—from smartphones and smart TVs to gaming consoles and professional editing suites.
- Excellent Quality-to-Size Ratio: The H.264 codec provides a great balance, making it the standard for everything from web streaming to Blu-ray discs.
- Strong Industry Support: It's backed by major players in the tech and media industries, ensuring its longevity.
Cons:
- Not Royalty-Free: The codecs used in MP4 (like H.264 and AAC) are subject to patents and licensing fees. This is generally a concern for developers and distributors, not end-users, but it's a key difference from WebM.
Key Reasons to Convert from WebM to MP4
So, why go through the trouble of converting? The need almost always comes down to one key factor: compatibility. Here are the most common scenarios where a WebM to MP4 conversion is necessary:
- Device Playback: You want to watch the video on an iPhone, iPad, older Android device, or a Smart TV that doesn't natively support the WebM format.
- Video Editing: You need to import the clip into a video editing program like Adobe Premiere Pro, Final Cut Pro, or DaVinci Resolve. While newer versions have improved support, MP4 (H.264) is still the most stable and widely accepted format for editing workflows.
- Social Media Sharing: Some social media platforms have specific file requirements, and uploading an MP4 is often the safest bet for ensuring proper processing and playback.
- Archiving and Future-Proofing: Storing your video library in MP4 format ensures that you'll be able to access and play your files on future devices and software with minimal hassle.
Methods for Converting WebM to MP4: A Detailed Breakdown
Now for the practical part. There are several excellent ways to convert your files, each with its own set of advantages and disadvantages. We'll cover the three most reliable methods, from the quickest online tools to powerful desktop software.
Method 1: Using Online Converters (The Quick & Easy Way)
For a single, small file, an online converter is often the fastest solution. You don't need to install any software; you just upload your file, select the output format, and download the result.
Pros:
- No software installation required.
- Simple, user-friendly interface.
- Platform-independent (works on any OS with a web browser).
Cons:
- Privacy Risk: You are uploading your file to a third-party server. Avoid this method for sensitive or private videos.
- File Size & Usage Limits: Most free services impose limits on file size, number of conversions per day, or conversion speed.
- Internet Dependent: Requires a stable internet connection for both uploading and downloading.
- Potential for Quality Loss: You often have little to no control over the conversion settings.
Generic Step-by-Step Guide:
- Navigate to a reputable online video converter website.
- Click the "Upload" or "Choose File" button and select your
.webmfile. - Select "MP4" as the target output format.
- Click the "Convert" button and wait for the process to complete.
- Download the converted
.mp4file to your computer.
Method 2: Using Desktop Software (The Power User's Choice)
For better privacy, control, and features like batch conversion, desktop software is the way to go. Here are three of the best free applications for the job.
VLC Media Player (The Free & Ubiquitous Option)
Many people don't realize that the popular VLC Media Player is also a powerful video conversion tool. Since you likely already have it installed, this is a great first choice.
Step-by-Step Guide for VLC:
- Open VLC Media Player.
- In the top menu, click on
Mediaand then selectConvert / Save...(or use the shortcutCtrl+R). - In the new window, click the
+ Add...button and locate the WebM file you want to convert. Then, click theConvert / Savebutton at the bottom. - In the Convert window, look for the
Profiledropdown menu. SelectVideo - H.264 + MP3 (MP4). This is the most compatible option. - (Optional) Customize Settings: To fine-tune the conversion, click the wrench icon next to the profile dropdown. Here you can adjust video codec, bitrate, resolution, and audio settings. For most users, the default profile is fine.
- Choose a Destination: Click the
Browsebutton and choose a folder where you want to save your new file. Important: Be sure to name your file with the.mp4extension (e.g.,my_converted_video.mp4). - Start the Conversion: Click the
Startbutton. The timeline scrubber in VLC will move as if it's playing the video. This indicates the conversion progress. Once it reaches the end, your new MP4 file will be ready in the destination folder.
HandBrake (The Open-Source Powerhouse)
HandBrake is a dedicated, open-source video transcoder that offers a fantastic balance of simplicity and advanced control. It's purpose-built for tasks like this and provides excellent results.
Step-by-Step Guide for HandBrake:
- Download and Install HandBrake from its official website. It's free and available for Windows, Mac, and Linux.
- Open HandBrake and it will prompt you to select a source file. Choose your WebM video.
- Choose a Preset: The easiest way to get started is to use a preset. On the right side of the window, you'll see a list of presets. For general use, something like
Fast 1080p30orHQ 1080p30 Surroundis a great starting point. - Confirm Output Settings: Under the
Summarytab, ensure theFormatis set toMP4. - Set the Destination: At the bottom, click
Browseto choose where to save your converted file and give it a name. - Start the Conversion: Click the green
Start Encodebutton at the top of the window. HandBrake will show you the progress at the bottom.
FFmpeg (The Command-Line Master)
For those comfortable with the command line, FFmpeg is the ultimate tool. It's the engine that powers many other video applications and converters. It offers unparalleled speed and control.
Simple Conversion: Open your terminal or command prompt and navigate to the folder containing your video. The most basic command is all you need:
ffmpeg -i input.webm output.mp4
FFmpeg will automatically select reasonable settings to create a high-quality MP4 file.
Conversion with More Control: If you want to specify the codecs and quality, you can use a more detailed command:
ffmpeg -i input.webm -c:v libx264 -preset slow -crf 22 -c:a aac -b:a 128k output.mp4
Let's break that down:
-c:v libx264: Specifies the H.264 video encoder.-preset slow: A preset that provides better compression at the cost of longer conversion time.-crf 22: The Constant Rate Factor, which controls quality. A lower number means higher quality (18-28 is a good range).22is a great balance.-c:a aac: Specifies the AAC audio encoder.-b:a 128k: Sets the audio bitrate to 128 kbps, which is good for most stereo audio.
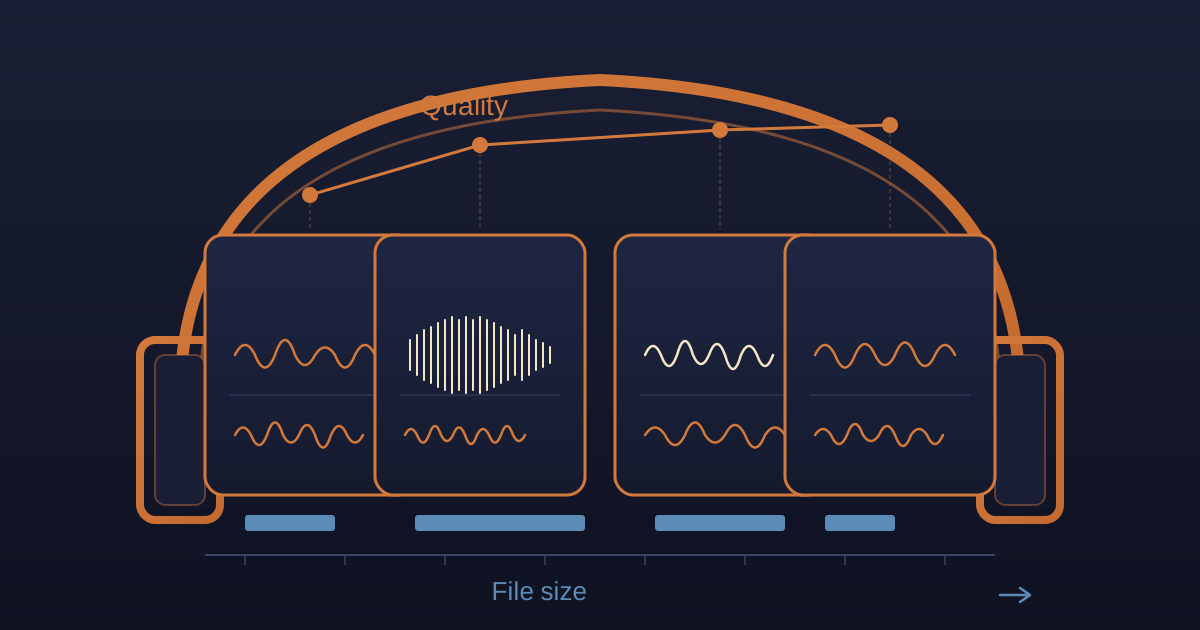
Understanding the Trade-offs: Quality vs. File Size
It's important to remember that converting a video is not a lossless process. It involves transcoding—decompressing the original video and re-compressing it with a new codec. While modern codecs are incredibly efficient, there is always a tiny amount of data lost.
However, with the right settings (like using a low CRF value in FFmpeg or a high-quality preset in HandBrake), you can create an MP4 that is visually lossless, meaning the human eye cannot perceive a difference from the original WebM source.
Managing Your Converted Files
Once you have your new MP4 files, especially if you've converted a large batch of videos, you might need to share or archive them efficiently. A folder full of large video files can be cumbersome to upload or email.
This is where file compression comes in handy. You can bundle multiple MP4 files into a single, smaller package. For instance, our free online tool lets you Compress Files into a convenient ZIP archive directly in your browser. This simplifies sharing significantly. If you've received a batch of videos in a different archive format, like a 7Z file, you can easily convert it to a more common format with a tool like our 7Z to ZIP converter before extracting them.
WebM to MP4 Conversion: Your Questions Answered
Does converting WebM to MP4 lose quality?
Yes, any transcoding technically results in some quality loss. However, by using high-quality settings in software like HandBrake or FFmpeg, the difference can be imperceptible to the naked eye. The goal is to make the conversion visually lossless.
Is it safe to use online WebM to MP4 converters?
It depends. For non-sensitive, public-domain clips, they are generally fine and convenient. However, you are uploading your data to a third party's server, which carries an inherent privacy risk. For any private, personal, or confidential videos, it is always safer to use offline desktop software like VLC or HandBrake.
Can I convert MP4 back to WebM?
Absolutely. The process is reversible using the same tools. You would simply select an MP4 as your input file and WebM (VP9/Opus) as your output profile. Keep in mind that this will be another transcoding step, resulting in a second generation of quality loss.
Which conversion method is best?
- Online Converter: Best for a quick, one-off conversion of a small, non-sensitive file.
- VLC Media Player: Best for users who already have it installed and need a simple, reliable desktop solution.
- HandBrake/FFmpeg: Best for users who need maximum control over quality, batch processing, and the absolute best results.
Conclusion: Choosing the Right Path for Your Videos
Navigating the world of video formats doesn't have to be complicated. While WebM is an excellent, modern format for the web, its lack of universal hardware and software support means that MP4 remains the go-to choice for playback, editing, and sharing.
By choosing the right tool for the job—whether it's the quick convenience of an online converter or the powerful control of desktop software like VLC and HandBrake—you can ensure your videos are ready for any device or platform.
Now that you're an expert in video conversion, feel free to explore the other privacy-focused tools at Practical Web Tools. From managing archives with our Decompress Files tool to handling dozens of other daily digital tasks, we have over 455 free utilities to make your life easier.