Wind Advisory? Storm-Proof Your Life with a Digital Emergency Kit
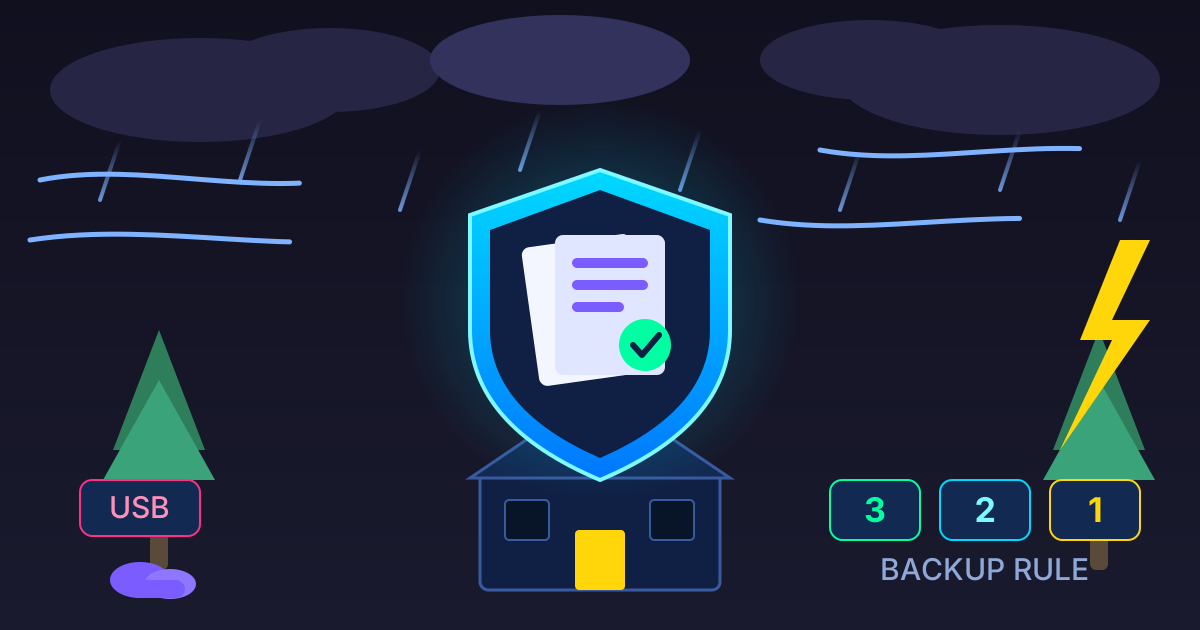
A notification flashes on your phone: WIND ADVISORY IN EFFECT. Your mind immediately runs through a checklist. Are the patio chairs secured? Are the flashlights charged? Do we have enough bottled water? In our rush to prepare for the physical impact of a storm, we often overlook an equally critical, yet invisible, part of our lives: our essential documents.
Imagine the worst-case scenario. A storm causes significant damage, and you're forced to evacuate. Your physical files are inaccessible, damaged, or lost forever. How do you prove your identity? File an insurance claim? Access your bank accounts or contact your doctor? The stress of the situation is compounded by a logistical nightmare.
This is where digital preparedness comes in. Just as you have a physical 'go-bag' with supplies, you need a digital emergency kit—a secure, accessible collection of your most important documents. It’s your lifeline in a crisis. This guide will walk you through exactly how to build one, step-by-step, using free, private, and powerful tools you can access right from your browser.
What is a Digital Emergency Kit and Why Do You Need One?
A digital emergency kit (or 'digital go-bag') is a curated collection of scanned copies or digital versions of your vital personal, financial, and medical documents. This collection is stored securely in multiple locations, ensuring you can access it from anywhere, at any time, even if your original paper copies are destroyed.
Here’s why it's no longer a 'nice-to-have' but an absolute necessity:
- Accessibility in Crisis: When you're displaced from your home, your digital kit is accessible from a smartphone, a library computer, or a relative's tablet. You can immediately access insurance policy numbers, medical records, or identification to start the recovery process.
- Protection from Damage: Paper is vulnerable to fire, water, and simple degradation over time. Digital files, when backed up properly, are immune to these physical threats.
- Streamlined Recovery: Need to send your insurance policy to an agent? Email a copy of your driver's license to a government agency? With a digital kit, you can share critical information in seconds, not days. This speed can be crucial when applying for aid or filing claims.
- Ultimate Peace of Mind: Knowing that the administrative backbone of your life is safe and secure, no matter what happens to your physical surroundings, is an incredible stress reliever in an already high-anxiety situation.
Your Digital Emergency Kit Checklist
Getting started can feel overwhelming. What do you actually need to include? Use this comprehensive checklist to gather all your essential documents. The goal is to create a digital snapshot of your life's most important paperwork.
### Personal & Family Identification
These documents prove who you are and your relationship to your family members.
- Government-Issued Photo IDs: Driver's licenses, state ID cards, military IDs.
- Citizenship & Birth Records: Passports, birth certificates for all family members, naturalization paperwork.
- Social Security & Marriage: Social Security cards, marriage certificates, divorce decrees.
- Child-Related Documents: Adoption papers, child custody documents.
### Financial & Legal Documents
This information is key to managing your finances and property after a disaster.
- Banking Information: A list of all bank accounts with institution names and account numbers. A secure screenshot of your online banking dashboard can work.
- Cards: Scans of the front and back of all credit and debit cards.
- Insurance Policies: Declarations pages for homeowner's/renter's, auto, life, and flood insurance. Include the policy number and agent's contact info.
- Property Records: Deeds and titles for your home, vehicles, and other major properties.
- Estate Planning: Wills, trusts, and power of attorney documents.
- Financial Records: The first two pages of your last two years of tax returns (often required for disaster aid applications).
- Loan Documents: Information on mortgages, auto loans, and student loans.
### Medical Information
In a medical emergency, having this information can be life-saving.
- Insurance Cards: Front and back of health, dental, and vision insurance cards.
- Medication List: A detailed list of all prescriptions, dosages, and allergies for each family member.
- Physician Information: Names and contact numbers for all doctors, dentists, and specialists.
- Important Records: Immunization records, key medical history summaries, and health directives.
### Household & Emergency Information
This category includes everything else needed to manage your household and recovery.
- Emergency Contact List: A comprehensive list of phone numbers and emails for family, friends, doctors, lawyers, and financial advisors.
- Home Inventory: A video walkthrough of your home or a photo log of valuable possessions. This is invaluable for insurance claims.
- Utility Bills: A recent bill from each utility company (gas, electric, water) to prove residency.
- Pet Information: Veterinarian contact info, vaccination records, and a recent photo of your pet for identification.
How to Create Your Digital Emergency Kit: A Step-by-Step Guide
Once you've gathered your documents, it's time to digitize and organize them. This is where you can leverage free online tools to create a polished, easy-to-navigate kit.
### Step 1: Gather Your Physical Documents
Work through the checklist above and create a single pile of all the physical papers you need to digitize. This is the most time-consuming step, but it's essential. Do it in one sitting to ensure you don't miss anything.
### Step 2: Scan Everything into PDFs
You don't need a fancy scanner. Your smartphone is a powerful tool. Apps like Microsoft Lens or Adobe Scan are free and can produce high-quality, searchable PDFs.
Tips for a Perfect Scan:
- Use a dark, contrasting background.
- Ensure the area is well-lit to avoid shadows.
- Lay the document completely flat.
- Capture all four corners of the page.
- Save each distinct document as its own PDF file for now. Use a clear naming convention, like
John-Doe-Drivers-License.pdforHome-Insurance-Policy-2024.pdf.
### Step 3: Consolidate and Organize Your Files
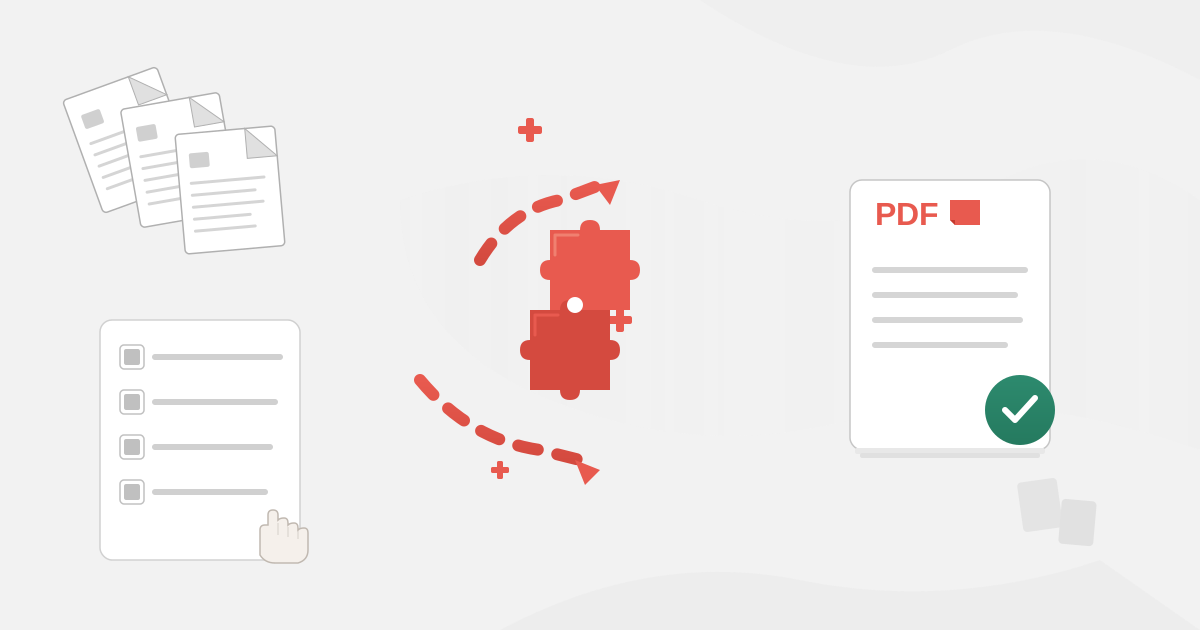
Now you have a folder full of individual PDFs. This is functional, but not ideal for quick access. Imagine scrolling through 50 files in a panic. The solution is to group related documents into single, multi-page master files.
For example, you can combine your driver's license, passport, and birth certificate into one file called John-Doe-Personal-ID.pdf. This makes finding and sharing information much faster.
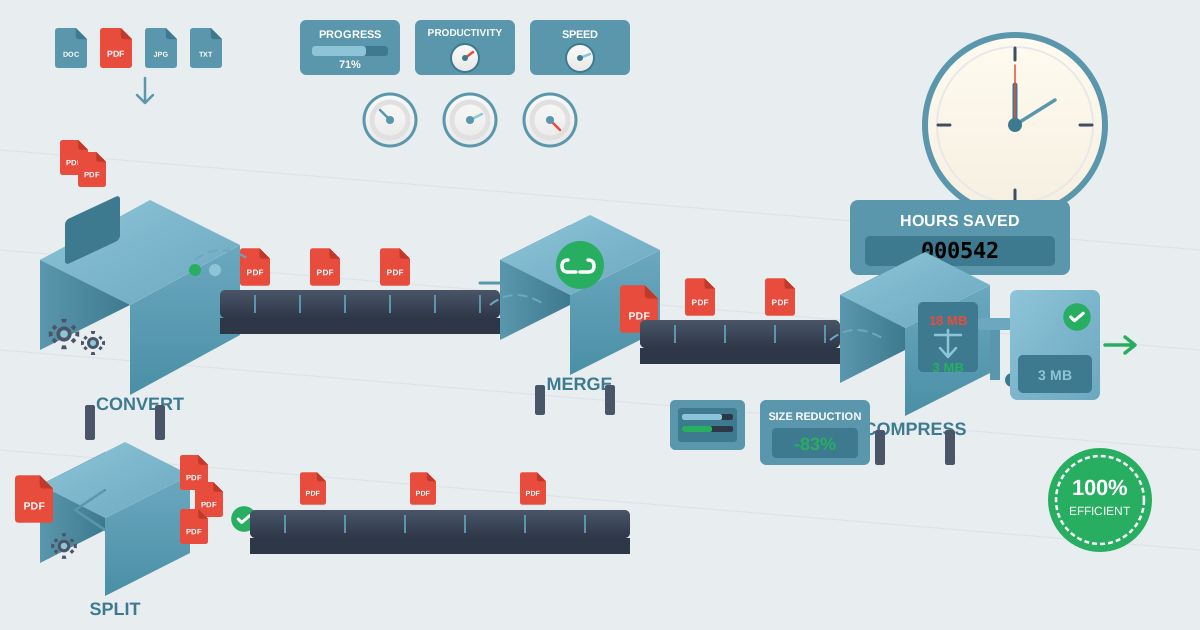
Our free and secure Merge PDFs tool is perfect for this. Here’s how:
- Go to the Merge PDFs tool on Practical Web Tools.
- Upload the individual files you want to combine (e.g., your license scan, passport scan, etc.).
- Drag and drop the files to arrange them in the order you prefer.
- Click 'Merge PDF' and download your new, consolidated master file.
Create master files for each category: Personal ID, Financial Docs, Medical Info, etc. This simple organizational step will save you immense time and stress later.
### Step 4: Prepare Documents for Action
In some emergency situations, you might need to fill out and sign a form quickly—like a temporary lease agreement or a disaster relief application. Printing, signing, and re-scanning is impossible without a printer.
This is where a digital signature tool comes in handy. You can pre-fill certain forms and have them ready to be signed and sent at a moment's notice.
Using the Sign PDF tool, you can:
- Upload the PDF form you need to sign.
- Create your signature by drawing, typing, or uploading an image.
- Place the signature exactly where it needs to go on the document.
- Download the signed PDF, ready to be emailed.
Having this capability means you can execute important documents from anywhere, using only your phone.
### Step 5: Make Information Easily Searchable
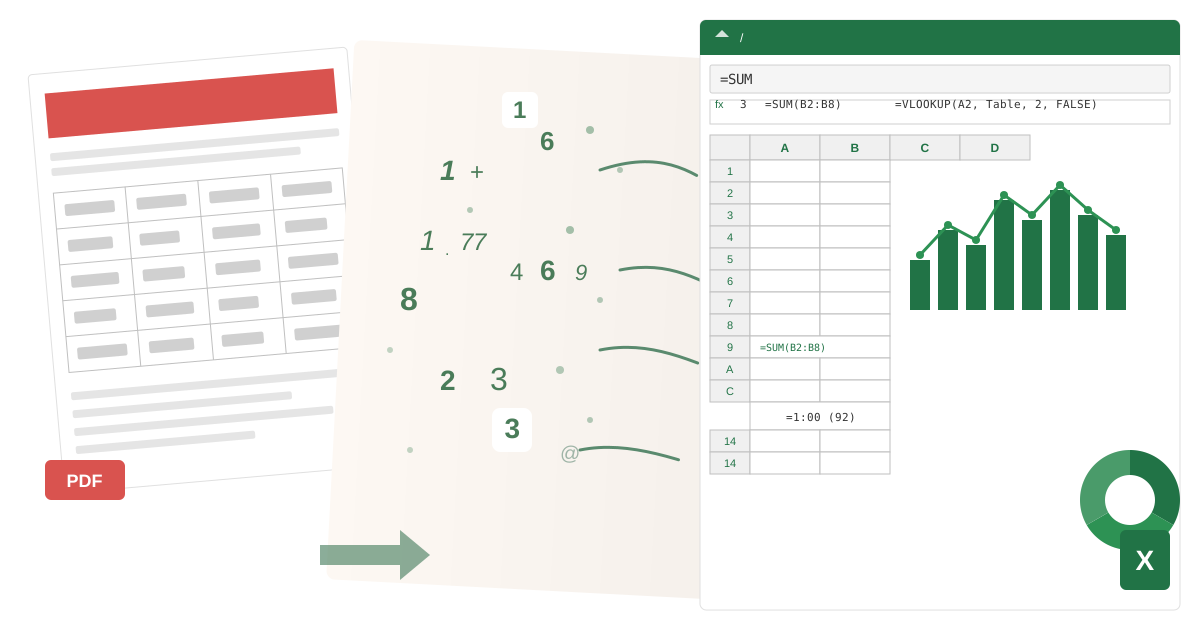
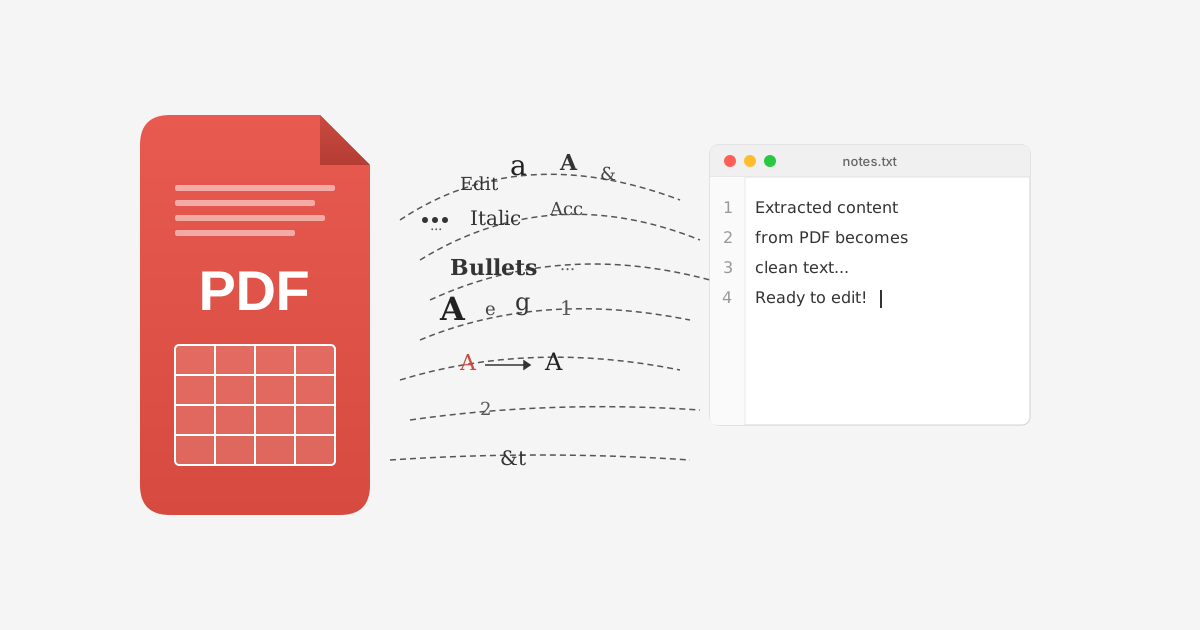
Sometimes you don't need the whole document, just a piece of text from it—like a policy number, a list of medications, or a bank account number. While many scanned PDFs are searchable, having a plain text version can be even faster for copying and pasting.
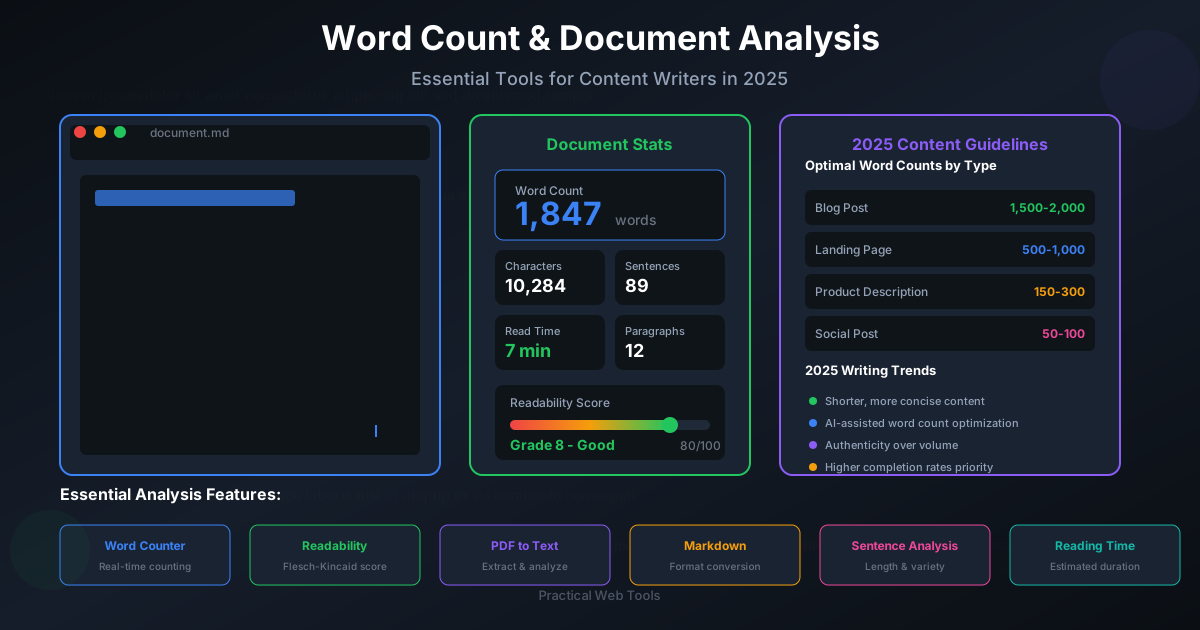
For documents with lots of text, consider running them through a tool like our PDF to Text converter. It extracts all the text into a simple, editable format that you can save as a note on your phone for lightning-fast access to key numbers and phrases.
Storing Your Kit: The 3-2-1 Backup Rule for Emergencies
Creating your kit is half the battle; storing it securely is the other half. The gold standard for data protection is the 3-2-1 Rule:
- Have at least 3 copies of your data.
- Store the copies on 2 different types of media.
- Keep 1 copy off-site.
Here’s how to apply this to your digital emergency kit:
### Option 1: Encrypted USB Drive (Local Media)
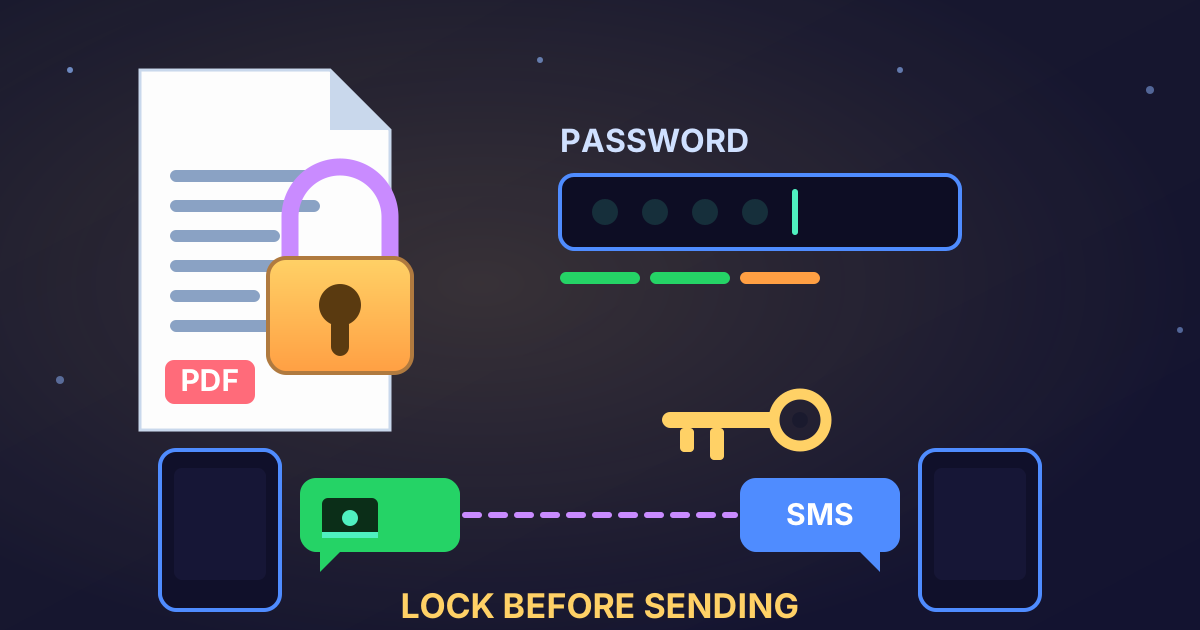
This is your tangible, offline copy. Purchase a high-quality, encrypted USB flash drive. These drives require a password to access the contents, protecting your data if the drive is lost or stolen.
- Pros: Offline, not vulnerable to online hacking, you have physical control.
- Cons: Can be physically lost, stolen, or damaged (e.g., in a fire or flood).
- Best Practice: Have two. Keep one in a fireproof safe in your home. Keep the second one in a secure off-site location, like a bank safe deposit box or at a trusted relative's house in another city.
### Option 2: Secure Cloud Storage (Off-site Media)
This is your accessible-from-anywhere copy. Use a reputable cloud storage provider like Google Drive, Dropbox, or iCloud.
- Pros: Accessible from any device with an internet connection, safe from local disasters like a house fire.
- Cons: Requires internet access, potential (though low with proper security) for unauthorized access.
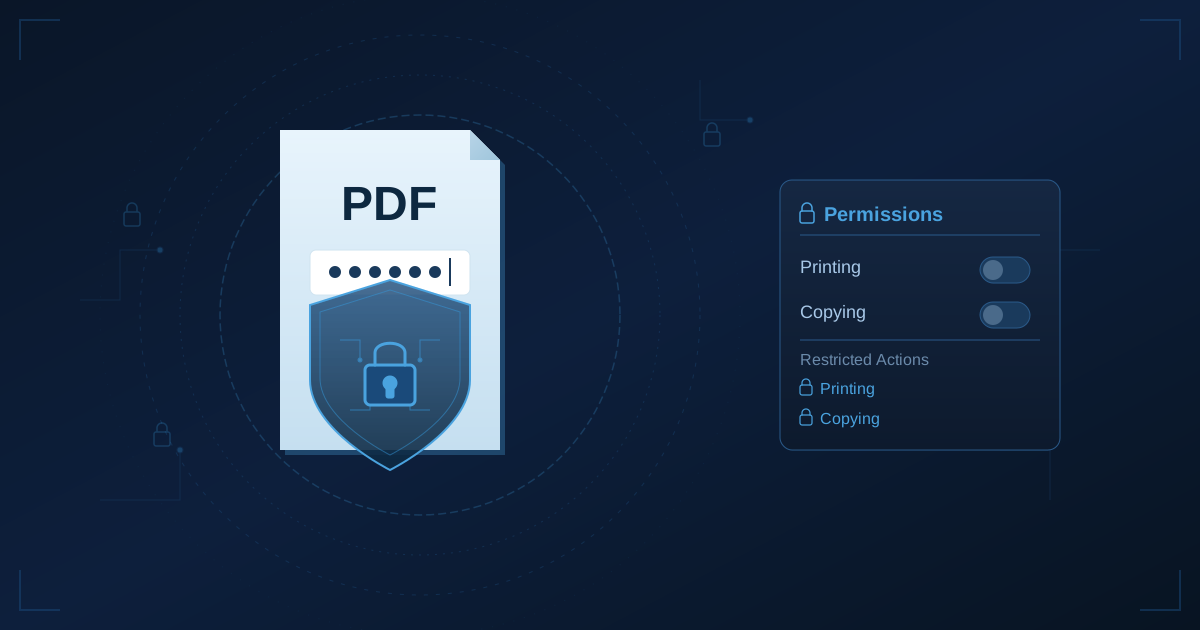
- Best Practice: Create a single folder named 'Digital Emergency Kit'. Before uploading, you can add an extra layer of security by putting all your files into a password-protected ZIP archive. Most importantly, enable two-factor authentication (2FA) on your cloud storage account. This is non-negotiable.
The ideal strategy is a hybrid approach. Store your kit in a secure cloud service (your primary off-site copy) and on two encrypted USB drives (your two local/different media copies, one of which is also off-site). This robust system ensures you can always access your files.
Don't Set It and Forget It: Maintaining Your Kit
Your life changes, and so should your emergency kit. This is a living document, not a time capsule. Schedule regular check-ups to keep it current.
- Bi-Annual Review: Set a reminder every six months (a good time is when you change your smoke alarm batteries) to review your kit. Update any expired IDs, add new insurance policies, and remove outdated information. Test your USB drives and log in to your cloud storage to ensure everything is still accessible.
- Update After Life Events: Did you get married, have a baby, buy a new car, or refinance your home? These are all triggers to update your kit with the new, relevant documents.
From Wind Advisory to Weather-Ready
A wind advisory is more than just a weather alert; it's a reminder that we need to be prepared for disruption. While you can't control the weather, you can control how prepared you are for its aftermath. Building a comprehensive digital emergency kit is one of the most powerful steps you can take to secure your family's future and reduce stress in a crisis.
By following this guide, you can transform a folder of scattered papers into an organized, secure, and accessible digital lifeline.
Don't wait for the next alert to become an emergency. Start building your digital emergency kit today. Use our suite of free, private PDF tools to merge, sign, and manage your essential documents with confidence and ease.