Word to PDF Without Formatting Loss: The Ultimate Guide

You've spent hours, maybe even days, meticulously crafting a Word document. The fonts are perfect, the images are precisely aligned, the tables are pristine, and the columns flow beautifully. You hit 'save', attach it to an email, and send it off. Then comes the dreaded reply: "The formatting is all messed up on my end."
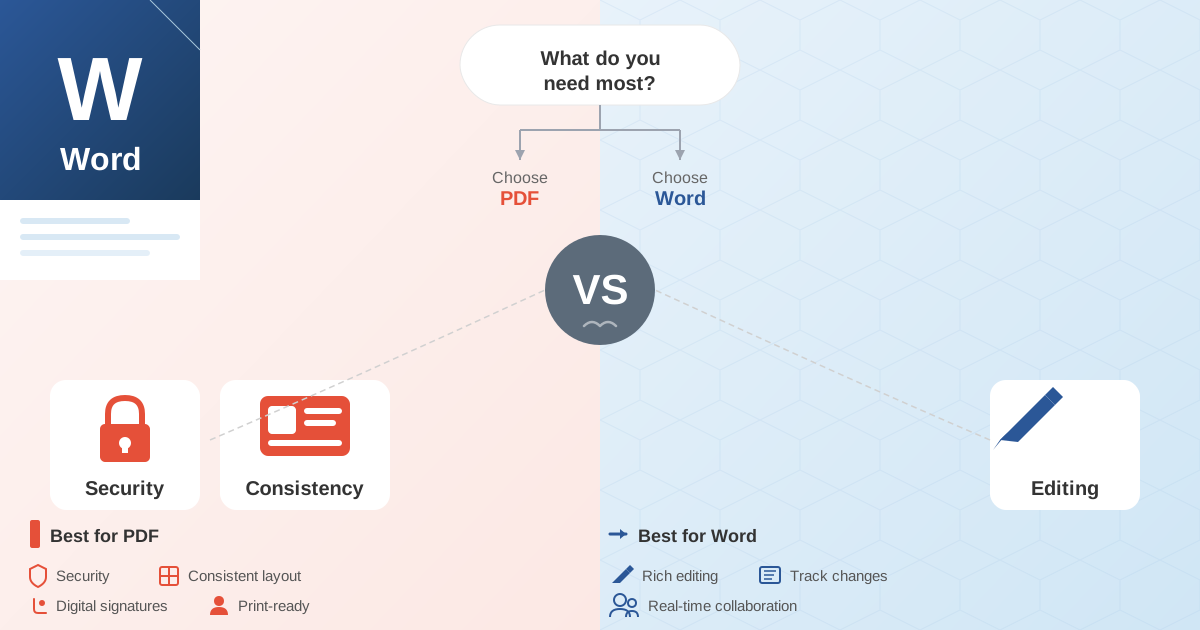
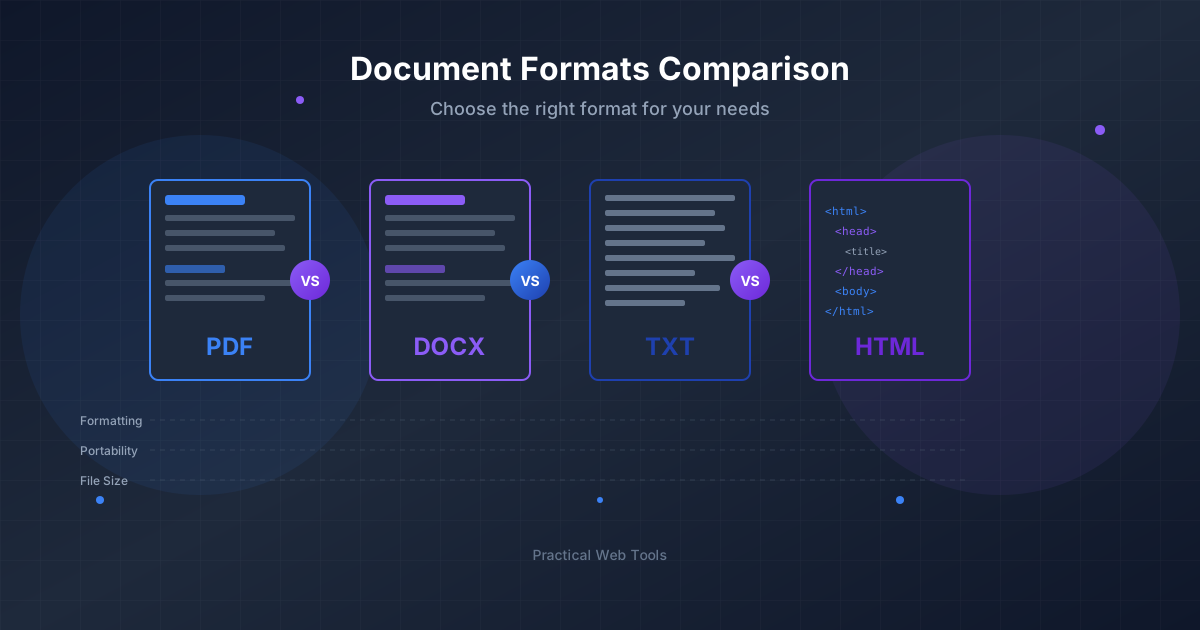
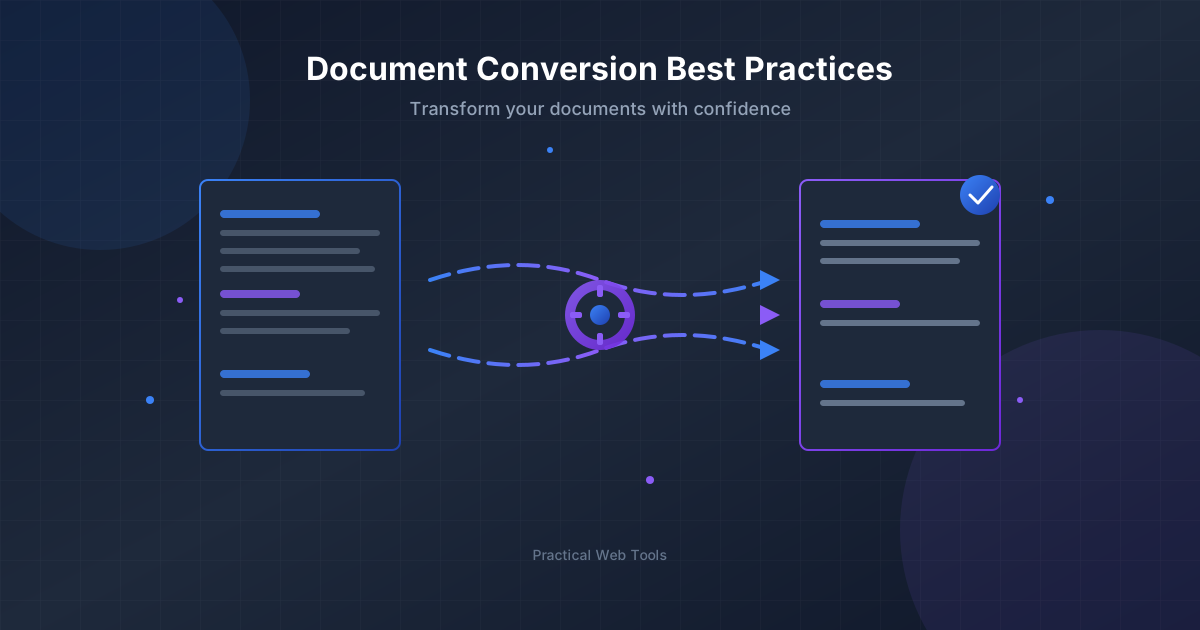
It's a frustratingly common scenario. What looks perfect on your screen can become a jumbled mess on another computer due to different versions of Word, missing fonts, or operating system quirks. This is where the Portable Document Format (PDF) comes in. A PDF acts as a digital snapshot, preserving your document's layout and formatting exactly as you intended, regardless of who opens it or on what device.
But even the conversion process from Word to PDF can introduce its own set of problems. How do you ensure that your carefully designed document makes the leap to PDF without losing a single element of its formatting? This comprehensive guide will walk you through the best methods, advanced techniques, and troubleshooting tips to achieve a flawless Word to PDF conversion every time.
Why Formatting Gets Lost During Conversion
Before we dive into the solutions, it's helpful to understand why formatting issues occur in the first place. The problem isn't random; it's usually caused by a few specific factors:
- Font Substitution: If the recipient's computer doesn't have the exact fonts you used, their system will substitute them with a different font, which can drastically alter spacing, line breaks, and the overall look of the document.
- Software Versions: A document created in the latest version of Microsoft 365 might not render correctly when opened in Word 2013. Elements like SmartArt, complex tables, or newer graphic effects can be particularly vulnerable.
- Operating System Differences: Minor rendering differences between Windows and macOS can cause subtle shifts in layout, especially with text wrapping around images or in documents with precise margins.
- Conversion Method: The tool or method you use to convert the file matters. A simple "Print to PDF" command might not handle complex elements like hyperlinks or editable form fields as well as a direct "Save As PDF" export.
Understanding these potential pitfalls is the first step toward avoiding them. Now, let's explore the most reliable methods for a perfect conversion.
Method 1: Use Microsoft Word’s Built-in “Save As PDF” Feature
This is, without a doubt, the gold standard for converting Word documents to PDF. Microsoft has built a powerful and reliable PDF export engine directly into Word. It's designed to understand all of Word's proprietary formatting and translate it as accurately as possible.
Step-by-Step Guide (Windows):
- Open Your Document: Launch Microsoft Word and open the file you wish to convert.
- Go to File Menu: Click on the "File" tab in the top-left corner.
- Choose "Save As" or "Export":
- Save As: Click "Save As," choose your desired location, and then in the "Save as type" dropdown menu, select "PDF (*.pdf)".
- Export: Click "Export," then click the "Create PDF/XPS Document" button.
- Optimize Your Settings (The Crucial Step): Before you click "Save" or "Publish," look for an "Options..." button. This is where you unlock the key to preserving quality.
- Optimize for: You'll see two main choices:
- Standard (publishing online and printing): Always choose this option. It preserves the highest quality for text and images and is essential for maintaining formatting.
- Minimum size (publishing online): This option heavily compresses images and may alter fonts to reduce file size, often at the cost of formatting and quality.
- Options Dialog Box: Clicking the "Options..." button opens a new window with more settings. Ensure "ISO 19005-1 compliant (PDF/A)" is checked if you need an archival-quality PDF. You can also control whether to include document properties, comments, or track changes.
- Optimize for: You'll see two main choices:
- Save the PDF: Once your settings are configured, click "OK" and then "Save" (or "Publish").
Step-by-Step Guide (macOS):
The process on a Mac is just as simple and effective.
- Open Your Document in Word for Mac.
- Go to the File Menu: Click "File" in the top menu bar.
- Choose "Save As...": A dialog box will appear.
- Select PDF: In the "File Format" dropdown menu at the bottom, select "PDF".
- Choose the Best Option for Quality: You'll see options like "Best for printing" and "Best for electronic distribution and accessibility." For preserving formatting, "Best for printing" is typically the superior choice as it prioritizes quality over file size.
- Click "Export": Your perfectly formatted PDF will be saved.
Method 2: Use the “Print to PDF” Function
This is a universal method that works not just in Word, but in almost any application that has a print function. Your operating system essentially has a virtual printer that, instead of sending a document to a physical printer, saves it as a PDF file.
Why Use It?
It's a great fallback if the "Save As" method isn't working for some reason or if you're in an application that doesn't have a native PDF export. It's extremely reliable for capturing exactly what you see on the screen.
Step-by-Step Guide (Windows):
- Open your document in Word.
- Go to File > Print (or press
Ctrl + P). - In the printer selection dropdown, choose "Microsoft Print to PDF".
- Click the "Print" button.
- A "Save Print Output As" dialog box will appear. Choose a name and location for your file, and click "Save".
Step-by-Step Guide (macOS):
- Open your document in Word.
- Go to File > Print (or press
Cmd + P). - In the bottom-left corner of the print dialog, click the "PDF" dropdown menu.
- Select "Save as PDF" from the list.
- Choose a name and location, and click "Save".
Important Caveat: While reliable for visual layout, the "Print to PDF" method sometimes has a downside: it can flatten the document. This means interactive elements like hyperlinks, bookmarks, or table of contents links may no longer be clickable in the final PDF.
Advanced Tips for Flawless Formatting
For complex documents with custom fonts, high-resolution images, and intricate layouts, you may need to take a few extra steps before you convert.
Tip 1: Embed Fonts in the Word Document
This is the single most effective technique to prevent font substitution. Embedding fonts saves the font files directly within your Word document. When you convert to PDF, those fonts are carried over, ensuring your text looks exactly as intended for everyone.
How to Embed Fonts in Word (Windows):
- Go to File > Options.
- In the Word Options window, select the "Save" tab.
- Scroll down to the section titled "Preserve fidelity when sharing this document".
- Check the box that says "Embed fonts in the file".
- For maximum compatibility, you can also check "Embed only the characters used in the document (best for reducing file size)" and "Do not embed common system fonts."
- Click "OK". Now, save your Word document. The fonts are now part of the file.
Tip 2: Use High-Resolution Images
When you convert to PDF using the "Standard" quality setting, your images should look sharp. However, if the source images in your Word document were low resolution to begin with, they'll look blurry or pixelated in the PDF. Always start with high-quality images.
Additionally, Word sometimes compresses images by default to keep the .docx file size down. You can disable this:
- Go to File > Options > Advanced.
- Scroll to the "Image Size and Quality" section.
- Check the box for "Do not compress images in file".
- Set the default resolution to "High fidelity".
Tip 3: Check Your Hyperlinks
As mentioned, the "Save As PDF" or "Export" method is far better at preserving clickable hyperlinks than "Print to PDF." After converting, always open your PDF and click a few links to ensure they work correctly.
Troubleshooting Common Conversion Problems
Even with the best methods, you might occasionally run into issues. Here’s a quick guide to solving the most common ones.
| Problem | Cause | Solution |
|---|---|---|
| Images look blurry or pixelated | Word's image compression is active, or the source image is low-res. | Go to File > Options > Advanced > Image Size and Quality and select "Do not compress images in file" and "High fidelity." Re-insert a higher-resolution version of the image if necessary. |
| Hyperlinks don't work | You used the "Print to PDF" method instead of "Save As PDF." | Re-convert the document using the File > Save As > PDF or File > Export > Create PDF method. These methods are designed to preserve interactive elements. |
| Colors look different in the PDF | Mismatch between RGB (screen) and CMYK (print) color profiles. | This is an advanced issue. In the PDF "Options" dialog (Save As > PDF > Options...), look for PDF options related to color management or ISO standards like PDF/X for professional printing. |
| Comments and Track Changes are visible | These were not resolved or hidden before conversion. | Before converting, go to the Review tab in Word. Under "Tracking," select "No Markup" from the dropdown. To permanently remove them, "Accept" or "Reject" all changes and delete all comments. |
Beyond Conversion: Managing Your New PDFs
Creating a perfectly formatted PDF is often just the first step. Once you have your file, you may need to perform other actions. For instance, you might need to combine a newly created report with an existing appendix.
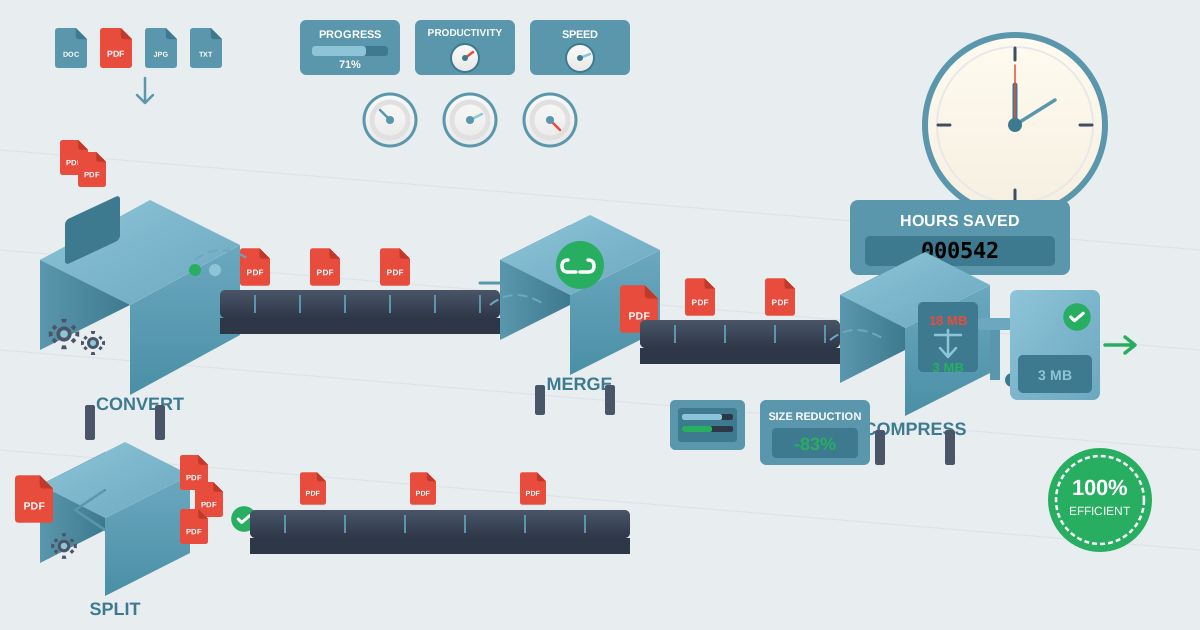
This is where a suite of dedicated tools becomes invaluable. Instead of struggling with complex software, you can use a simple and free online tool. If you need to combine multiple documents, a Merge PDFs tool allows you to join them into a single, cohesive file in seconds.
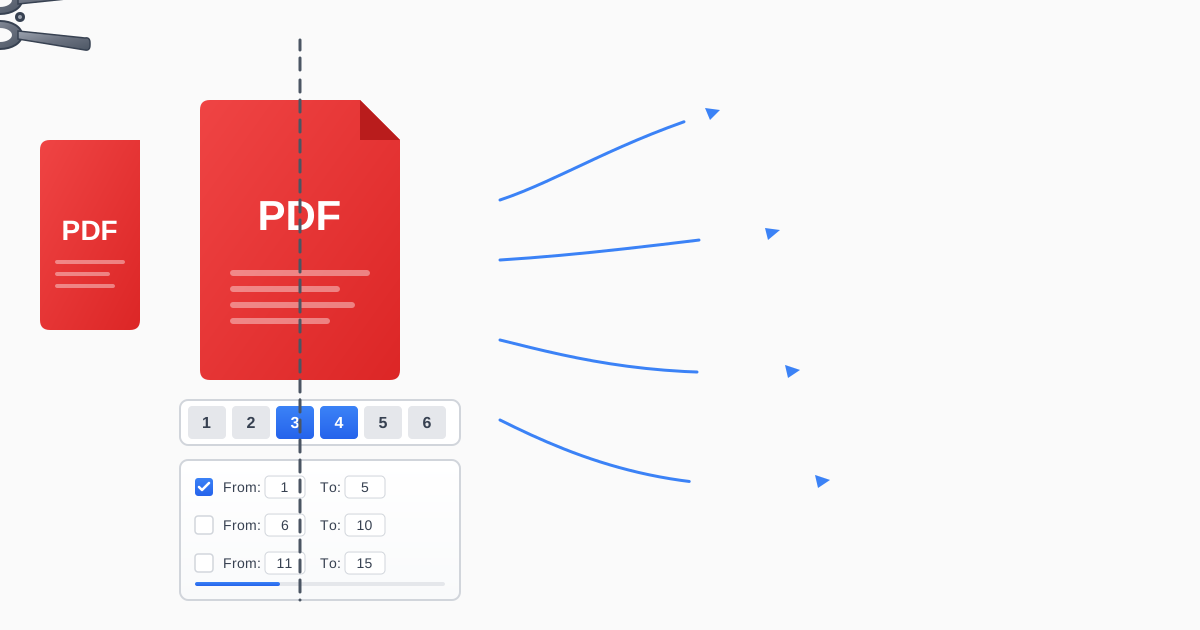
Conversely, if your Word document was a massive manual and you only need to send a single chapter, converting the whole thing and then using a Split PDF tool is the most efficient workflow. You can easily extract the exact pages you need without having to go back and edit the source document.
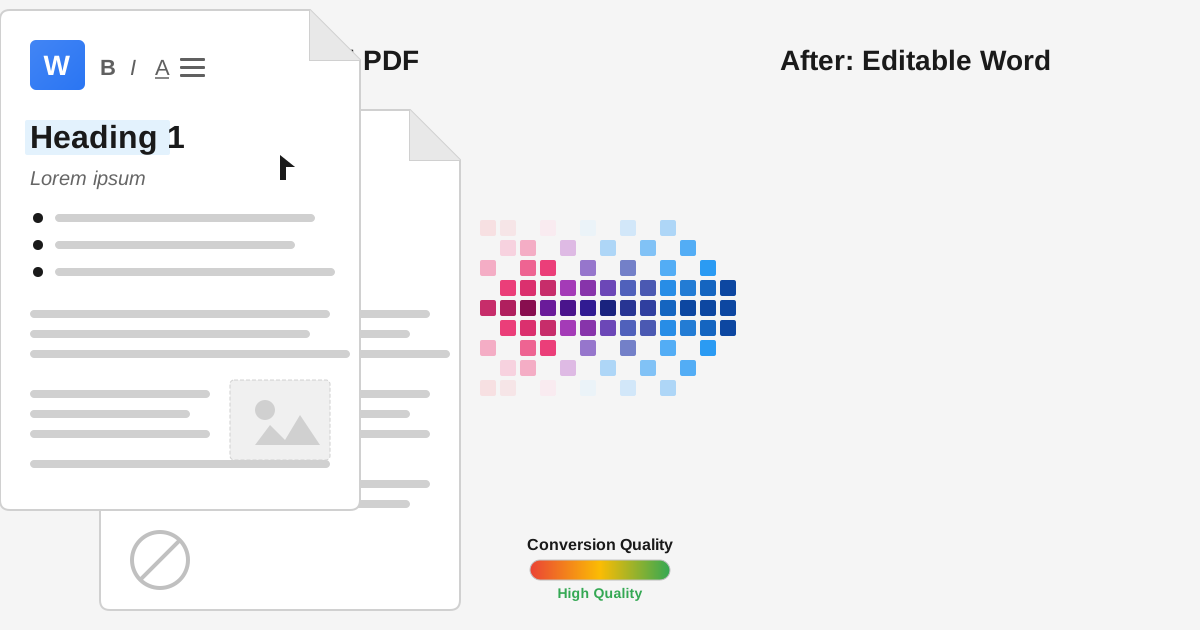
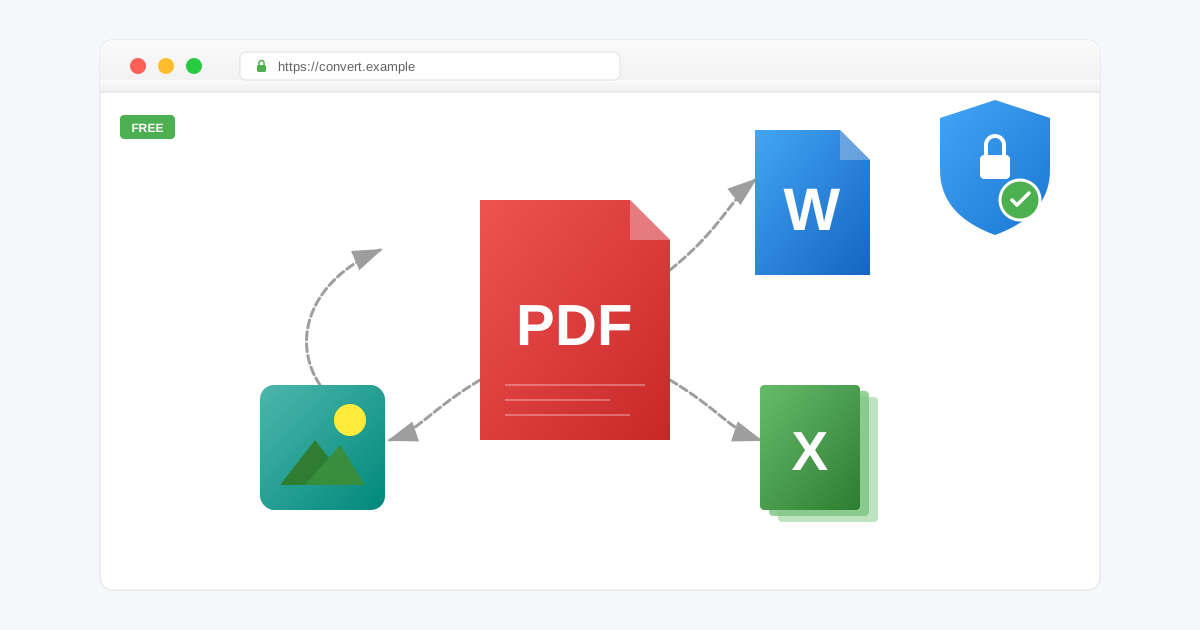
And remember, the conversion process can go both ways. If you ever receive a PDF that you need to edit, a reliable PDF to Word converter can save you the hassle of retyping everything from scratch.
Conclusion: Your Checklist for Perfect PDFs
Losing formatting during a Word to PDF conversion is a preventable problem. By being deliberate about your method and settings, you can ensure your documents arrive looking exactly as you designed them.
To summarize, here is your final checklist for a flawless conversion:
- Start with Quality: Use high-resolution images and check Word's image compression settings.
- Embed Your Fonts: Use
File > Options > Save > Embed fonts in the fileto guarantee your typography remains consistent. - Use the Best Method: Prioritize Word’s built-in “Save As PDF” or “Export” feature over “Print to PDF.”
- Choose the Right Setting: Always select “Standard” quality for printing and online publishing, not “Minimum size.”
- Verify the Output: Quickly open the new PDF to check that images are sharp, layouts are intact, and hyperlinks are clickable.
By following these steps, you can share your documents with confidence, knowing that your hard work will be presented professionally and accurately every single time.
Ready to take control of your documents? Explore our full suite of free and privacy-focused PDF tools at Practical Web Tools to merge, split, sign, and convert your files with ease.