How to Convert PowerPoint to PDF: The Ultimate Guide (2024)
You’ve spent hours, maybe even days, perfecting your PowerPoint presentation. The fonts are crisp, the images are perfectly placed, and the animations are timed to perfection. You email it to a colleague or client, only to hear back, "The formatting is all messed up," or "I can't open this file." It's a frustratingly common scenario. The culprit? Differences in operating systems, PowerPoint versions, and installed fonts.
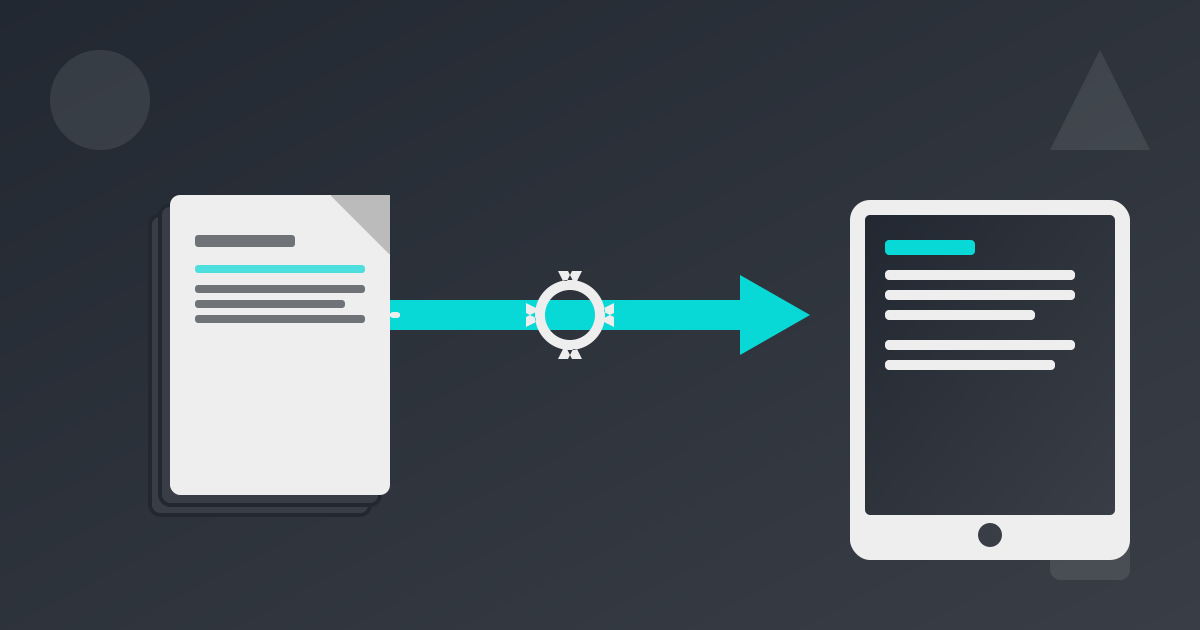
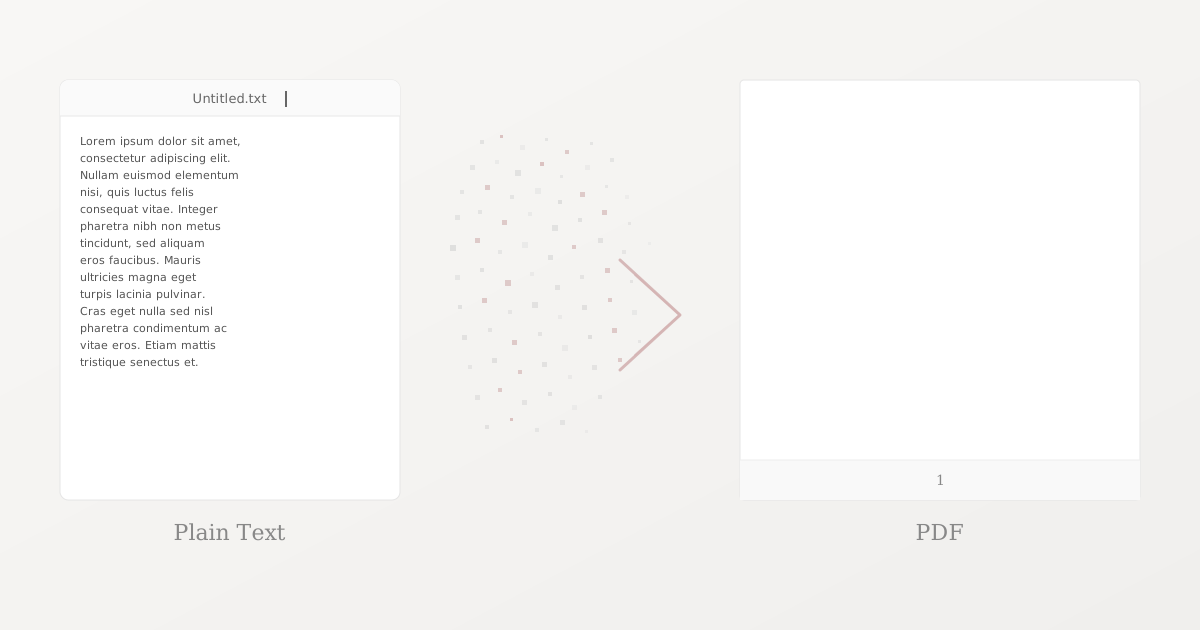
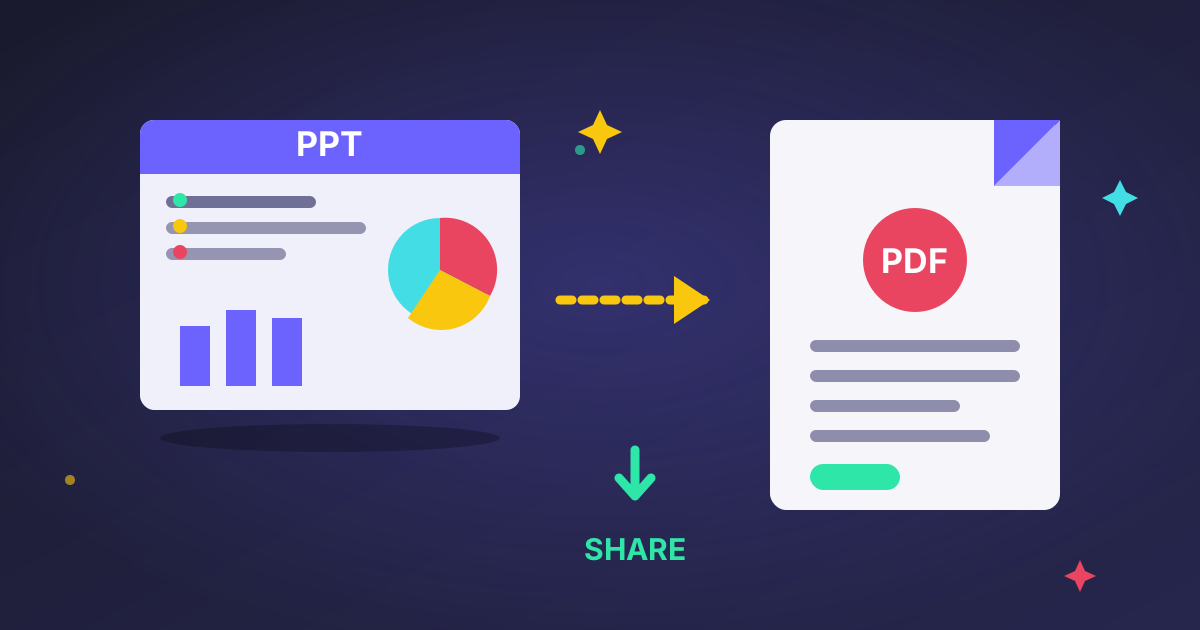
Fortunately, there's a simple, universal solution: converting your PowerPoint (PPT or PPTX) file into a Portable Document Format (PDF). A PDF acts as a digital snapshot of your presentation, preserving your layout, fonts, and images exactly as you intended, regardless of the device or software used to view it.
This comprehensive guide will walk you through everything you need to know about converting PowerPoint to PDF. We'll cover the built-in methods, the pros and cons of online tools, and advanced tips to ensure your final document is professional, polished, and perfect for sharing.
Why Convert PowerPoint to PDF? The Core Benefits
Before we dive into the 'how,' let's solidify the 'why.' Understanding the advantages of converting your presentation to PDF will help you decide when it's the right choice for your needs.
1. Universal Compatibility
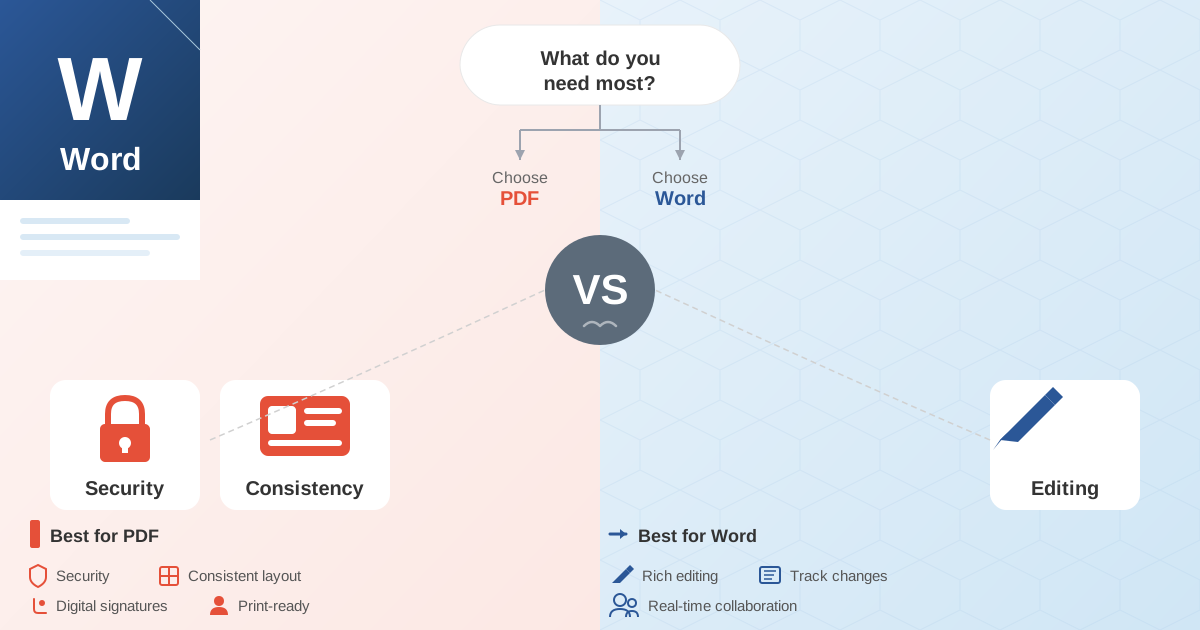
The single biggest advantage of the PDF format is its universality. A PDF will look the same whether it's opened on a Windows PC, a Mac, a Linux machine, a smartphone, or a tablet. You eliminate the risk of fonts being substituted, images shifting, or layouts breaking, ensuring your message is delivered exactly as you designed it.
2. Preserved Formatting and Design
When you save as a PDF, you are essentially creating a high-fidelity image of each slide. All your carefully chosen fonts (if embedded), graphics, charts, and colors are locked into place. This is crucial for maintaining brand consistency and professionalism.
3. Enhanced Security
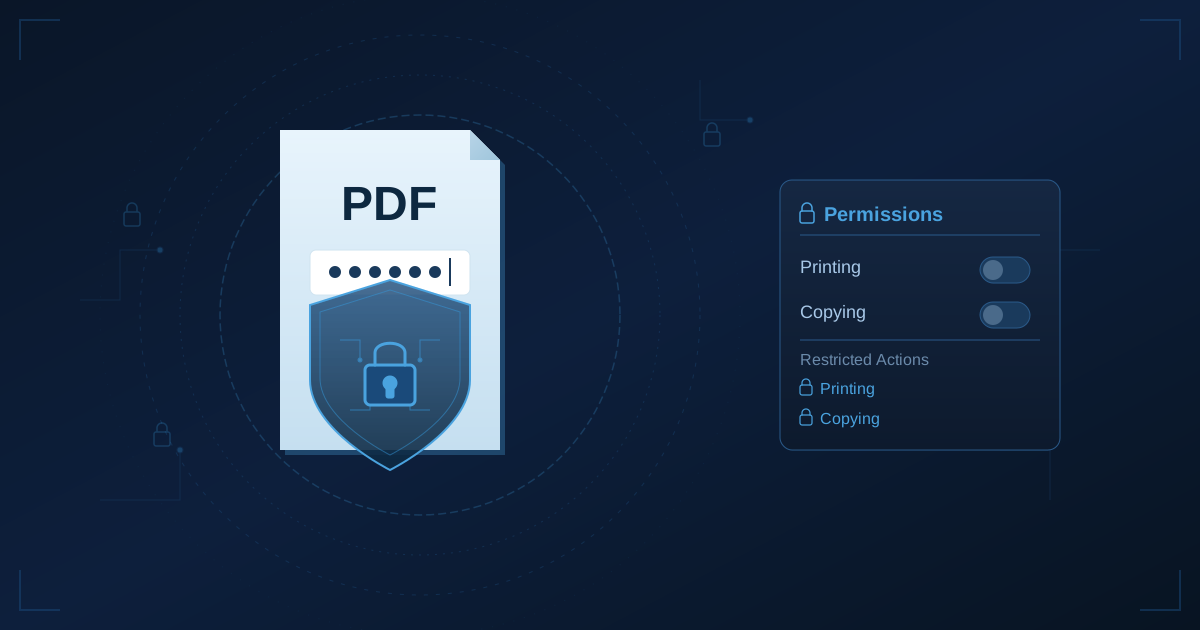
PDFs offer robust security features that are absent in standard PowerPoint files. You can:
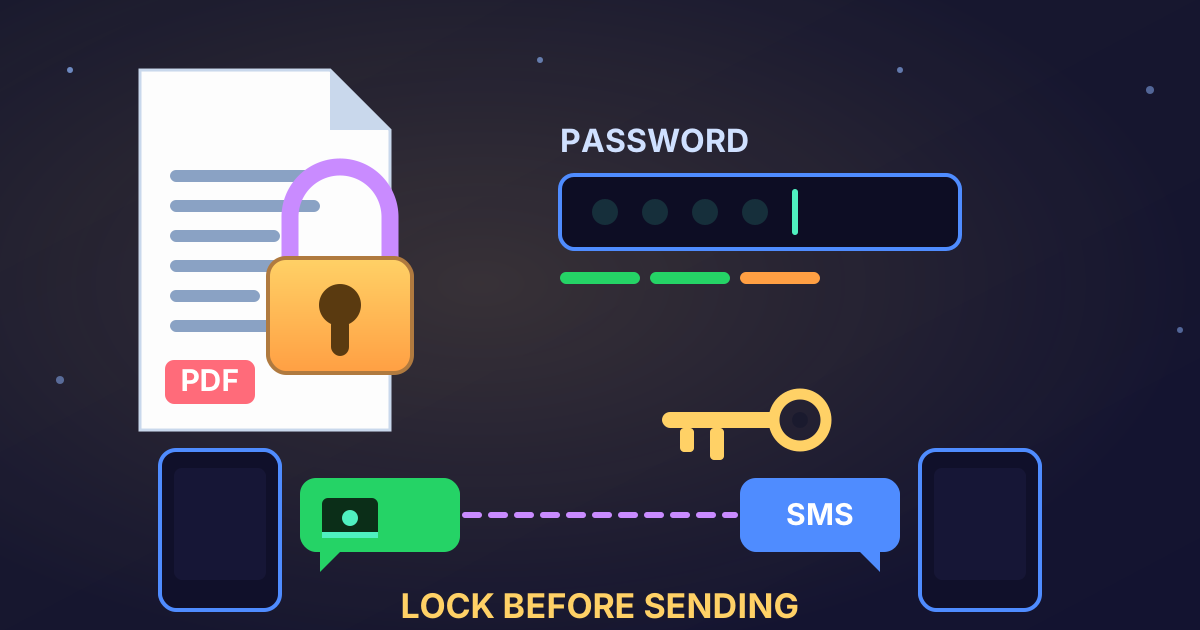
- Add Password Protection: Require a password to open or edit the document.
- Restrict Permissions: Prevent users from printing, copying text and images, or making changes to the document.
- Redact Information: Permanently remove sensitive data.
4. Reduced File Size
While not always the case, a PDF is often significantly smaller than the original PowerPoint file, especially if the presentation contains high-resolution images or embedded media. A smaller file is easier and faster to email, download, and store.
5. Professionalism and Shareability
Sending a PDF is standard practice in the professional world. It signals that the document is a final version, not a draft. It's the preferred format for reports, proposals, portfolios, and academic papers. Viewers don't need to have PowerPoint installed; any modern web browser can open a PDF.
6. Print-Ready Output
PDF was designed with high-quality printing in mind. When you convert your PPT to a PDF, you can be confident that it will print accurately, with sharp text and clear images, making it ideal for creating professional handouts or physical copies of your presentation.
Method 1: Using Microsoft PowerPoint's Built-in Features
The most direct and often best way to convert your presentation is by using PowerPoint itself. The process is slightly different for Windows and macOS users, but the result is a high-quality, reliable PDF.
For Windows Users (PowerPoint 2013 and newer)
This method gives you the most control over the final output.
- Open Your Presentation: Launch PowerPoint and open the
.pptor.pptxfile you want to convert. - Navigate to 'Save As': Click on the
Filetab in the top-left corner, then selectSave As. - Choose PDF Format: In the
Save Asdialog box, click the dropdown menu under "Save as type." Scroll down and selectPDF (*.pdf). - Optimize Your File (Optional but Recommended): Before you click
Save, you'll see an option forOptimize for. You have two choices:- Standard (publishing online and printing): This is the default and best option for most use cases. It creates a higher-quality PDF that is suitable for both digital viewing and printing.
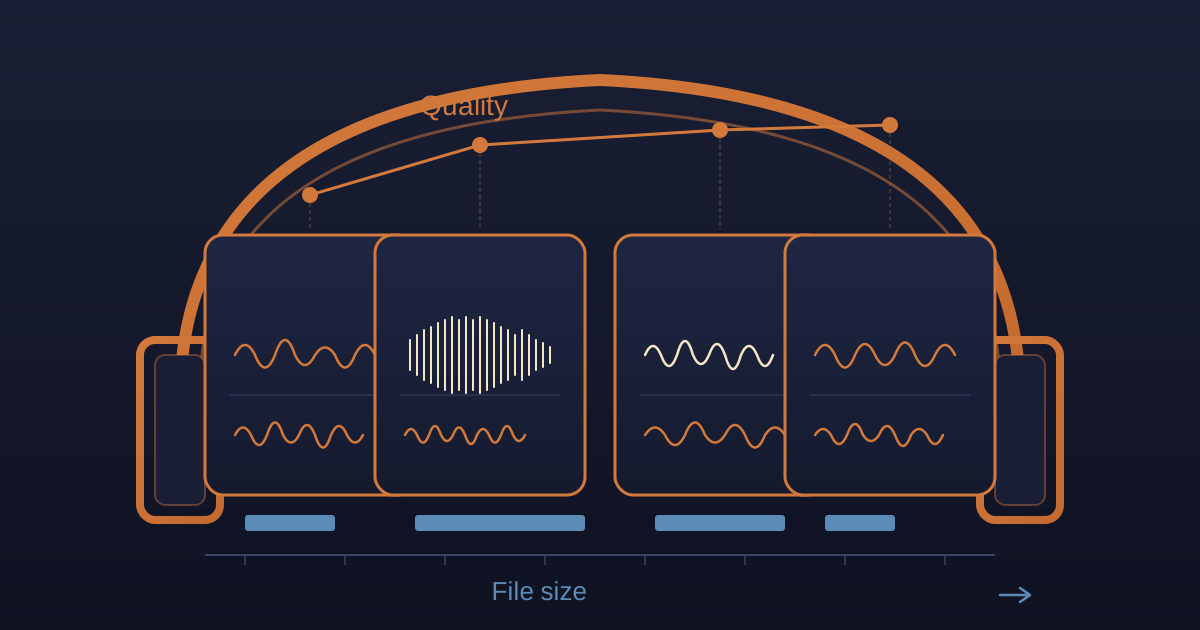
- Minimum size (publishing online): This option compresses images and other elements to create the smallest possible file size. Use this if you need to email the file and are concerned about attachment size limits, but be aware that image quality may be slightly reduced.
- Explore Advanced Options: For even more control, click the
Options...button next toOptimize for. This opens a new window with several powerful settings:
| Option | Description |
|---|---|
| Range | Choose to convert all slides, only the current slide, or a custom range of slides. |
| Publish what | This is key. You can choose to publish Slides, Handouts, Notes Pages, or Outline View. Handouts lets you put multiple slides on a single PDF page, perfect for saving paper. Notes Pages is excellent for sharing your presentation with your speaker notes included. |
| Include non-printing information | Check boxes to include document properties or document structure tags for accessibility. |
| PDF options | Ensure ISO 19005-1 compliant (PDF/A) is checked if you need the file for long-term archiving. |
- Save Your PDF: Once you've configured your settings, click
OKand thenSave. PowerPoint will generate the PDF in your chosen location.
For macOS Users
The process on a Mac is just as simple, though the options are presented slightly differently.
- Open Your Presentation: Open your PPT file in PowerPoint for Mac.
- Go to 'Export': Click on
Filein the menu bar at the top of the screen, then selectExport.... - Set File Format to PDF: In the export window, click the
File Formatdropdown and selectPDF. - Choose Quality: You'll see options for quality, typically:
- Best for printing: This creates a high-resolution PDF, ideal for professional printing.
- Best for electronic distribution and accessibility: This optimizes the file size for emailing and on-screen viewing while maintaining good quality and accessibility features.
- Export the File: Name your file, choose where to save it, and click
Export.
Method 2: Using Free Online Converters
What if you don't have PowerPoint installed, or you're working on a device like a Chromebook? This is where online converters shine. They are web-based tools that allow you to upload your PPT file and receive a converted PDF in seconds.
Why Use an Online Tool?
- Convenience: No software installation is required. All you need is a web browser and an internet connection.
- Accessibility: Use them from any computer or mobile device, anywhere in the world.
- Speed: Most conversions are processed in under a minute.
How to Choose a Safe and Private Online Tool
Handing your files over to a website requires trust. At Practical Web Tools, we prioritize privacy, but not all sites do. Here’s what to look for:
- Privacy Policy: A reputable tool will have a clear privacy policy explaining how your data is handled. Look for statements that files are deleted from their servers automatically after a short period (e.g., one hour).
- HTTPS Security: Ensure the website address starts with
https://. The 's' indicates a secure connection, meaning your data is encrypted during upload and download. - No Registration Required: The best tools let you convert files without forcing you to create an account or provide personal information.
- Minimal Ads: While many free tools are ad-supported, be wary of sites cluttered with aggressive pop-ups or misleading download buttons.
A General Step-by-Step Guide for Online Converters
- Navigate to the Tool: Open your web browser and go to a trusted online PPT to PDF converter.
- Upload Your File: Click the 'Upload' or 'Choose File' button and select the PowerPoint presentation from your computer.
- Start the Conversion: The tool may start converting automatically, or you may need to click a 'Convert' button.
- Download Your PDF: Once the process is complete, a download link for your new PDF file will appear. Click it to save the file to your device.
Advanced Tips for a Perfect Conversion
Converting the file is just the first step. Use these pro tips to handle common challenges and ensure your final PDF is flawless.
Handling Animations and Transitions
A PDF is a static format. This means all your carefully crafted animations, transitions, and embedded videos from PowerPoint will be lost. The PDF will only capture the final state of each slide.
- What to do: If animations are critical, consider sharing the presentation as a video (
File > Export > Create a Video) or sharing the PPTX file directly with someone you know has a compatible version of PowerPoint.
Managing Hyperlinks
Good news! Most modern versions of PowerPoint (and good online converters) will automatically preserve hyperlinks when you convert to PDF. Text and objects linked to web pages or other slides will remain clickable in the final PDF.
- Troubleshooting: If your links aren't working, double-check the advanced options in the 'Save As' dialog. If they still fail, you may need a dedicated PDF editor to re-add them after conversion.
Embedding Fonts for Perfect Display
Ever seen a PDF where the text looks strange or uses a generic font? This happens when the PDF is opened on a computer that doesn't have the original fonts installed. You can prevent this by embedding the fonts directly into the file.
- How to embed fonts (Windows):
- Go to
File > Options. - In the PowerPoint Options window, select the
Savetab. - At the bottom, under 'Preserve fidelity when sharing this presentation,' check the box for
Embed fonts in the file. - Choose between
Embed only the characters used...(smaller file size) orEmbed all characters...(better for editing by others).
- Go to
What If You Need to Edit the PDF?
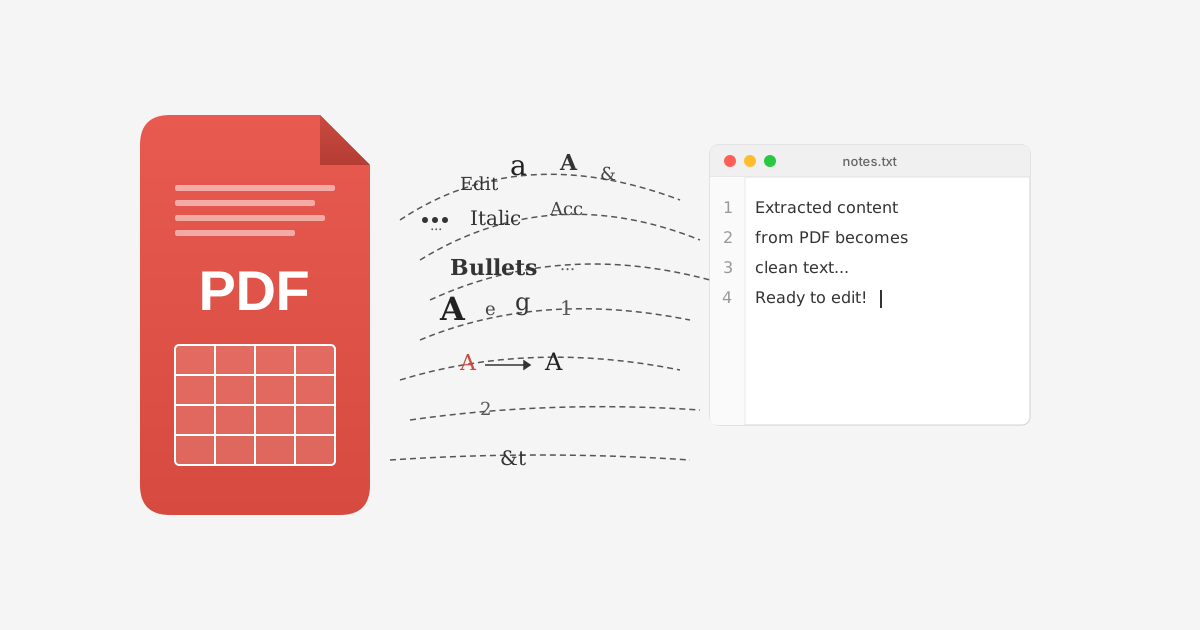
PDFs are designed to be difficult to edit, which is usually a feature, not a bug. However, sometimes you need to make changes after the fact. Instead of starting from scratch, you can convert the document back. Using a reliable tool to convert your PDF to PowerPoint can save you hours of work by recreating the slide structure. Similarly, if you only need to extract the text and images for a report, a PDF to Word converter is an incredibly efficient solution.
Beyond Conversion: Managing Your New PDF
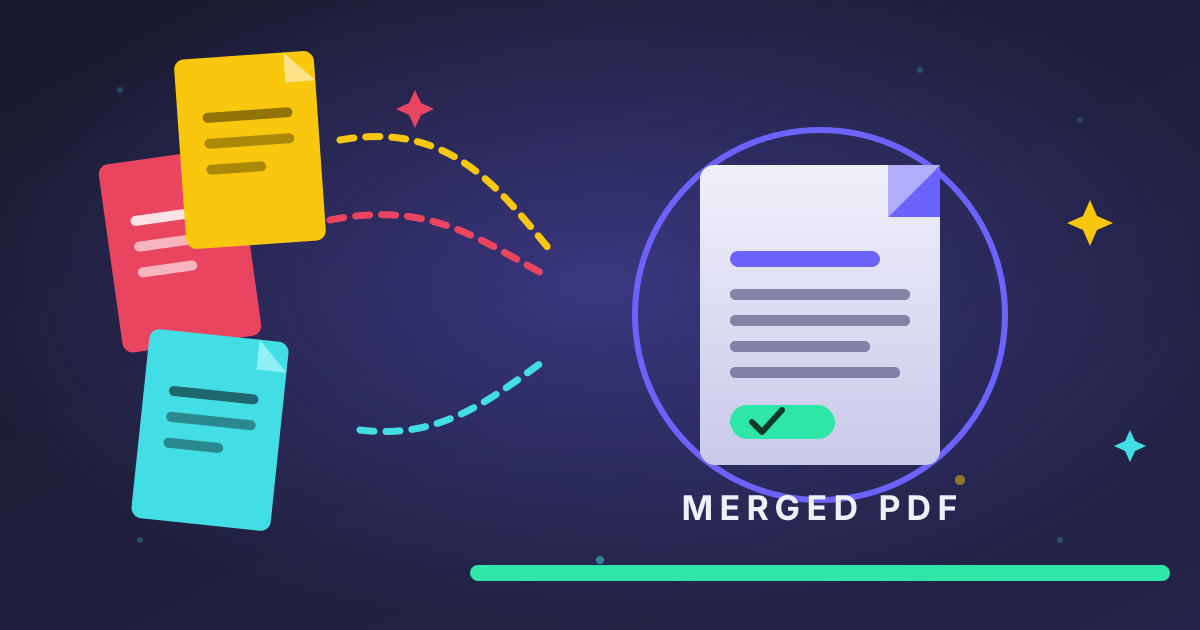
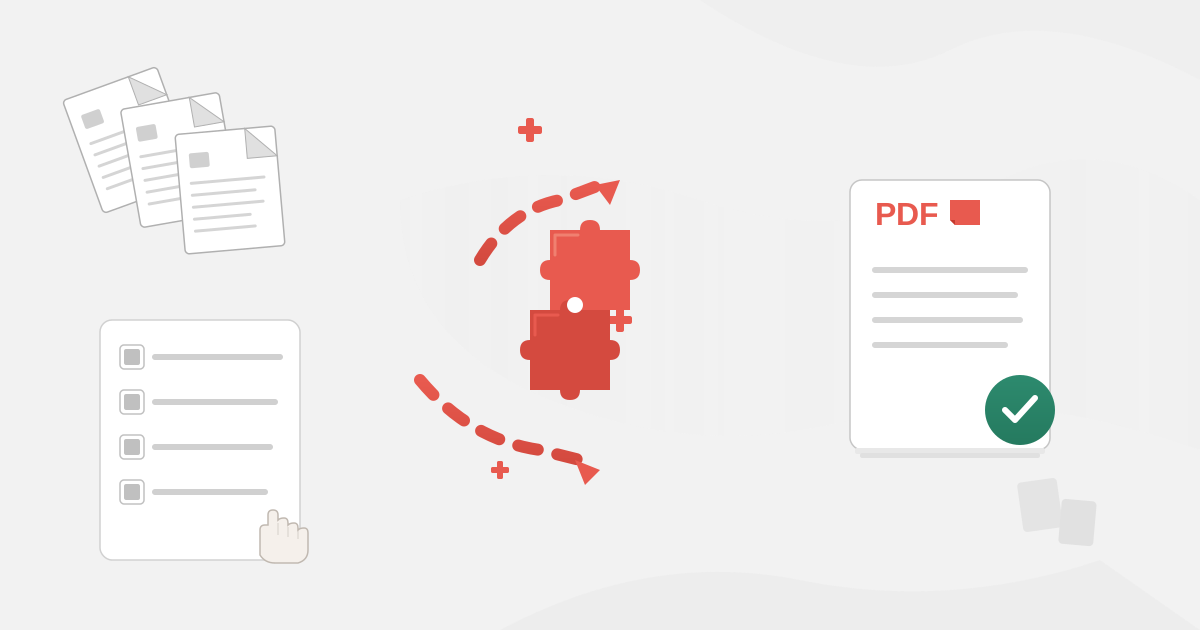
Once you have your PDF, you can do even more with it. Your presentation might be just one part of a larger project. For instance, you might need to combine a presentation PDF with a report and a spreadsheet appendix.
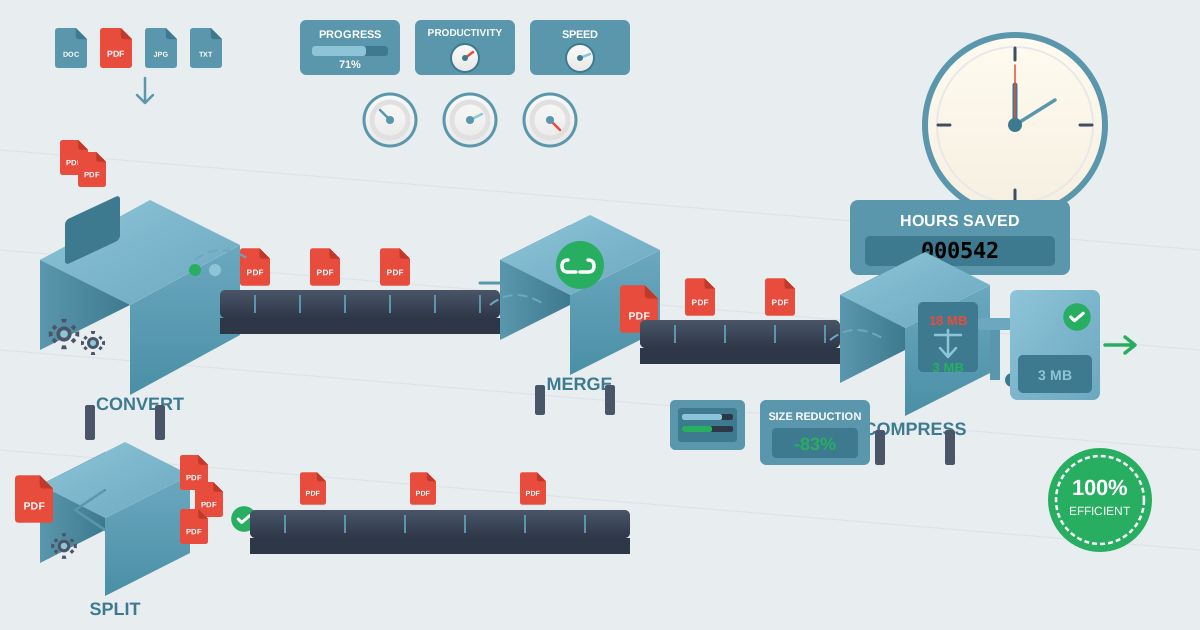
Instead of sending three separate files, you can use a simple online tool to Merge PDFs into a single, professional package. This makes the document easier for your recipient to read, store, and navigate.
Conclusion: Share with Confidence
Converting your PowerPoint presentation to PDF is a simple but powerful step to ensure your work is shared professionally and viewed exactly as you intended. Whether you use the robust built-in features of Microsoft PowerPoint or the convenience of a privacy-focused online tool, you can eliminate compatibility issues and protect the integrity of your design.
By following the methods and advanced tips in this guide, you can move beyond simple conversion and master the art of creating high-quality, secure, and shareable documents. You'll save time, avoid technical headaches, and present your ideas with the confidence they deserve.
Ready to manage your documents like a pro? Explore our full suite of free and secure PDF tools at Practical Web Tools to convert, edit, and manage all your digital files with ease.